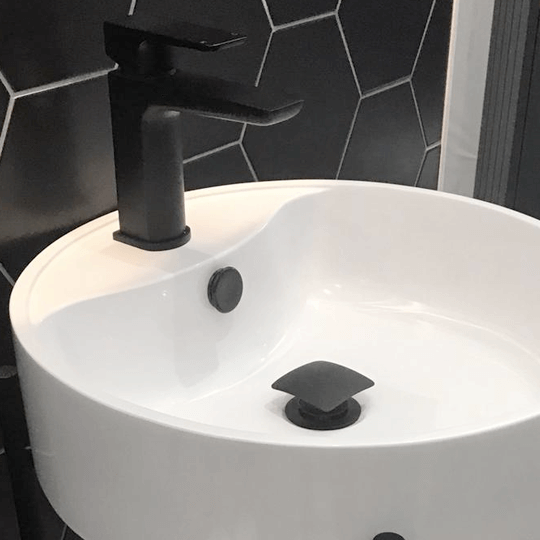
How to fit a toilet: A step-by-step guide
If you have some experience with DIY and want to install your own toilet, then this is something you can certainly do by yourself, although we always recommend using a professional if you’re unsure about anything.
In this blog we’ll subsequently take you through the necessary steps for fitting a toilet, using one of the most popular varieties – a close-coupled toilet – as an example.
Make sure to read to the end to find out the best way to fit your toilet, as well as key plumbing information and some common mistakes to avoid.
If you’re fitting a toilet by yourself, then make sure to do all the necessary prep beforehand.
Step-by-step guide
The first thing you need to do before fitting your toilet is to check that you have all the necessary parts, including fixings – and that the toilet isn’t damaged. Then you can gather the appropriate tools which you’ll need for the fitting process.
Tools required (outside of the main toilet parts):
- Screwdrivers
- Electric drill
- Spanners
- Silicone sealant
- Cartridge gun
- Spirit level
- Old towels
NB You may need to purchase your toilet seat separately, depending on what type of toilet you’ve purchased – and you will need to buy a toilet-fitting pack which includes the following:
- Shut-off valve
- Floor-fixing kit
- Flexi pan connector
Step one
Make sure the water supply is turned off, then begin by putting the flush mechanism together – this will be a push-button or lever handle, depending on what you’ve chosen for your toilet. Follow the manufacturer’s instructions for this, making sure to attach any sealing rings. You can also assemble the interior of the cistern components at this stage, including the pump.
Installing a toilet is relatively straightforward, but if you’re unsure about doing it yourself, then always hire a professional.
Step two
Connect the cistern to the toilet pan, making sure to fix the rubber gasket to the flush entrance of the pan. The fixing bolts can then be placed through the necessary holes in the cistern (using the metal and rubber washers). You can then place the cistern on top of the toilet pan and fix this in position using the washers and fixing bolts, although do not make these too secure at this stage. NB The flushing mechanism should go through the rubber gasket.
Step three
Next, place the toilet in position, using a spirit level to ensure that everything is aligned correctly, then mark the fixing holes for both the cistern and toilet pan (unless the toilet aligns with the holes used for a previous toilet).
Step four
Drill the holes. NB Make sure to check for any wires and pipes before drilling into the floor or wall.
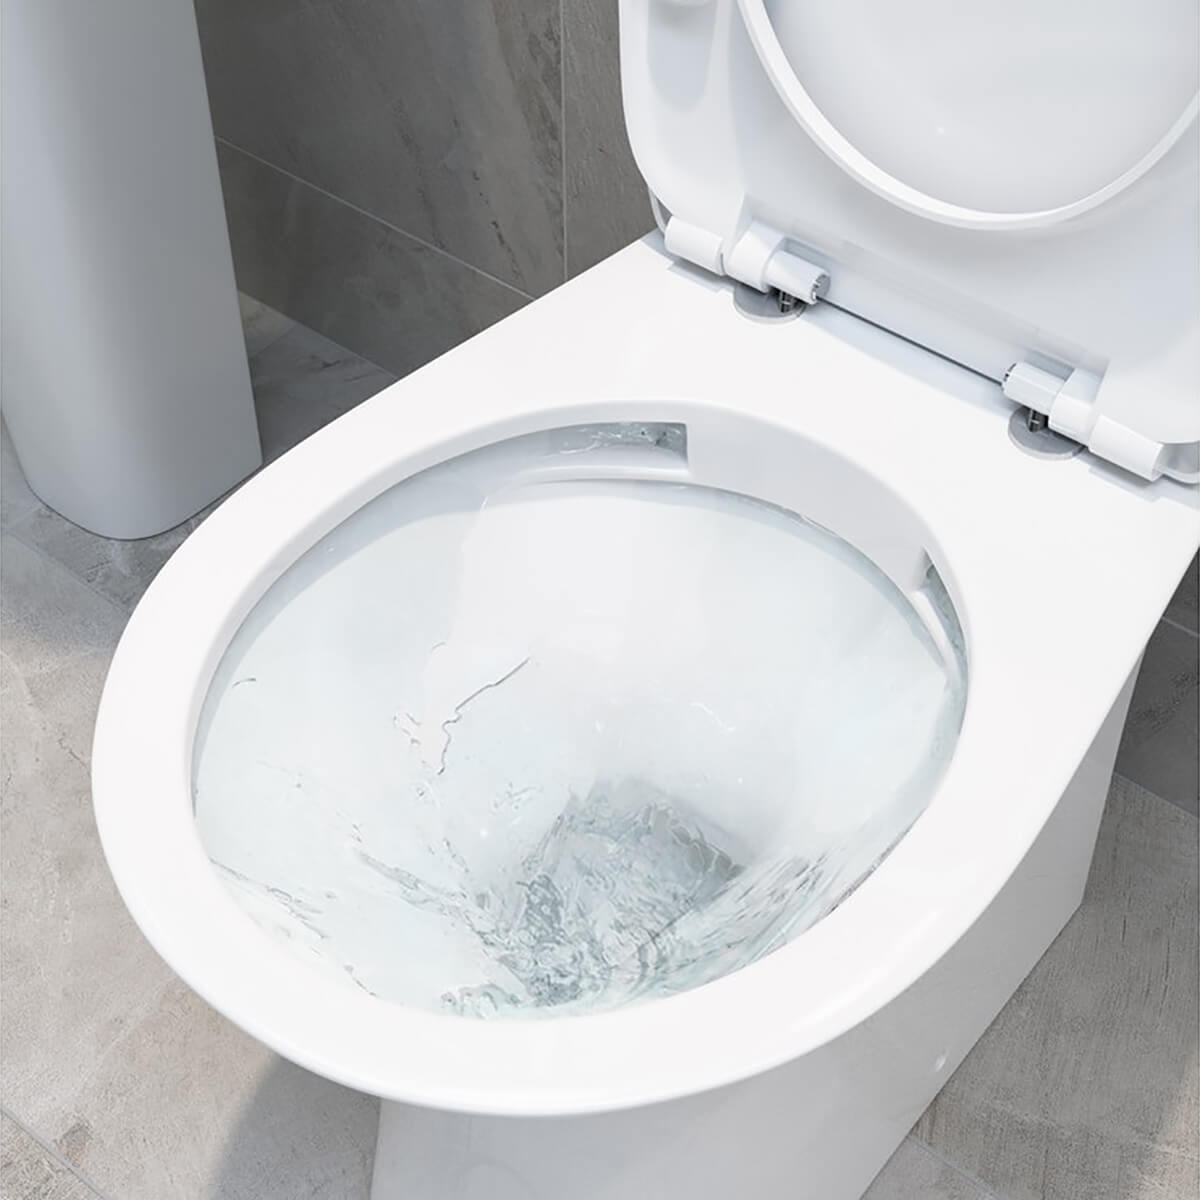
Always check the flush function after fitting your toilet – and look for any leaks.
Step five
Screw the toilet pan to the floor and attach the cistern to the wall.
Step six
Use the pan connector to attach the toilet pan to the wastepipe, before attaching the water inlet pipe. NB Don’t overtighten it at this stage as you may need to adjust it.
Step seven
Reattach the water inlet pipe with your wrench and then check for any leaks by turning on the water supply. When the cistern is filled with water, flush the toilet and look for leaks (use old towels to mop up any which occur).
Step eight
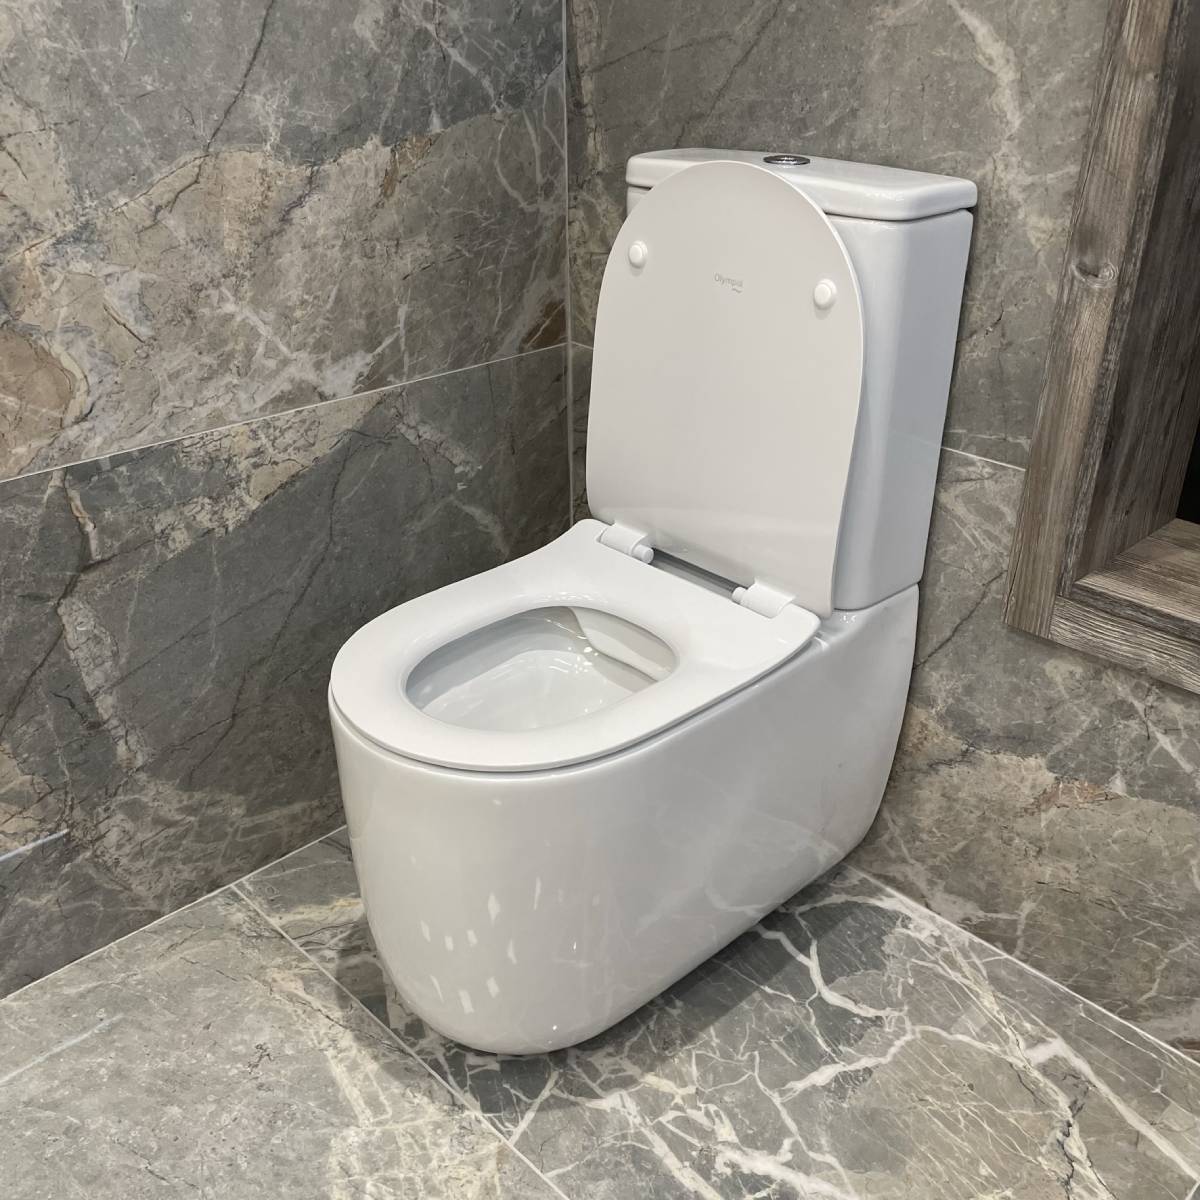
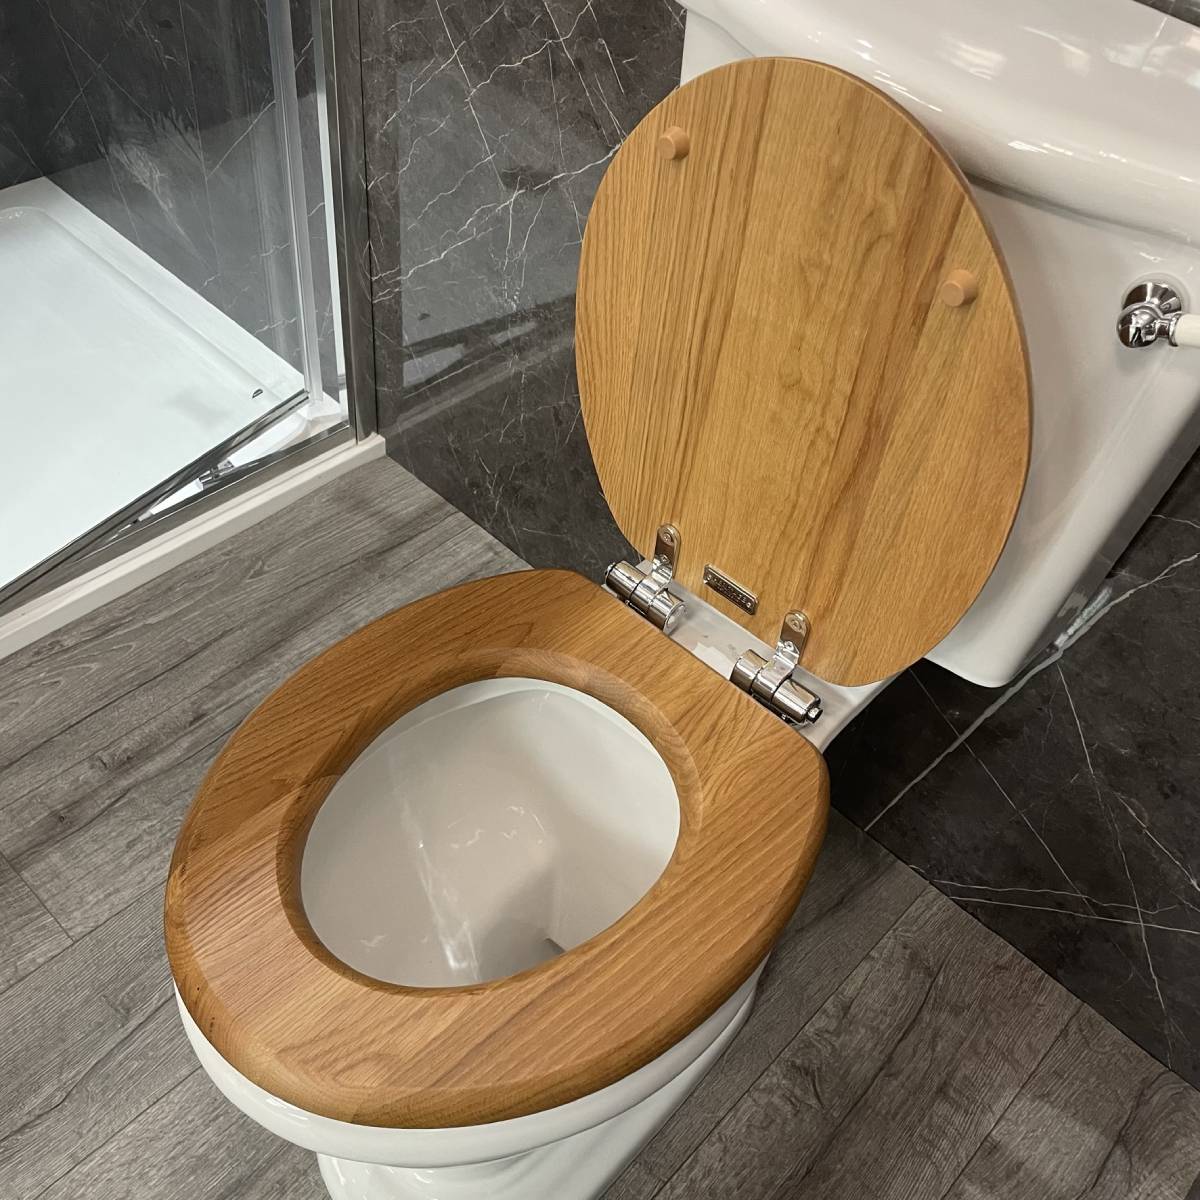
Fit the toilet seat (many now simply clip on).
Step nine
Seal the base of the toilet with silicone sealant using your cartridge gun and wait for it to dry.
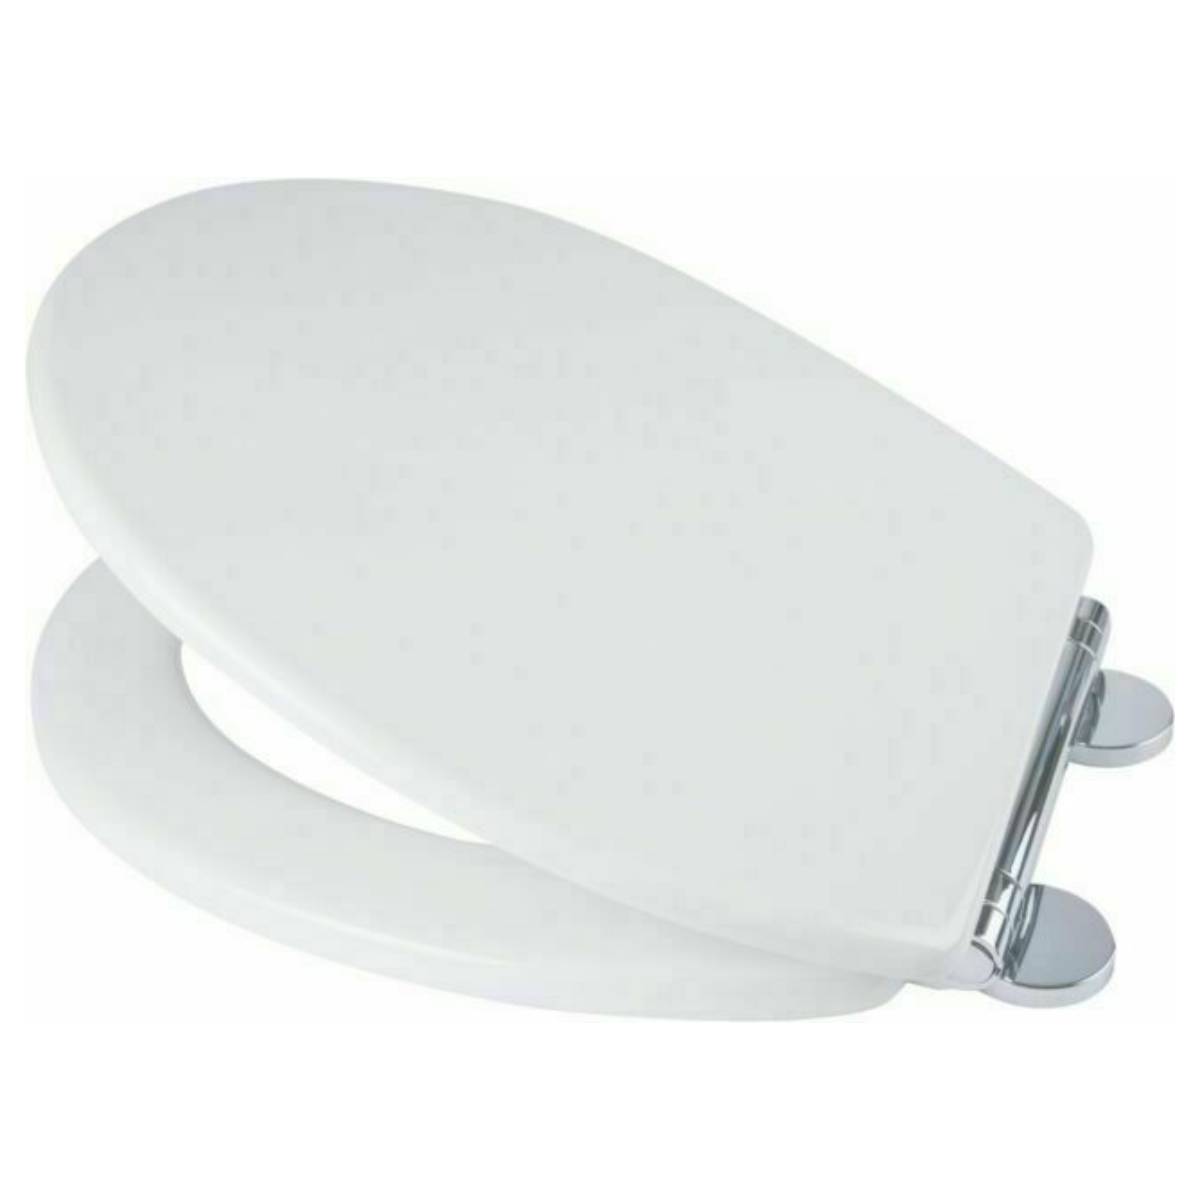
One of the final steps is fitting the toilet seat.
Common mistakes to avoid when installing a toilet
While you can certainly install a toilet by yourself, there are some common mistakes which you should be aware of before taking on the job. To make sure you do everything correctly from the outset and have a successful toilet installation, here are our top tips of what not to do when fitting your new toilet.
- Materials: Although your toilet should come with all the associated parts, it may be that you’ll have to source some elements yourself – and a common mistake is with people getting the wrong materials. With this in mind, always make sure to check what exactly you need and what will work with your specific toilet, so that everything is installed correctly and functions properly.
- Turning the water off: Forgetting to turn off the water supply is another common error which can be made when fitting a new toilet. If you don’t want water spillage, then make sure this is the first thing you do before attempting a toilet refit.
- Not planning ahead: If you just try to install a new toilet without planning out the process or what you need, then things are bound to go wrong – especially if you’re not used to DIY or doing this particular job. So, always pre-plan – knowing everything from the materials and tools you’ll require to the order of the steps you need to do.
- Over-tightening fixings: It can be easy to tighten connections too much, but when it comes to plumbing pipes, these shouldn’t be too tight, otherwise you run the risk of damaging gaskets and seals. They do need to be tight but not too tight if you want to avoid costly repairs further down the line.
- Placing the toilet incorrectly: Whether you fail to use a spirit level to get the toilet positioned just right, or you install the toilet unevenly, so it doesn’t have a stable base, not getting placement correct is another common mistake to avoid. Make sure you prepare everything beforehand and if you need professional help, then it’s best to seek it out, rather than trying to install the toilet yourself and then having to pay for it to be redone later on.
- Failing to test the flush and other components: Once the toilet is installed, it can be easy to forget one of the most important things – to do a final test to make sure the flush is working correctly. This is key to check for leaks and proper functioning – if it’s not right at this stage then you can quickly correct the issue, but if you don’t test things and a faulty toilet is then used, you’ll run into difficulties.
Always check that your toilet is placed correctly before installing.
Top-quality toilets at Bathshack
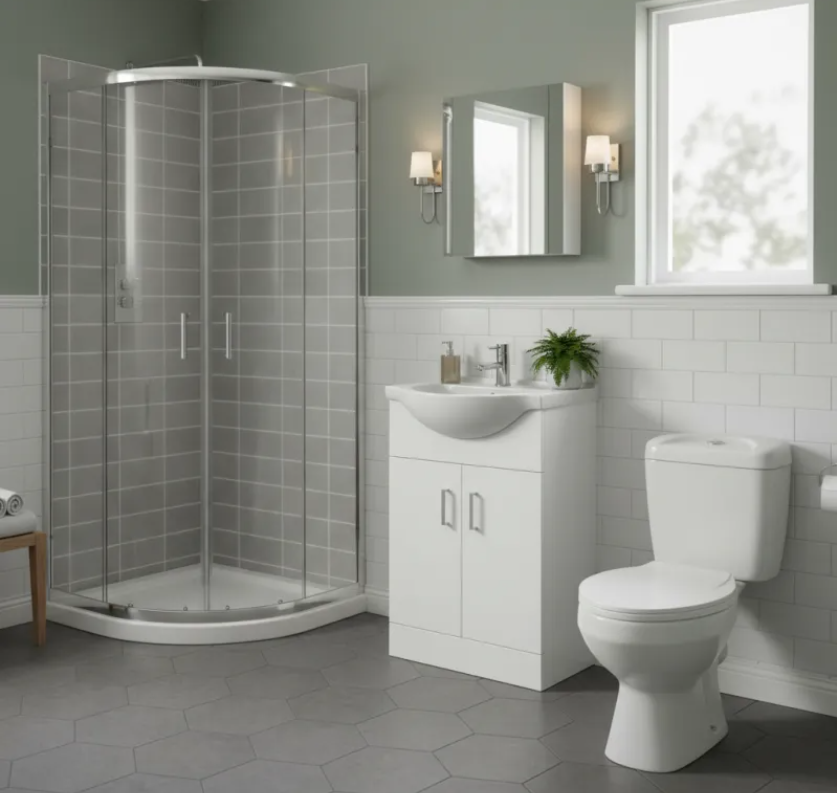
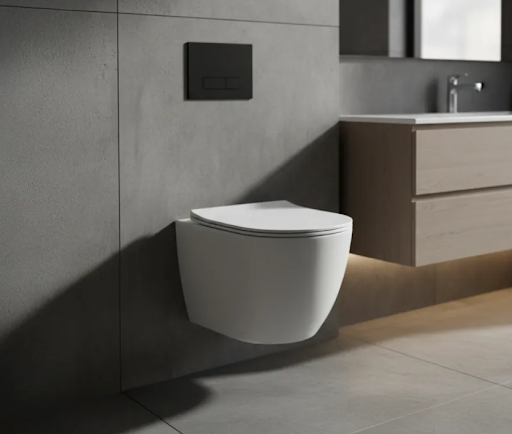
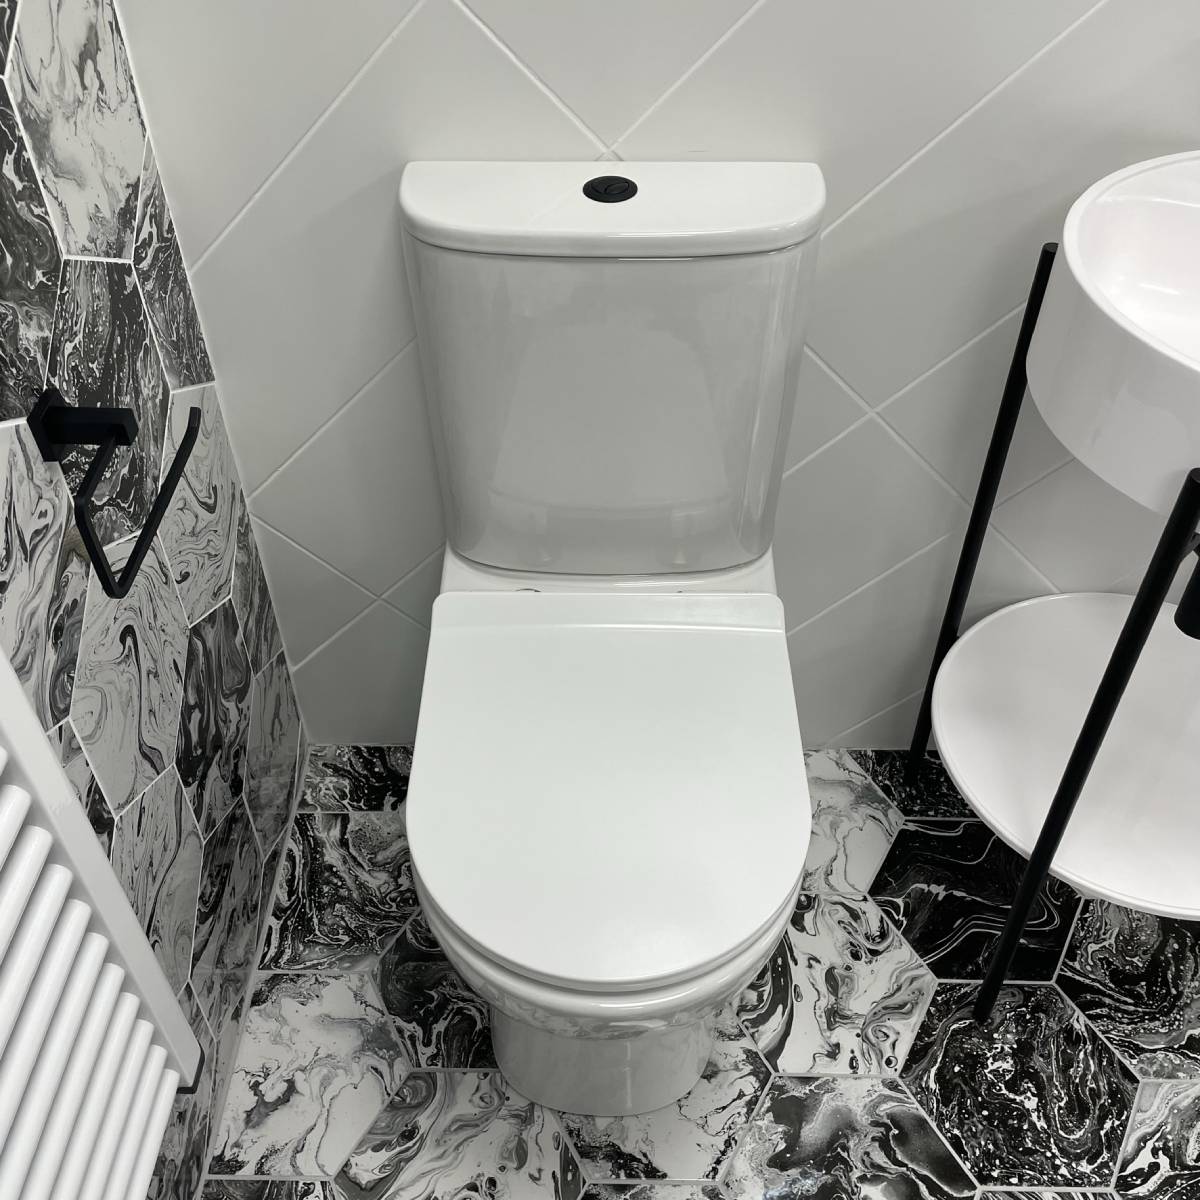
If you need to install a new toilet in your home, then you’ll find a wide range of affordable options at Bathshack. Including everything from wall-hung and close-coupled to fully back-to-wall, comfort-height and rimless, we have a great selection of toilets, with something to suit every taste.
One of our most popular designs is the close-coupled toilet, such as the Aida Rimless Close-coupled Toilet with Clip-off Soft-close Toilet Seat, which is perhaps the most common design found in homes throughout the UK and Ireland.
Comfort-height toilets are another popular choice with a lot of customers and they are slightly higher than traditional toilets. They can also be combined with designs like the close-coupled, as with, for example, the Linea Comfort-height Rimless Close-coupled Toilet and Soft-close Seat.
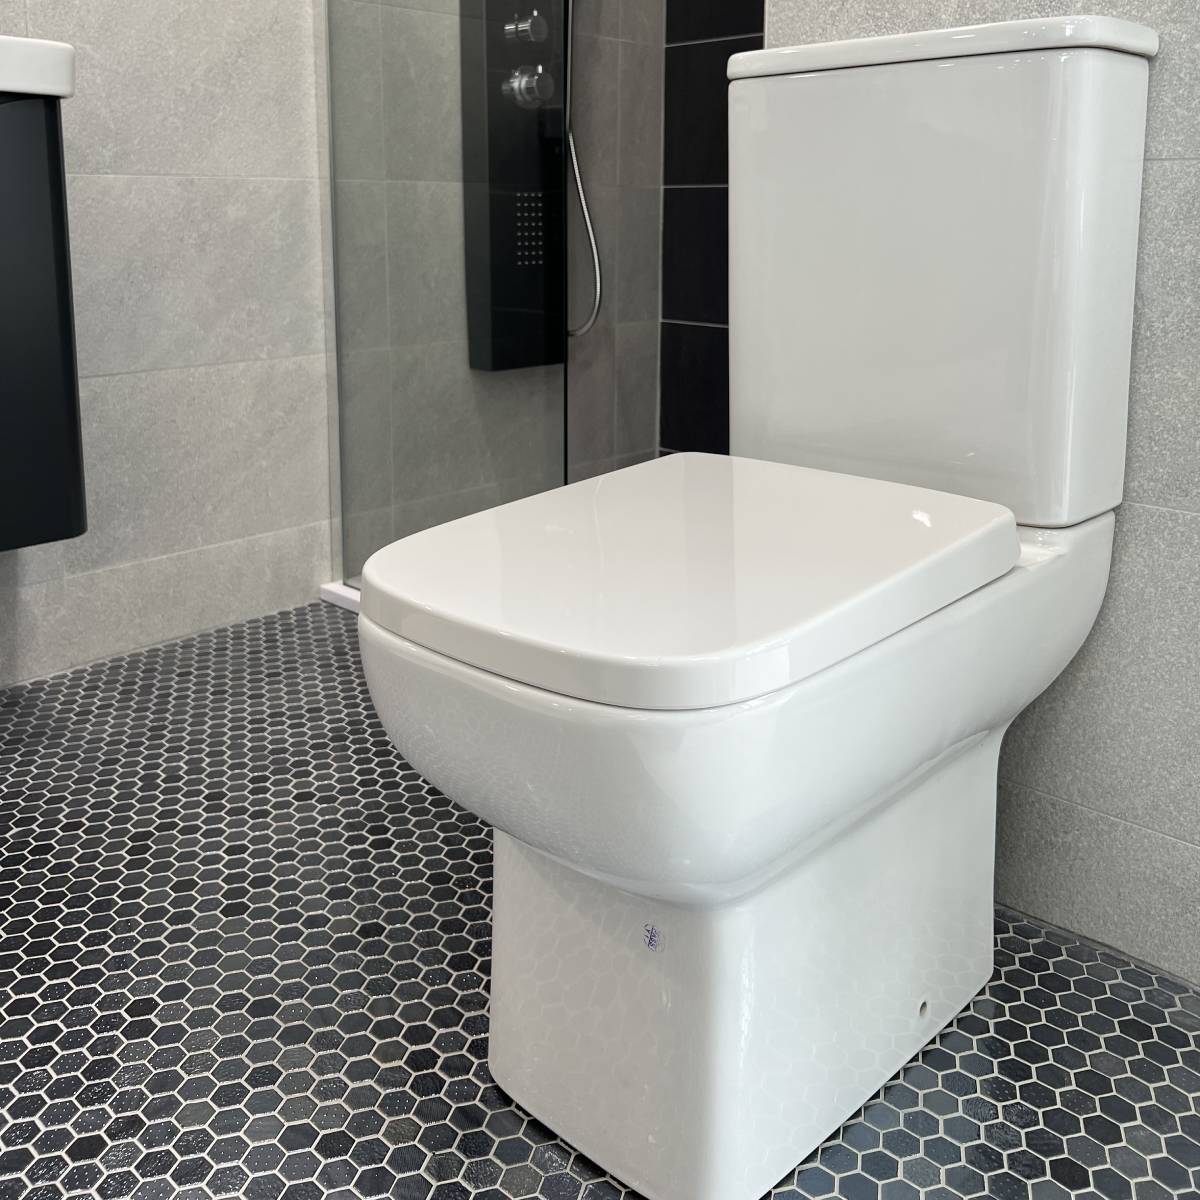
Aid Rimless Close-coupled Toilet with Clip-off Soft-close Toilet Seat.
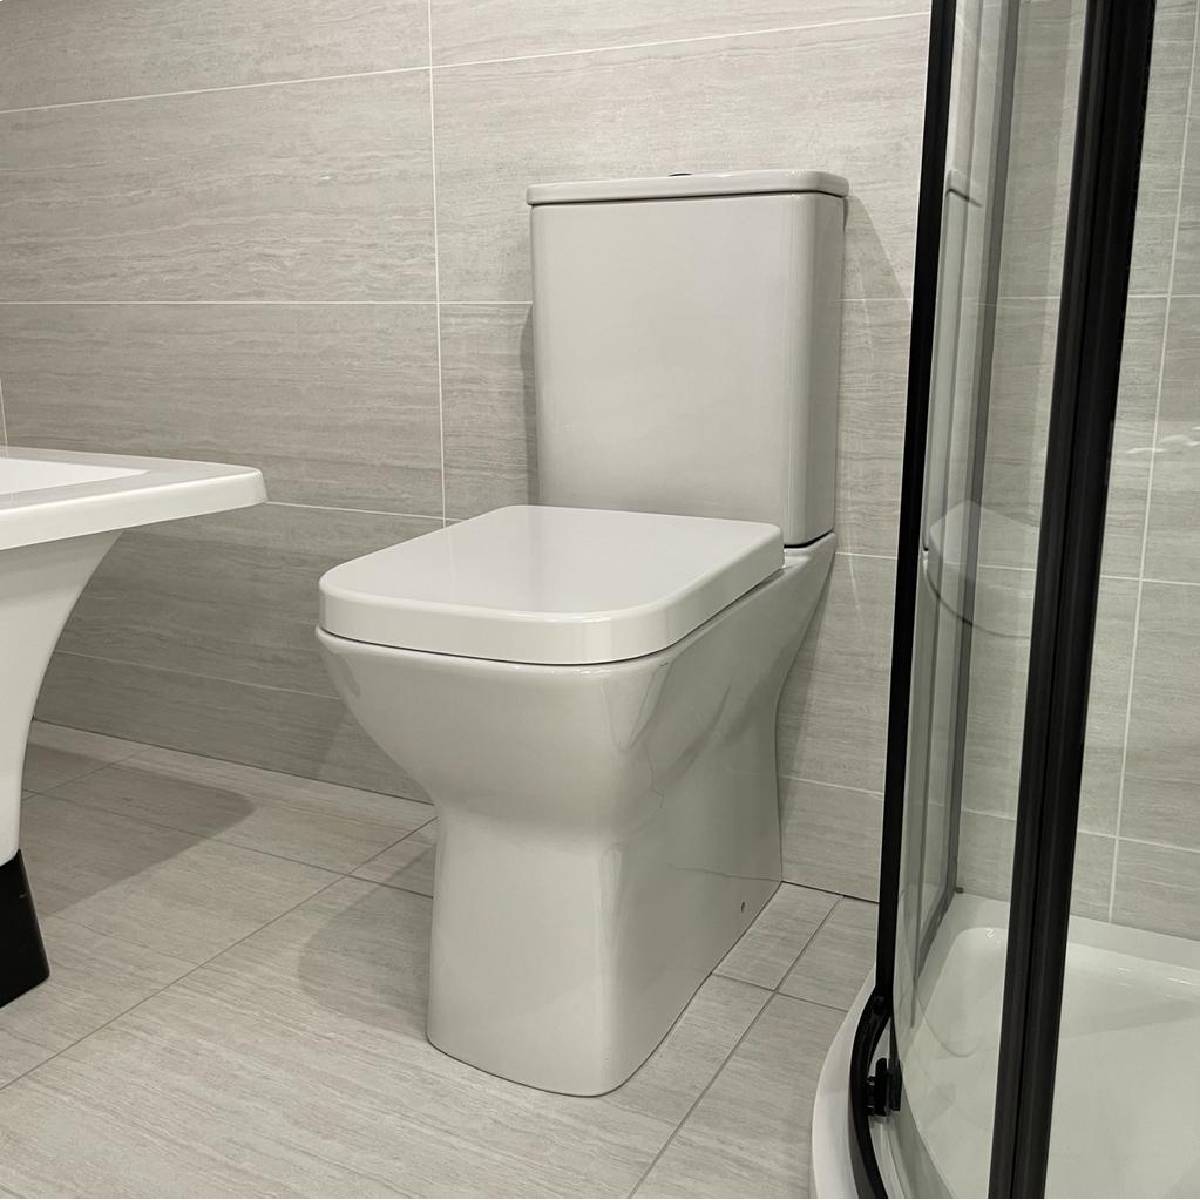
The Linea Comfort-height Rimless Close-coupled Toilet and Soft-close Seat.
With many more designer and great-value toilets available at Bathshack, we’re always happy to help, should you need any advice on what to choose for your bathroom.
Meanwhile, if you’re thinking about installing a toilet by yourself, then we hope this handy guide has helped.
To browse our full range of toilets, visit our website at bathshack.com. Alternatively, if you have any questions, just email our team at info@bathshack.com, call us on (028) 9077 0188 or use our online chat.