How to Fit a Shower Enclosure: A Step-by-Step Guide from Bathshack
Installing a shower enclosure is an excellent way to refresh your bathroom, adding both style and functionality. While we always recommend using a qualified professional to ensure everything is fitted safely and correctly, this guide from Bathshack offers a helpful look at the general process, perfect for the curious homeowner or confident DIY enthusiast.
How to Fit a Shower Enclosure: A Step-by-Step Guide from Bathshack
When it comes to installing a shower enclosure, it is always best to use a qualified professional. A tradesperson will have the tools, skills and experience to ensure everything is fitted correctly and safely.
That said, if you are keen to understand the process behind the installation or are a confident self-builder who enjoys a challenge, this guide will walk you through the general steps involved in fitting a standard shower enclosure.
At Bathshack, we stock a wide range of high-quality shower enclosures, trays and accessories to suit all bathroom layouts. From compact options for smaller spaces to luxurious full-feature enclosures, there is something to suit every project.
What is a Shower Enclosure?
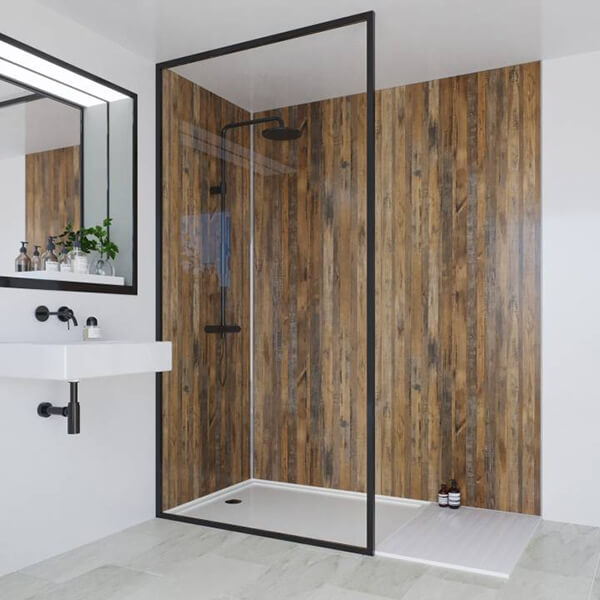
A shower enclosure refers to the structure that defines and contains the showering space. It typically includes the shower tray, the screen or door and any side panels or profiles required for installation.
There are many types of shower enclosures and shower trays available, and each one may require a slightly different installation process. The following guide provides a general overview of what is involved, but always refers to the product instructions specific to your model.
Types of Shower Enclosures Available at Bathshack
At Bathshack, we offer a wide selection of shower enclosures to suit both contemporary and traditional bathrooms. Here are some of the most popular options.
|
|
|
|
|
|
|
|
|
|
|
|
|
|
|
|
|
|
|
|
|
|
|
|
|
|
Before you begin
- Make sure you have all the required tools and parts
- Fully unpack your shower enclosure and check all components
- Turn off the water mains if any plumbing work is involved
Tools required
- Spirit level
- Electric drill
- Screwdrivers
- Tape measure
- Silicone sealant
Step-by-Step Guide to Fitting a Shower Enclosure
The steps below apply to a common square shower enclosure fitted in the corner of a bathroom using one side panel and one door panel. The other two sides will typically be formed by tiled walls. You may need a second person to help with lifting and positioning the panels.
Step 1: Check the position of the U-channels using a spirit level. These metal tracks will hold the glass panels in place. Position them vertically at the corners of the shower tray.
Step 2: Drill pilot holes in the bathroom wall and insert brawl plugs. Then screw the U-channels securely into place.
Step 3: Install the side panel by sliding it into one of the fixed channels. This panel remains stationary.
Step 4: Install the door panel into the remaining U-channel. An extra pair of hands will be helpful for this step.
Step 5: Fix the shower panels into place by following the fitting instructions provided with your model.
Step 6: Secure the panels with the screws and fixings supplied.
Step 7: Attach the shower door handle as per the manufacturer’s instructions.
Step 8: Apply silicone sealant around the outside edges only. Avoid sealing the inside to prevent water trapping and future mould issues.
Speak to the Experts at Bathshack
At Bathshack, we are always happy to help you choose the right shower enclosure or showers for your project. Our team can advise you on everything from size and style to installation techniques and compatibility with your existing fittings.
We supply enclosures from leading brands such as Merlyn, Nuie, Phoenix, Insignia and Kiimat. Whether you are looking for a minimalist walk-in, a practical pivot door or a luxury steam cabin, you will find high-quality options designed to last.
If you would like personalised advice or help choosing a product, contact us by email at info@bathshack.com or call (028) 9077 0188.
