How to fit a bath panel
If you’re installing a bathroom and need to fit a new bath, or simply want to update your existing bath with a fresh panel, then there are a few things you need to consider, to get the job done. We always recommend hiring a professional tradesman for any bathroom fitting, but if you’re a keen DIY-er, then here’s our guide on bath panel installation.
What is a bath panel and why do I need one?
Firstly, it’s always good to be on the same page, so the first thing to establish is what exactly a bath panel is. It might seem self-explanatory but if you’ve never had a bath before (or had to fit one), or are used to freestanding baths, then you might not be very familiar with the bath panel.
Basically, a bath panel is a structure commonly made from acrylic or wood which covers the side of the bath, obscuring any pipework. It also helps to protect the floor, along with fixtures and fittings, from water damage.
While usually associated with straight baths (which this blog will focus on in terms of the fitting process), they can also be made for curved corner baths.
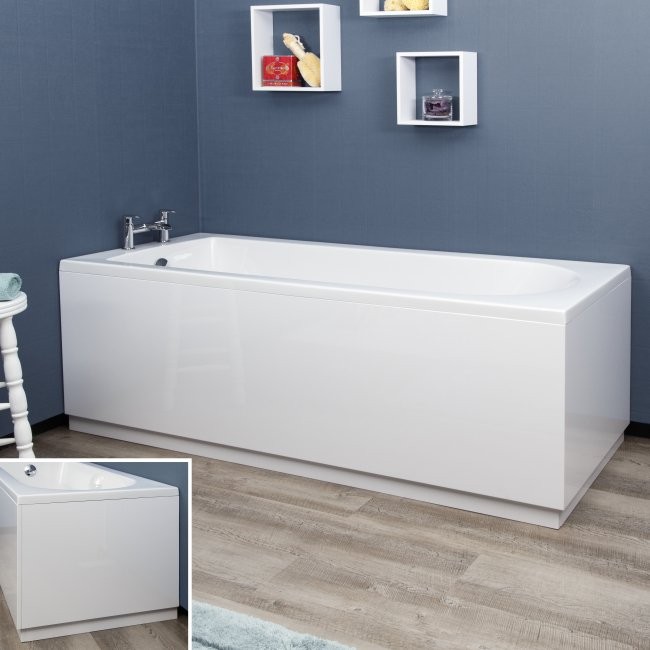
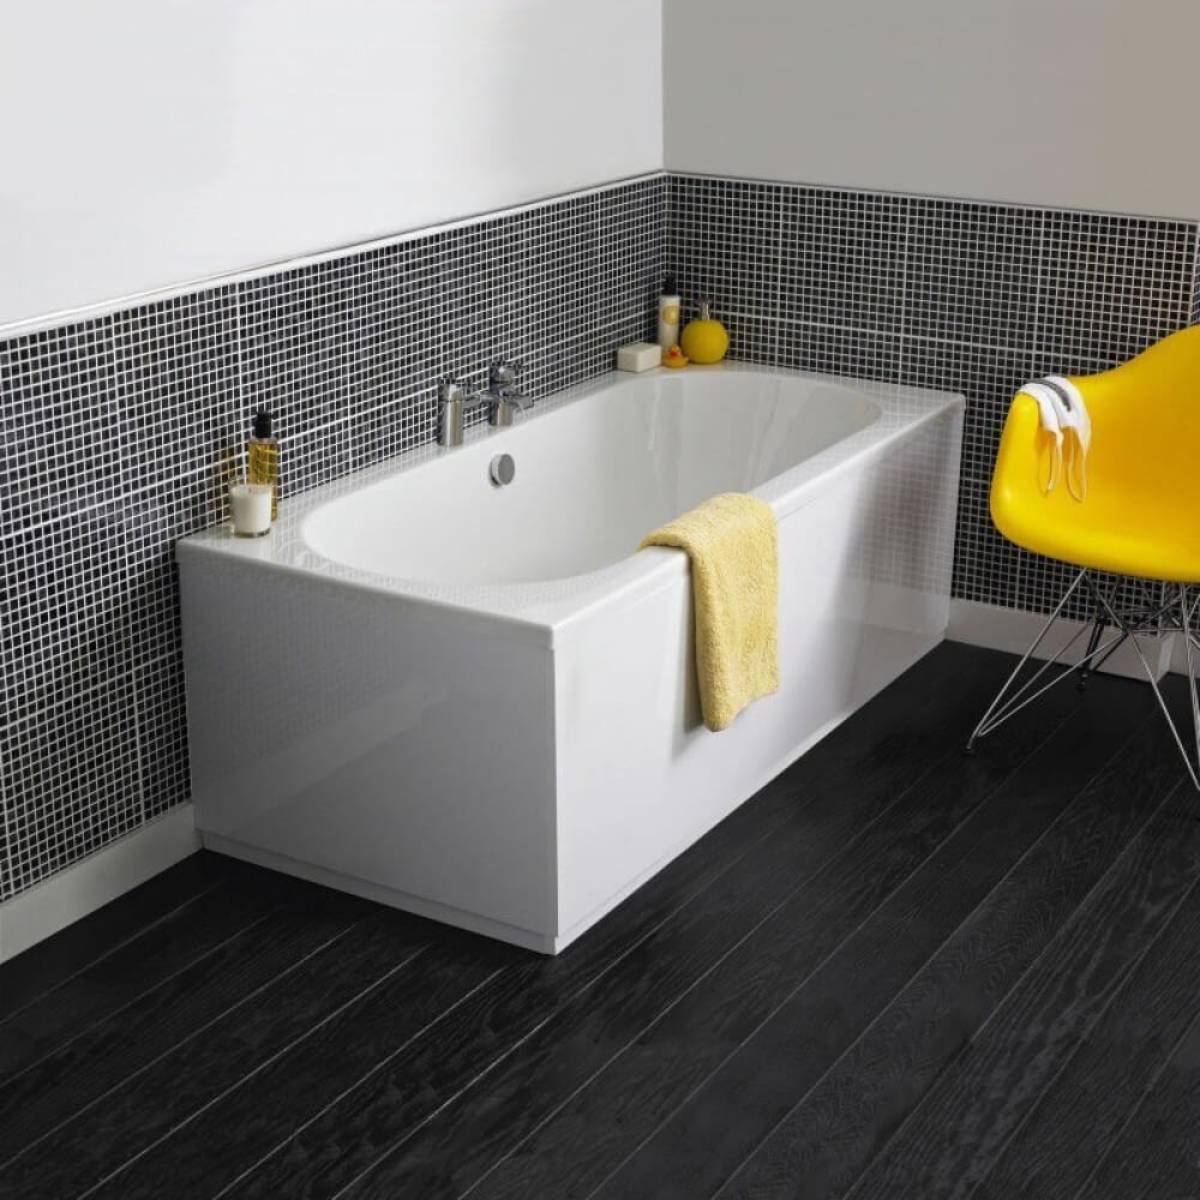
The Verona Waterproof 1700mm Front Bath Panel in Gloss White Acrylic.
How many bath panels do I need?
Depending on where your bath is positioned, you may need just one panel, though you could require two or three if you have more than one exposed side of the bath.
As well as being functional, bath panels can also serve a decorative purpose, so changing them can instantly refresh your bathroom, if you don’t want to purchase an entirely new bath. They also come in a range of materials and finishes, so you can get creative and style your bath according to your individual taste.
Choosing the correct size of bath panel
Unfortunately, as is probably obvious, one size of bath panel does not fit all baths, so you’ll need to make sure you choose the correct size and type of panel before anything else. In the UK and Ireland, the most common bath size is 1700mm (for the length of the bath), although you can, of course, get bath panels in different sizes than this, including 1500, 1600 and 1800mm.
Tools required for fitting bath panels:
- Protective gloves and goggles
- Spirit level
- Measuring tape
- Hacksaw
- Screwdriver (or drill) and screws
- Adhesive
- Sealant
- Wooden battens
- Brackets
Step-by-step fitting guide for straight bath panels
Wood is often the material of choice for bath panels, as it offers a range of finishes and is very versatile, although acrylic is also used.
For this guide, we’ll focus on fitting a wooden bath panel, with some notes on acrylic afterwards. It should be noted that, as bath panels are fixed in size, if you need to adjust the measurement to suit your bath, then you’ll have to cut it down yourself using a hacksaw.
Wooden panels are most commonly used for baths.
1. First, measure: Use your tape measure to check the height of the panel, measuring from the ground to the rim of the bath.
2. Second, attach battens: For attaching a single bath panel place wooden battens at the base of the panel to keep it upright and to ensure that there are no unsightly gaps at the bottom of the bath. If you require two panels, then battens will need to be used to join these together in an L-shape.
NB Some baths may have adjustable panels with plinths, in which case your battens should leave room for this. If they aren’t attached, then cut the plinth to the correct size and use adhesive to attach it to the main bath panel. Plinths offer a more secure fit for your bath but remember to always allow room for the skirting board and any pipes, as applicable, when fitting it.
When fitting double bath panels, it’s best to attach them to a batten for added security.
3. Position the panels: Next, position the panel/s against the bath. If you’re fitting double panels and they’ve been constrcted correctly into an L-shape then they don’t necessarily need to be secured any further, if they seem stable enough, though you may still prefer to attach them to a batten. When replacing a single panel, you can attach this to a wall batten – if you don’t have a wall batten, however, then you’ll need to put one in place to do this.
4. Attach the bath panel/s: To attach the panel, put adhesive onto the inside of each end and then secure it to the wall batten. Wipe away any excess adhesive and then seal the space between the wall and panel with silicone sealant to make it watertight.
Acrylic bath panels: Fitting an acrylic bath panel is similar to wooden panels, but you’ll also need a piece of rebated timber, so you can slot the bath panel into the groove of this. The rebate will also need to be attached to the floor with screws, which you can do with an electric drill.
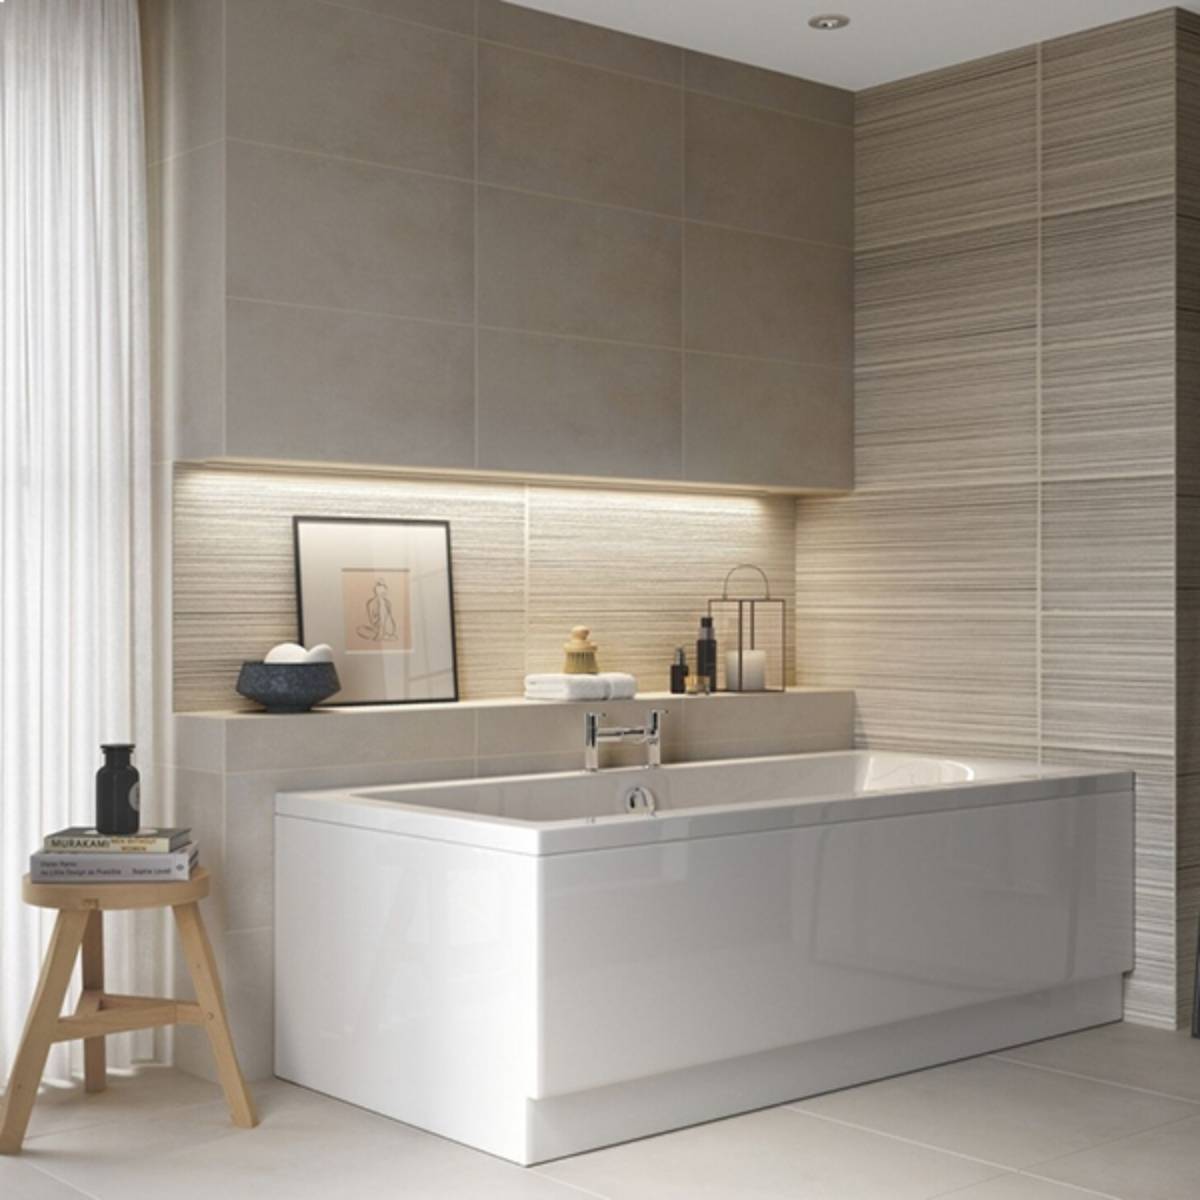
Fitted bath panels at Bathshack
If you’re fitting bath panels then we have a range of quality products at Bathshack, with both curved and straight options available. With everything from wood-effect finishes to white gloss, we have panels to suit various styles and bath types, including both front and side panels and those for corner baths.
Our team is also happy to advise you on the different types of panels, so if you need any assistance, we’re always on hand to help.
For more information about our bath panels email us at info@bathshack.com or call our team on (028) 9077 0188.