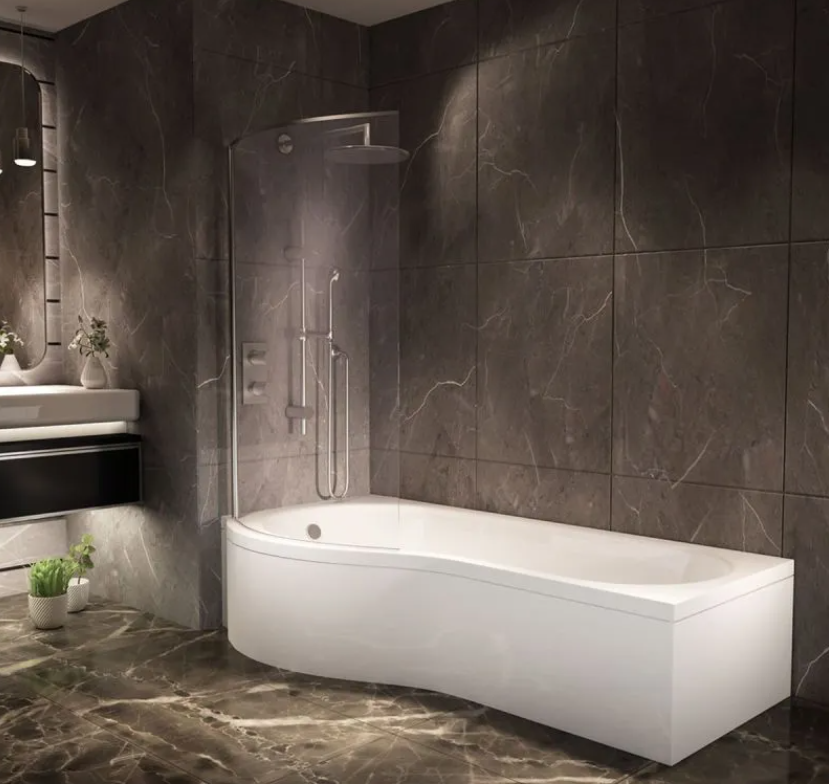
How to Tile a Bathroom: Everything You Need to Know
Learn how to tile a bathroom with our complete guide. Choose the best tiles, prep, lay & grout like a pro. Expert tips for stunning walls & floors.
How to Tile a Bathroom: Everything You Need to Know
Tile is one of the most popular choices for bathroom walls and floors and it’s easy to see why. Bathroom tiles are durable, low maintenance, and come in a stunning range of colours, shapes and styles. Whether you want a sleek spa-like retreat or a bold statement space, learning how to tile a bathroom opens up endless design possibilities.
In this comprehensive guide, we’ll cover everything you need to know about tiling a bathroom, from choosing the right tiles to laying them like a professional.
What to Consider Before Tiling a Bathroom
Before you start buying boxes of tiles, take a moment to plan your project carefully. Think about:
- Where are you tiling? Are you working on the floor, walls, or both?
- What atmosphere do you want? Do you prefer calm neutrals or vibrant patterns?
- Who uses the bathroom? A busy family bathroom may need more hard-wearing or slip-resistant tiles.
If your bathroom is on the smaller side, your approach may differ slightly, see our dedicated advice on how to tile a small bathroom for clever ways to maximise space.
Careful measuring is essential to work out how many tiles you’ll need. Measure the length and width of each surface in metres, multiply them to get the area in square metres, and then add 10% extra for cuts and breakages.
Tip: Our online Tile Calculator can make this process even easier.
Choosing the Right Tiles for Your Bathroom
Tile Materials: Ceramic vs Porcelain
Most bathroom tiles are made from ceramic or porcelain.
Ceramic tiles are made from clay with a decorative glaze and are then fired. They’re affordable, easy to cut and fix, and perfect for wall tiles or low-traffic bathroom floors.
Porcelain tiles are fired at a higher temperature, making them denser, waterproof, and more hard-wearing, ideal for floor tiles or busy bathrooms. They’re also scratch-resistant and come in a wide range of finishes, including realistic wood and stone effects. For more help on the types of tiles, check out our guide on the types of tiles you can buy.
Tile Designs and Mood
Consider creating a mood board to visualise your ideas. Do you want:
- A spa-like look? Use the same or similar tiles on floors and walls in light colours to enhance space and calm.
- Continuity with safety? Use gloss tiles on the walls paired with a matching matt version on the floor to prevent slips without sacrificing style.
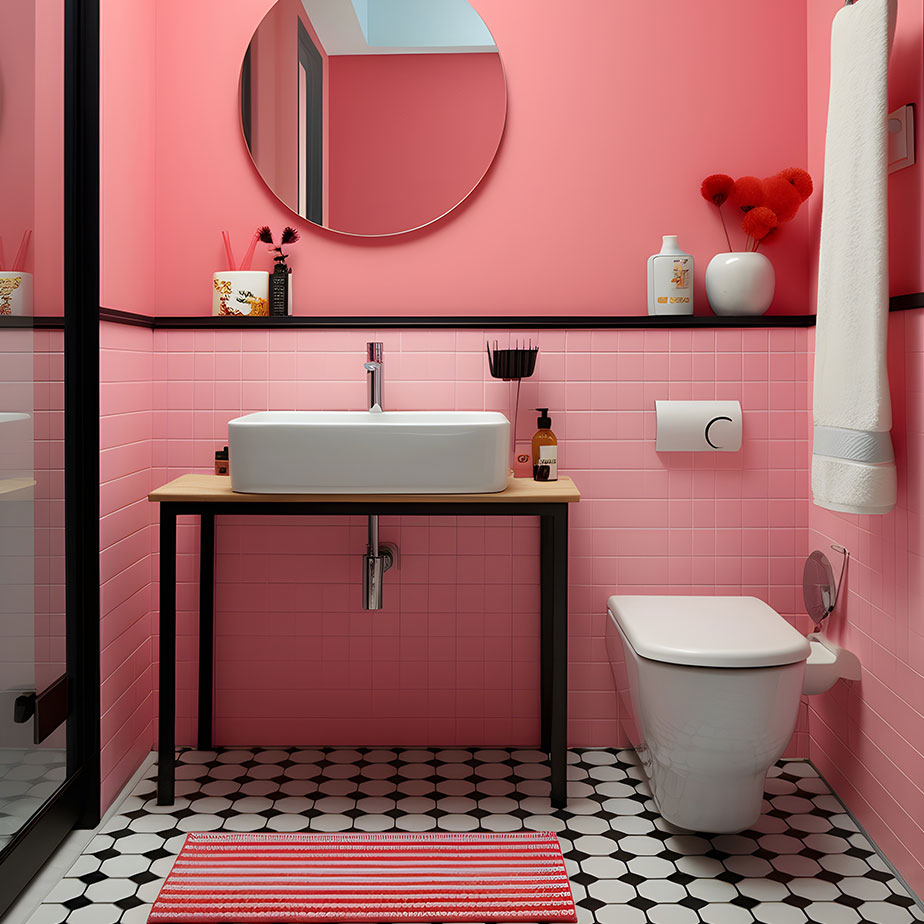
- Bold contrasts? Combine darker floors with lighter walls, mix patterned tiles on one surface with plain tiles on another, or use different shapes such as metro tiles on walls and square tiles on the floor.
If you’re after a standout feature, consider a striking tile layout around key areas like the tub. You’ll find inspiration in our guide on how to tile around a bath.
Tile Shapes and Sizes
- Large floor tiles help small bathrooms feel bigger by reducing grout lines and creating a cleaner look.
- Smaller tiles like mosaics add character and work well as feature zones or borders.
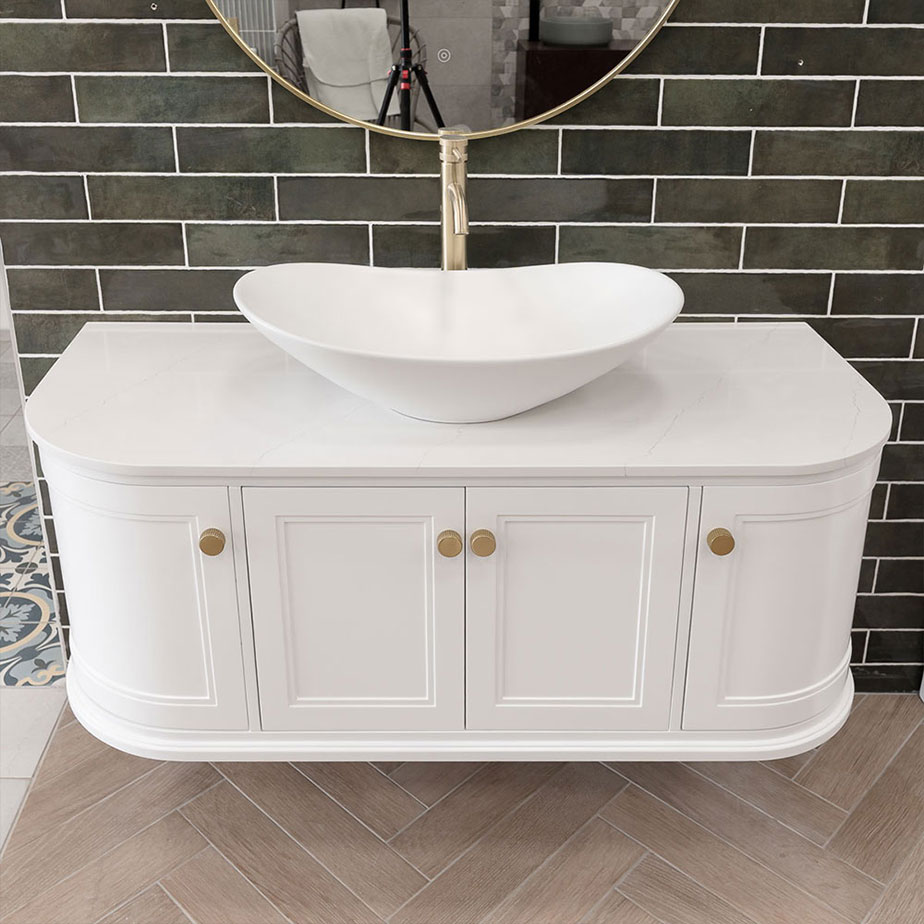
- Popular shapes include penny tiles, metro tiles, and hexagons, each adding a distinctive finish to your space.
How to Tile a Bathroom Floor and Walls: Step by Step
1. Prepare the Surface
Make sure walls and floors are clean, dry, and level. Remove old coverings and patch any uneven spots.
2. Plan Your Layout
Dry lay a row of tiles with spacers to check the fit and avoid thin cuts at edges. Use a level or chalk line as a guide.
3. Apply Adhesive
Spread adhesive evenly with a notched trowel, working in small areas. Press each tile firmly into place.
4. Cut Tiles to Fit
Use a tile cutter for straight edges and a wet saw for curves around pipes or fixtures. (You can find more help in our detailed guide on how to cut tiles.)
5. Insert Spacers
Tile spacers keep grout lines even. Check tiles regularly to ensure they’re level.
6. Let It Set
Allow the adhesive to cure, usually for 24 hours. Check the manufacturer’s guidelines.
7. Grout and Finish
Remove spacers, then apply grout with a rubber float, pushing it into the joints. Wipe away excess with a damp sponge, and once dry, buff the tiles clean.
How Long Does It Take to Tile a Bathroom?
Many people wonder how long it takes to tile a bathroom. For an average DIY project:
- A small bathroom might take around 2 to 3 days, including preparation and drying times.
- A larger space or complex pattern could take up to a week.
Hiring a professional tiler can speed things up and ensure a flawless finish.
How Much Does It Cost to Tile a Bathroom?
Costs depend on several factors:
- Tile type: Ceramic is generally more affordable than porcelain.
- Room size: Larger areas need more tiles, adhesive, and grout.
- DIY vs professional: Labour costs make up a significant portion if you hire a tiler.
Check out our dedicated tile calculator to get a full breakdown of cost for your bathroom.
Tips for a Successful Bathroom Tile Project
- Stick to a neutral base for timeless style, adding interest with accent tiles or accessories.
- Use mosaic tiles or contrasting tiles to highlight shower areas or vanity walls.
- Run the same tiles from floor to wall for a seamless look.
- Always buy about 10% more tiles than your measurements suggest to account for cuts and waste.
Ready to Start Tiling Your Bathroom?
Browse our full collection of bathroom tiles online to find the perfect style, size, and finish for your project. Whether you want sleek metro tiles, textured stone looks, or elegant mosaics, we have options to suit every taste.
If you’d like expert advice on how to tile a bathroom, or want to see our tiles up close, book a showroom appointment or get in touch with our team. We’re here to help you create the bathroom you’ve always wanted.
Frequently Asked Questions on Bathroom Tiling
Can I tile my bathroom by myself?
Yes, you can tile a bathroom yourself. With the right tools, preparation, and by following a detailed guide, a DIY tiling project is achievable. Proper preparation is key, which includes ensuring the surface is clean, level, and ready for tiling. While it can be a lot of work, doing it yourself can save you money and give you a great sense of accomplishment.
When tiling a bathroom, where do you start?
When tiling a bathroom, it's best to start with a plan. For walls, a common approach is to find the center of the wall and start your layout from there to ensure symmetry. For floors, start with a "dry run" by laying out the tiles without adhesive to determine the best layout and where any cuts will be needed. You'll want to start in a less visible area and work towards the door so you don't get trapped in a corner.
Should you tile a bathroom first or last?
The general consensus is to tile before installing bathroom fixtures like the toilet and sink. This allows for a more seamless and professional finish, as the fixtures sit on top of the tiles instead of having the tiles cut around them. It also provides a better seal against water damage. However, you should install the bathtub or shower tray first to ensure a proper seal.
Can you lay tiles over existing tiles?
Yes, you can lay new tiles over existing tiles, but with some important conditions. The existing tiles must be in good condition, well-bonded to the surface, and level. You should check for any loose tiles by tapping them and listening for a hollow sound. The surface also needs to be able to support the extra weight of the new tiles and adhesive. It's crucial to thoroughly clean and roughen the surface of the old tiles for the new adhesive to bond properly.
