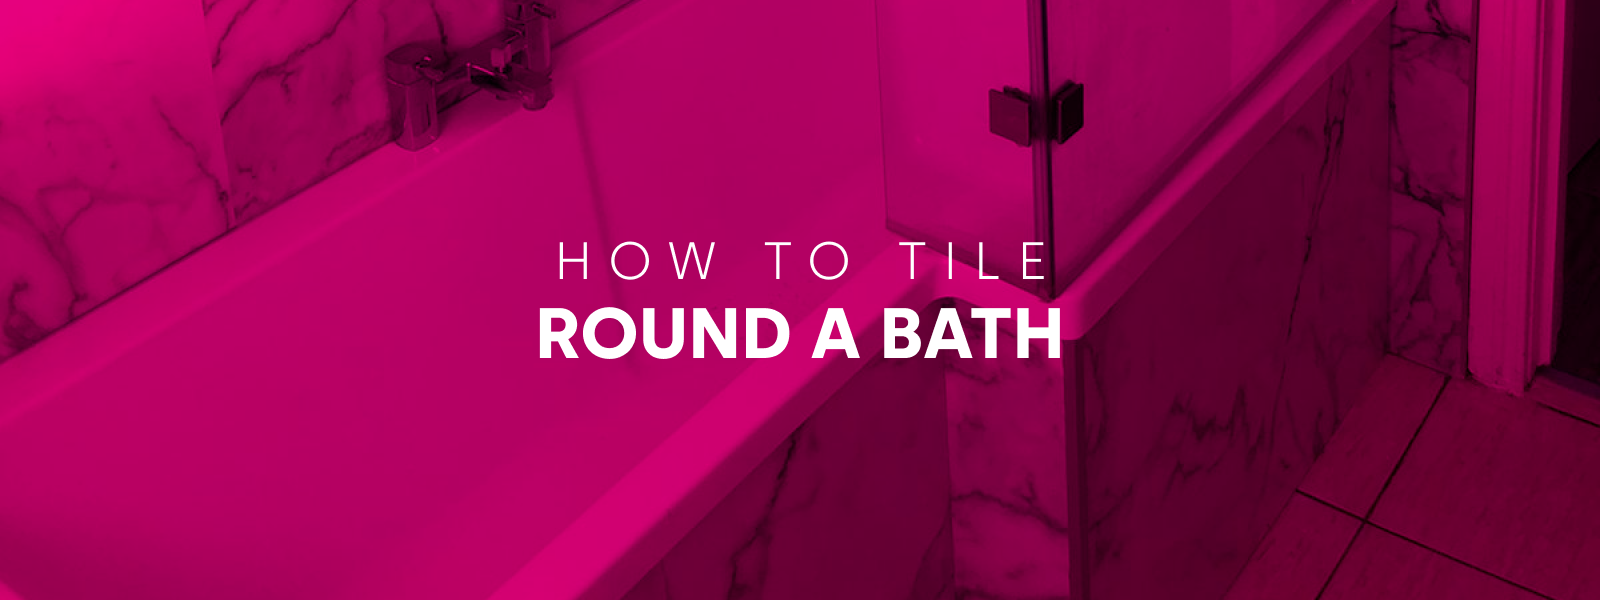
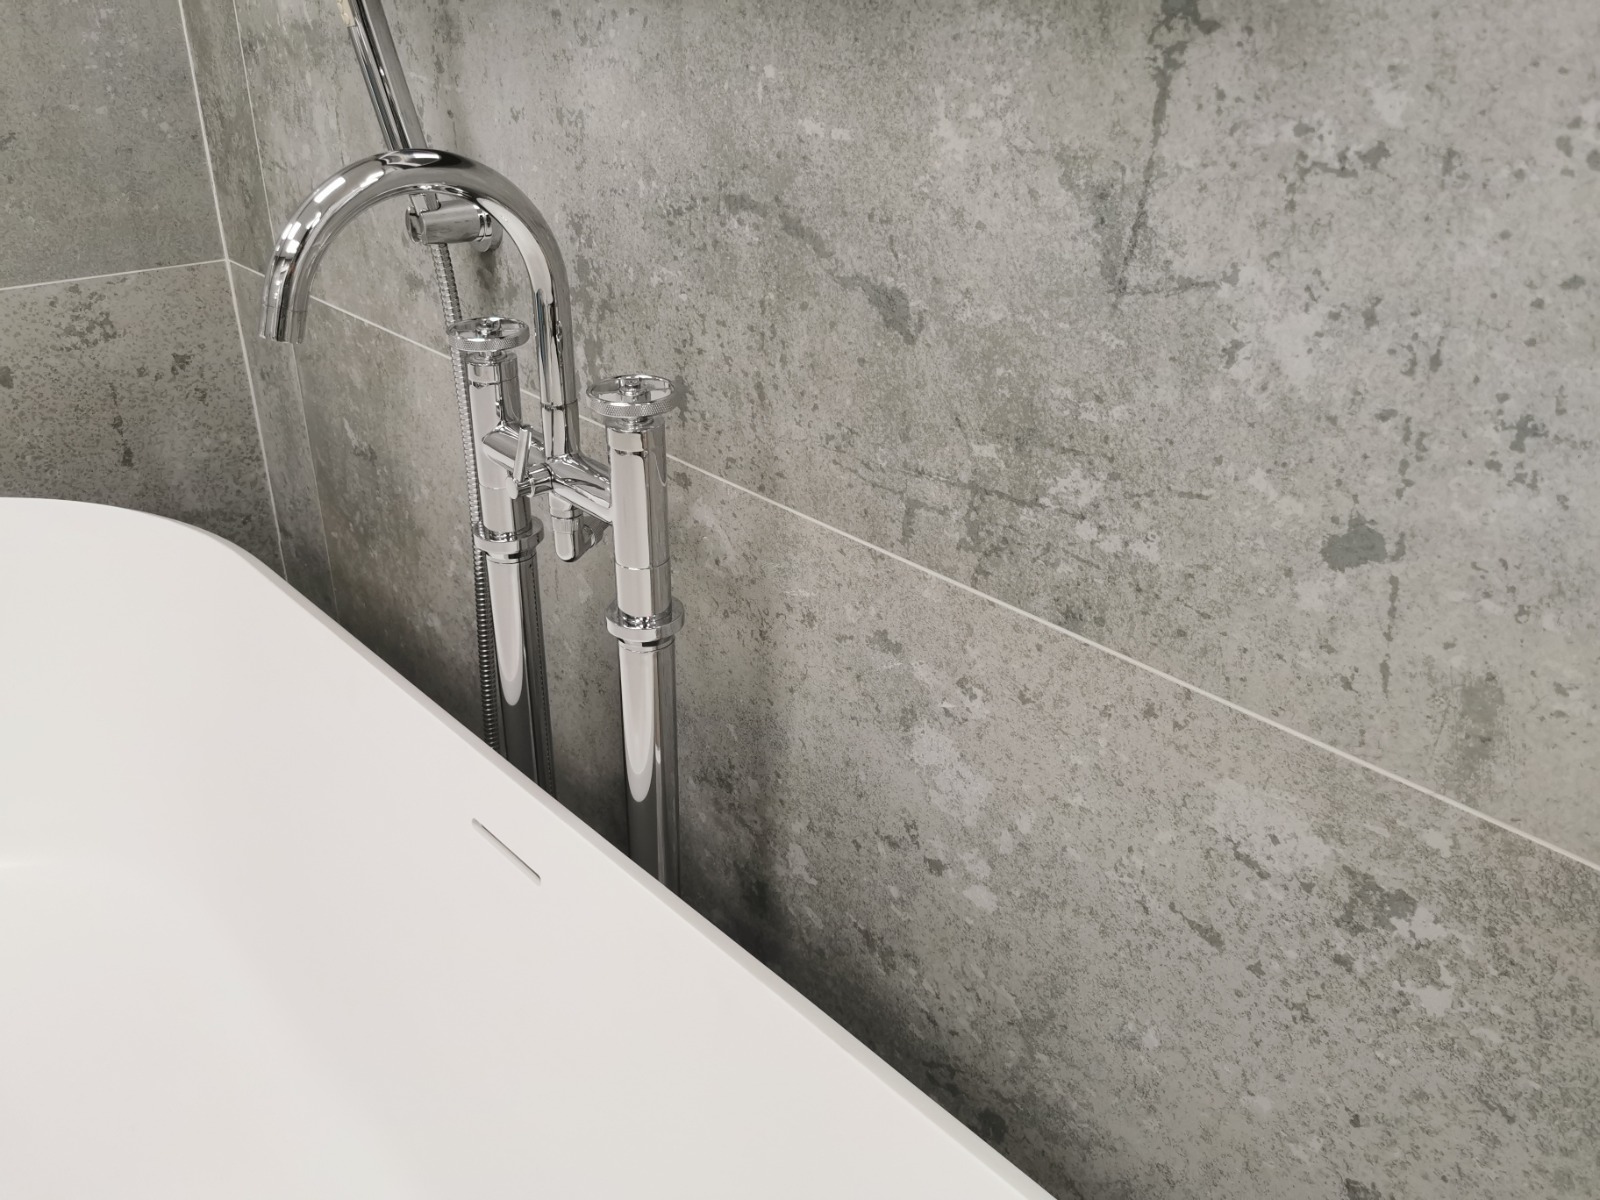
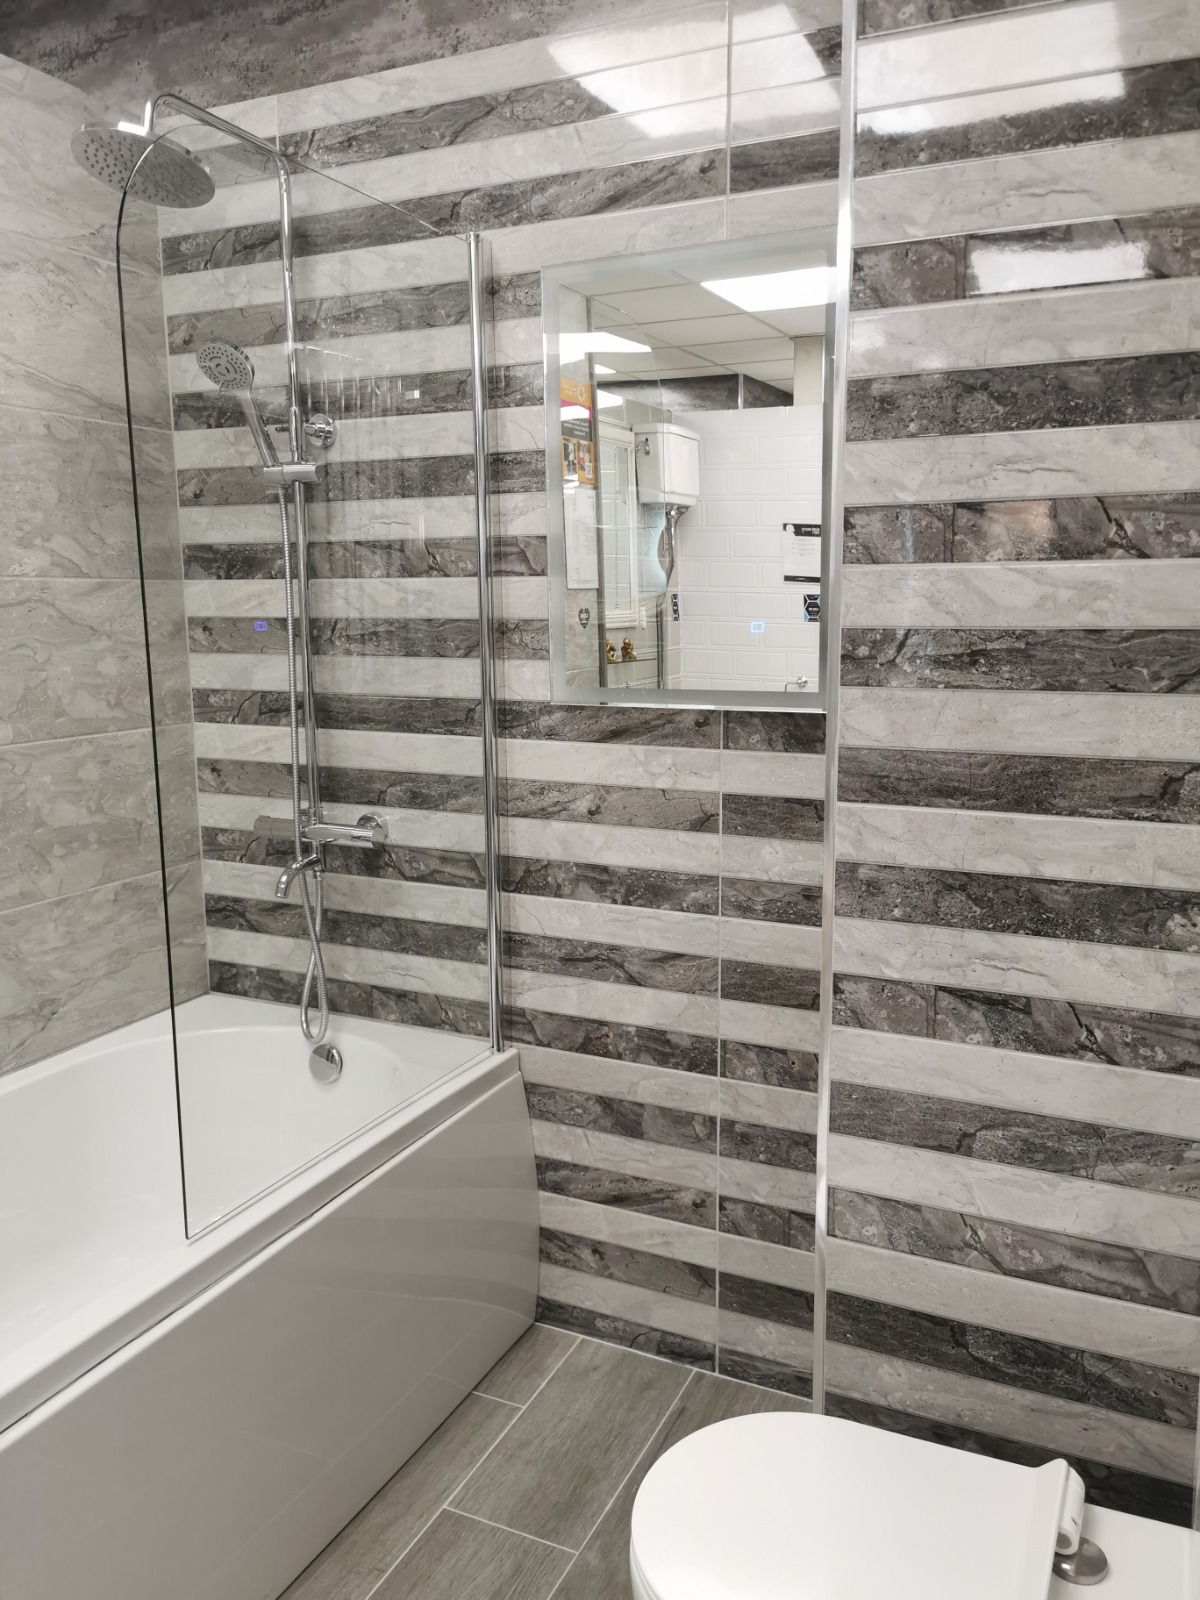
How To Tile Around A Bath
You might be under the impression that tiling is a very simple task, but unfortunately a lack of experience and knowledge surrounding the topic can have a disastrous effect on your new bathroom.
A poor tiling job can look uneven, poorly cut, and boast large unsightly grout lines that can degrade your home's interior considerably, and it's the last thing that you will want to do when you have spent a large amount of money on quality bathroom furniture like a new bath. Upgrading your bathroom is often a long term investment, so forfeiting your hard earned cash by doing a bad tiling job could cause you to end up with a very low return.
Tilling around your bath properly is also important when considering the surrounding structure of your property, as having any holes or gaps in your tiles could cause damp or even flooding that can lead to an almighty repair bill. Luckily, if you make an effort to get prepared and regularly take the opportunity to practice your tiling technique, learning how to tile your bathroom needn't be as difficult as you might expect. So, if you would like to uncover more about how you can perfect your timing technique to create the ideal bath backsplash, you've come to the right place. Simply follow the steps described below to take your bathroom renovation project to a whole new level, making sure you can avoid some of the most common mistakes that could jeopardize your aesthetic.
You will need:
- - Measuring tape or ruler
- - A pen or pencil
- - Spirit level
- - Tile cutter
- - Tile trowel
- - Sufficient number of tiles
- - Adhesive
- - Mixing buckets
- - Grout
- - Sandpaper or plaster to achieve a flat surface
- - Spacers
- - Sponge and soapy water
Easy Instructions For Elegant Tile Installation
Step 1.) Calculate how many tiles you're going to need by measuring the area that you wish to tile - you need to measure the height and width in order to calculate the full surface area. Most tiles are housed inside boxes that have their unique sizes printed on the side, so you can use this as a reference to figure out exactly how many boxes you will require.
Step 2.) Once you know how many you need, now's the time to purchase your tiles. You must always ensure that each box boasts the same batch number, as all of the tiles will be identical as a result. There can be a considerable difference in the colour and texture of your tiles despite them coming from the same brand, so always perform rigorous checks to make sure there are nuclarge problems.
Step 3.) The next step that you must take involves sourcing the right grout and adhesive. The specific type of both of these products that you choose should depend upon the type of tile that you wish to put up, so make sure you can do a little research beforehand to make the best decision for your individual project. You might also need to purchase some kind of sealant if you wish to use a more natural stone tile.
Step 4.) Get your bathroom walls ready for the tiles by making them as flat as possible. You can achieve this process through skimming, replastering, sanding and even installing new boards. Ensure that every related task that you complete has a completely waterproof aspect, as you don't want to end up with damp or leaks that can cause serious damage to your property. Always leave fresh plaster to dry out properly for a minimum of two weeks before you decide it's ready to tile.
Step 5.) Prepare a careful plan of attack that can help you to visualise which steps must be taken to make progress in your tile application. Begin by setting out your tiles, thinking about how best to position the tiles in order to achieve which pattern, as well as deciding on where the centre line will be and how many cuts you're going to need to make for it to all work well. Don't worry about taking your time to complete this step, as it will save you so much hassle in the future. A good plan lays the foundations for a good end result!
Step 6.) Before you apply your first time, you must use a spirit level to identify a level point that you can run all the way around your bath. This spot should be around one tile or less from your baseboard, as it will act as your starting point to increase your chances of achieving a straight and steady finish. Next, draw sufficient vertical lines so that you know where to place your tiles for them to end up fully straight in all directions (upwards and across).
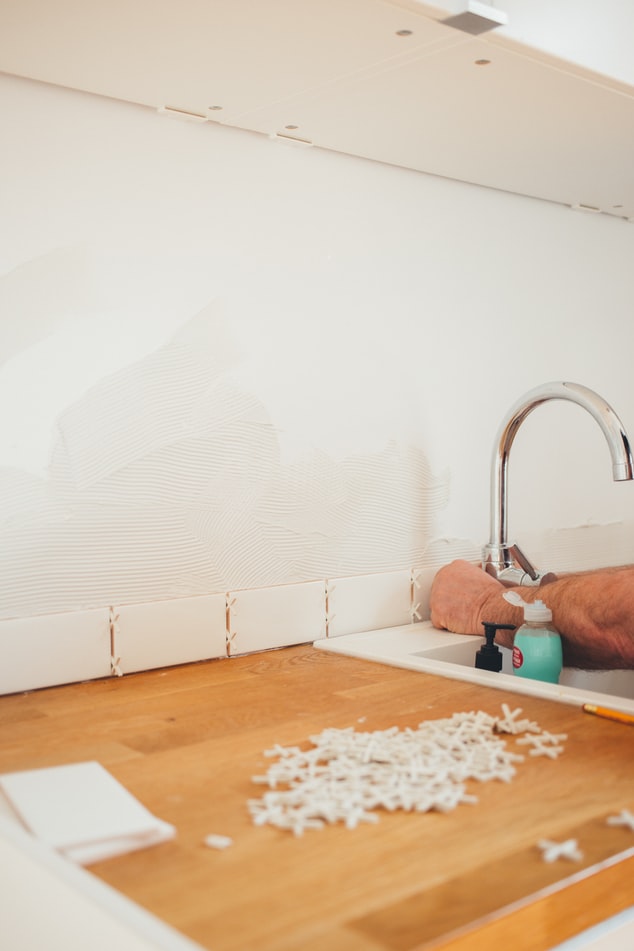
Step 7.) Now, get your adhesive and spread it across the entire area that you wish to tile using the trowel, making sure that you are working the products into any nooks and crannies in the wall that could cause a problem in the future. Once complete, collect your tiles and apply them to the adhesive by pressing and fixing the tile in place, checking that it is straight and in the right location before you proceed to the next tile. Grab some spacers to place in between each tile, and apply another tile to the wall in the same manner, continuing to check with a spirit level to ensure an even finish.
Step 8.) Continue repeating step 7, taking the time to remove any excess adhesive as you work. If you have to tile in any tight spaces that are mildly difficult to get to, you might find it easier to apply some grout directly onto the tile so that you can push it on with more ease.
Step 9.) Choose the most appropriate cutter that suits the specific tile you have chosen, as it's very likely that you won't end up with a perfect match of even, patterned tiles without the need to fill in a few smaller gaps. If the tiles that you have chosen are particularly thick and strong, it may be beneficial to hire an electric tile cutter to do the job properly. The easiest way to measure exactly where you must cut is to place the tile against the corner of the wall (or wherever it must be) so that you can leave a mark where the full tile meets with the tiles that have already been applied. Cutting will involve a little trial and error, so expect to make a few mistakes before you're able to get used to the way the cutter works.
Step 10.) After applying all of your tiles to your bathroom wall in a straight, steady fashion, you must wait a minimum of 12-24 hours before applying your grout. When the time comes, simply spread your grout between the tiles, pushing it into the smallest spaces by using a grouting float. You can even use your finger to neaten the grout line, just make sure your hands are clean before doing so.
Step 11.) Finish off by washing down your new tiles with a sponge and some warm soapy water once the grout has hardened and dried, and there you have it! The perfect bathroom DIY tiling job that all of your friends and family will envy.
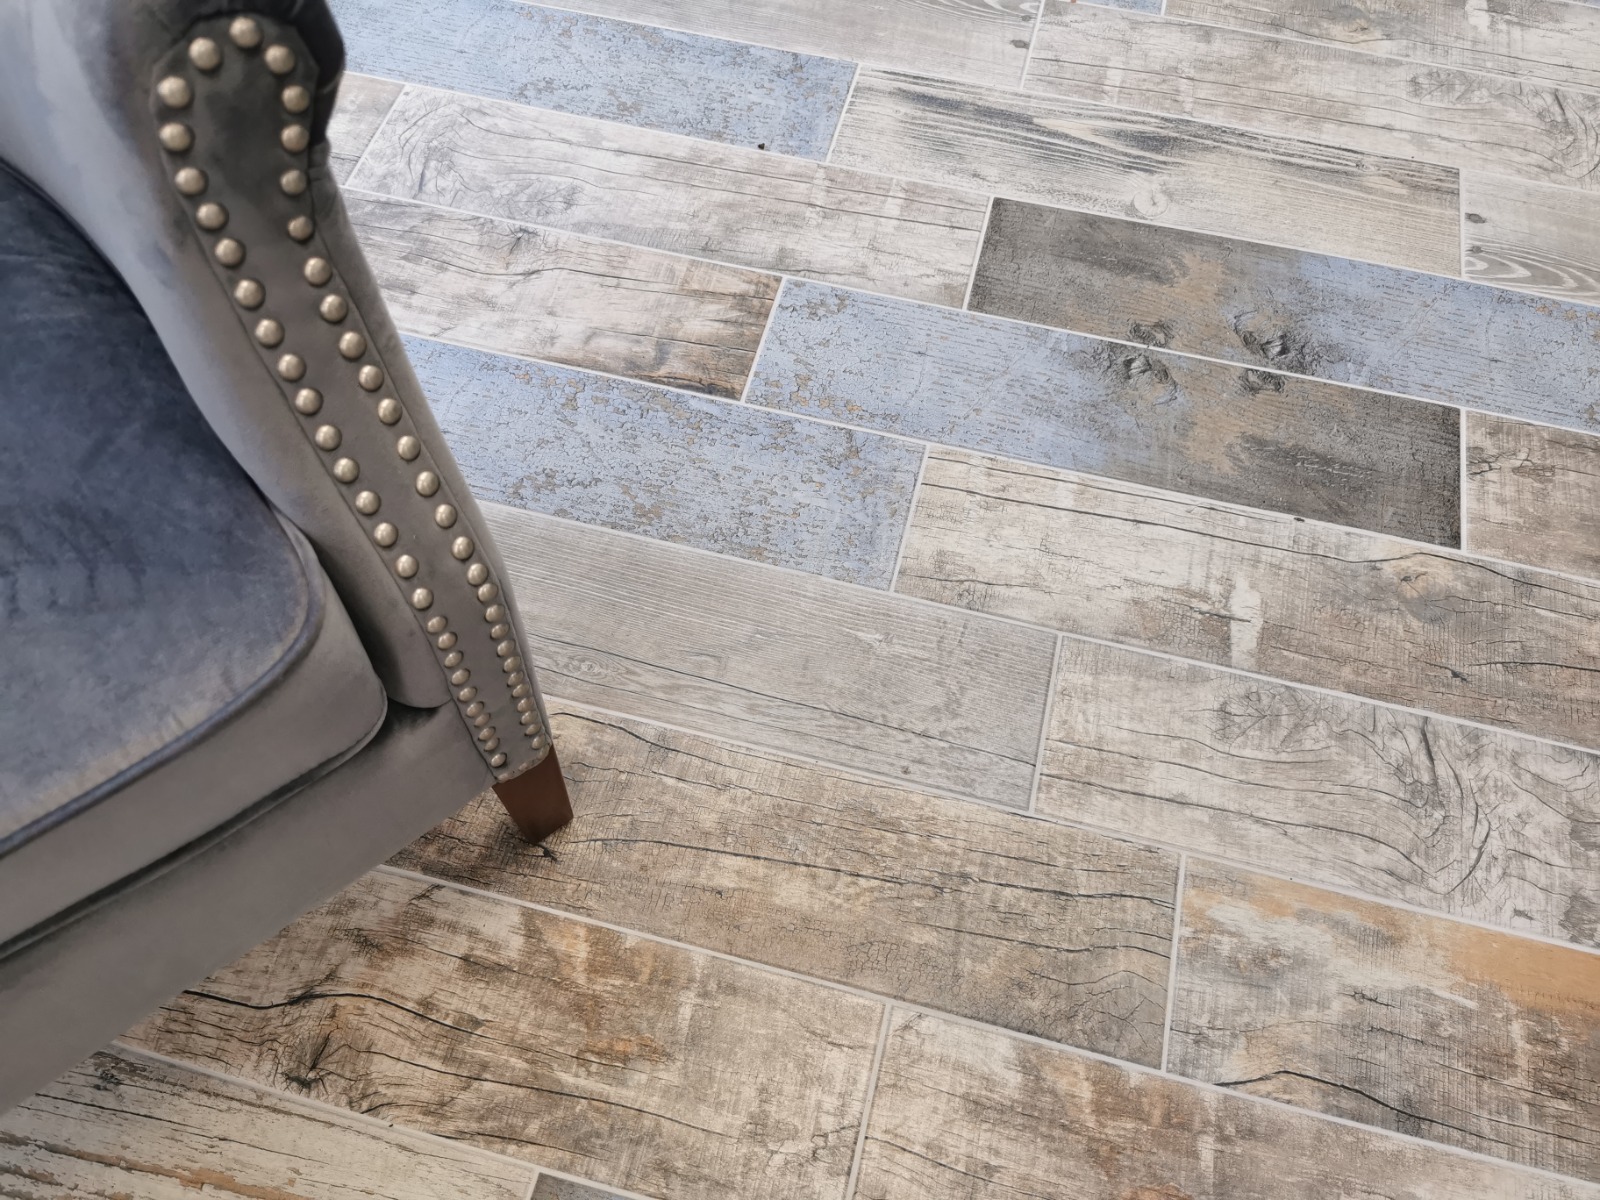
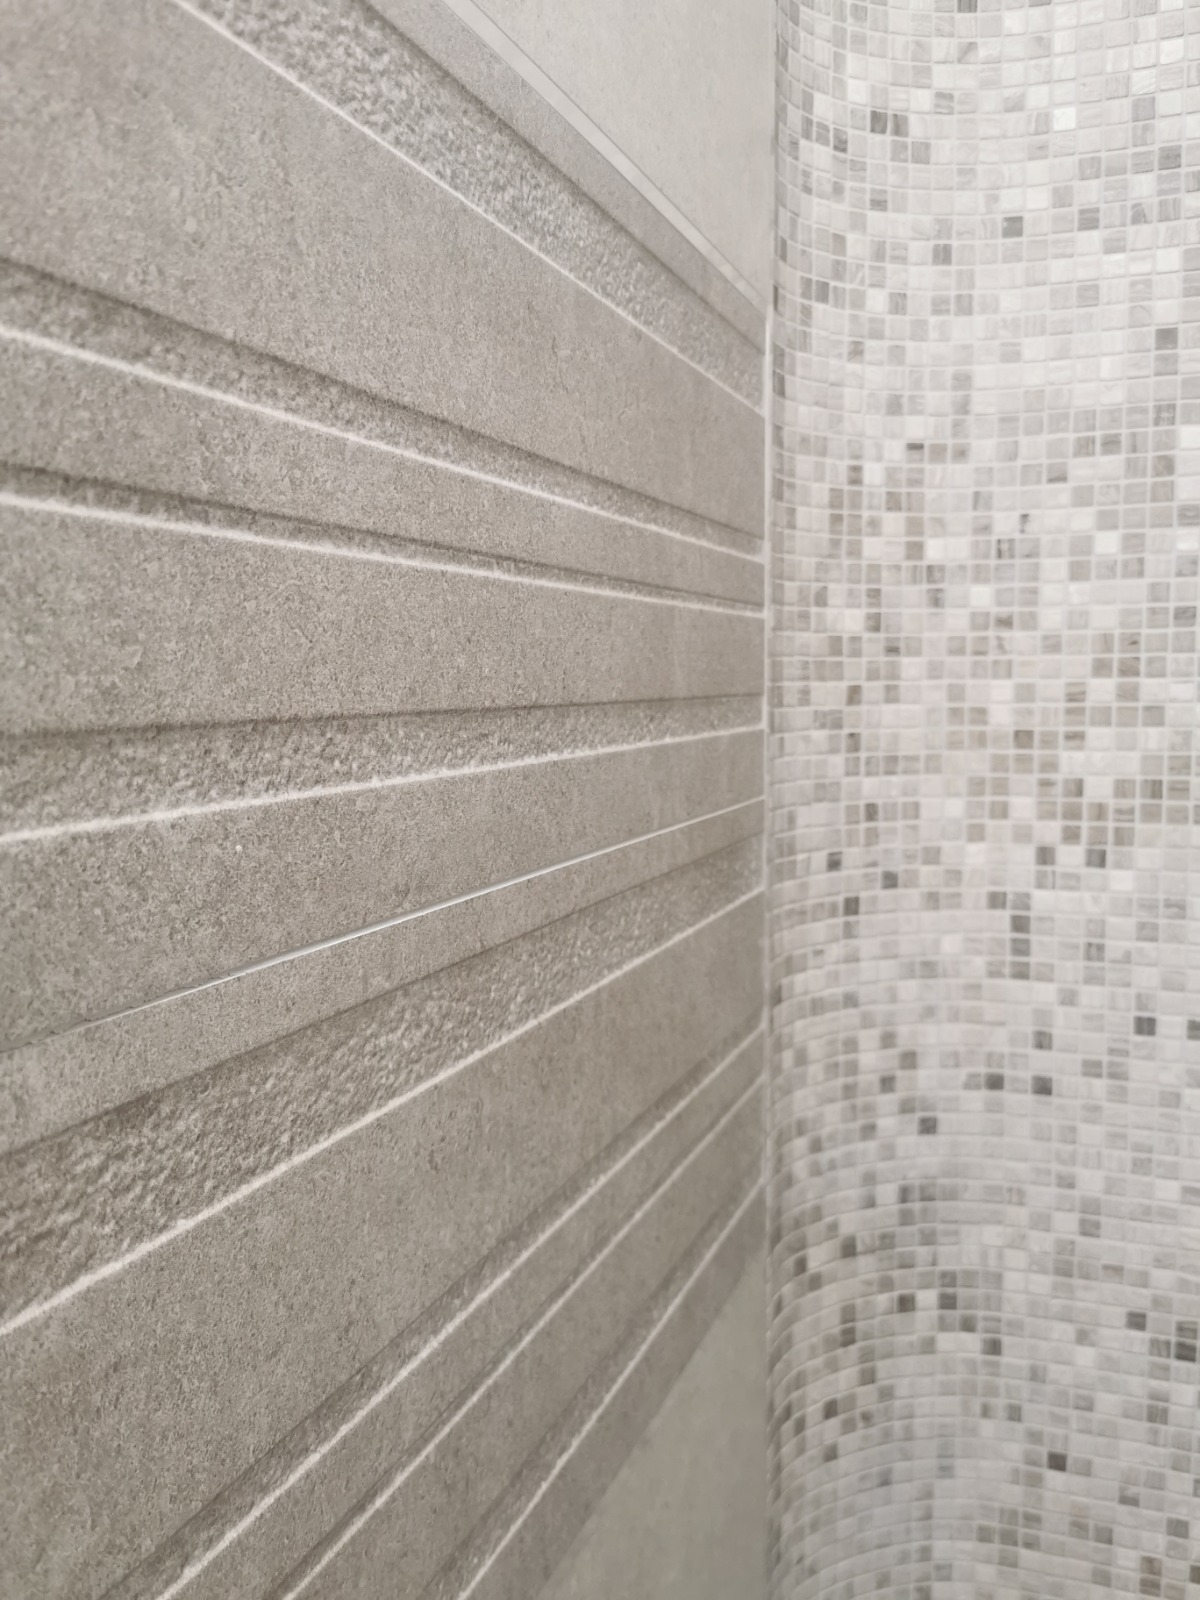
How Do I Know Which Bathroom Tiles Are Right for Me?
A large proportion of bathroom tiles are made out of either porcelain or ceramic, as these tend to be the most affordable tiling options. Both boast their own benefits -
- - Porcelain tiles are often more hardwearing than ceramic tiles, but they can be more expensive as a result.
- - Ceramic are far easier to source, and can save you a huge sum on your renovation bill.
When tiling a bathroom wall, you don't necessarily require ultra hard-wearing tiles as it's not a high traffic area like a kitchen floor, so you should be free to choose whichever tiles you like.
Natural stone tiles are becoming increasingly popular, but if you're a first time tiler with no experience then you may wish to steer clear. Tiles which are made out of stone are a lot more porous and absorbent when compared with ceramic or porcelain, so these kind of tiles will need sealing a lot more regularly.
It's a good idea to order a few sample tiles before you begin tiling your bathroom, as it's not always easy to picture how the style, shape and size of tile will look inside your unique bathroom.
So, How Many Tiles Will I Need To Finish The Job?
Making sure that you invest in the right amount of tiles is absolutely key to a successfully tiled bathroom, so you must measure the walls properly before you even think about starting your application process. This may be clear, but you should always double check the measurements. If you’re utilising centimetres or inches, you must make sure that the tiles you purchase correspond with your own specific measurements and number system. Always get around 10% more tiles than you actually need, as mistakes, wastage and breakage is inevitable. Having a few spare tiles will be so useful when you don't have to waste extra time and money sourcing more supplies half way through your project.
Practice Makes Perfect
Following the simple steps described above should guide you in the right direction towards bathroom heaven, allowing you to become a master of tiling (with a little bit of practice, of course!).
Christmas is around the corner and the best gift for any occasion is a Rubik's Cube which can be easily solved with this easy tutorial.