How to fit a basin waste

If you’ve just installed a new basin then you’ll also need to fit a basin waste, the component which seals off the sink to retain water and then is released to allow drain this to drain away. As part of the fitting process, you’ll have to install both the waste and trap and, even if you don’t have a new basin, existing wastes can sometimes need to be replaced, so it’s useful to know how to do this.
While it’s always best to hire a professional if you don’t feel confident with DIY, the following blog explains the basic steps involved with fitting a waste, so read to the end to find out all you need to know.
Step-by-step guide to installing basin wastes
Although the type of waste you have will influence exactly how it’s fitted, the following guide will outline the general steps required to successfully fit a waste to a new basin.
Tools required:
- Basin waste kit (including the waste outlet, trap and connecting pipework).
- Plumber’s tape (also known as PTFE tape) or plumber’s putty.
- Adjustable wrench.
- Screwdriver.
- Cleaning cloth.
- Bucket.
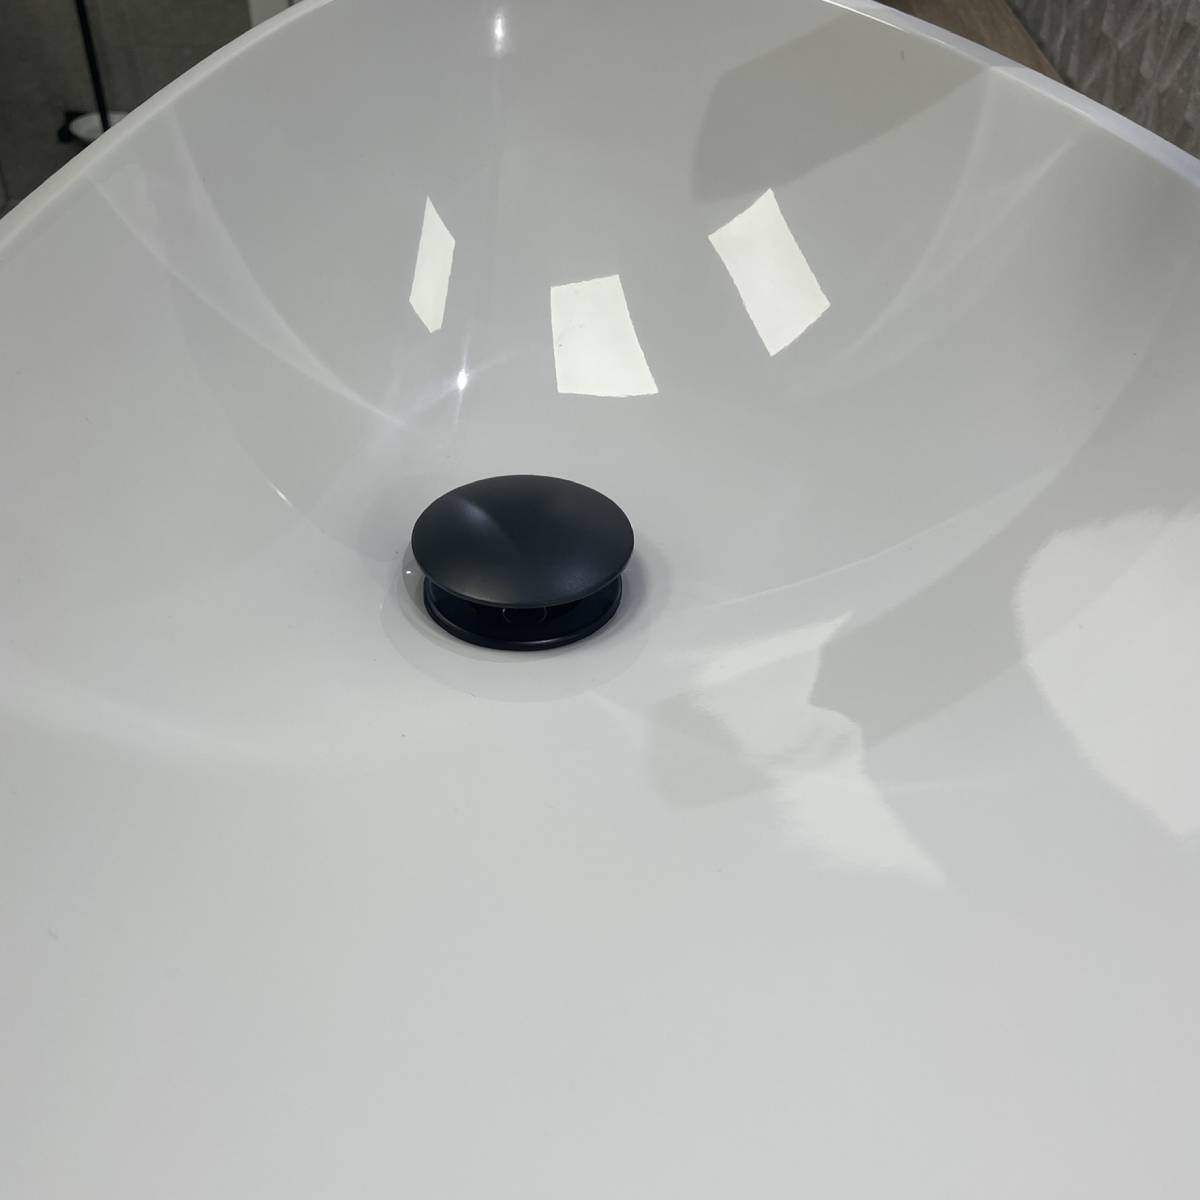
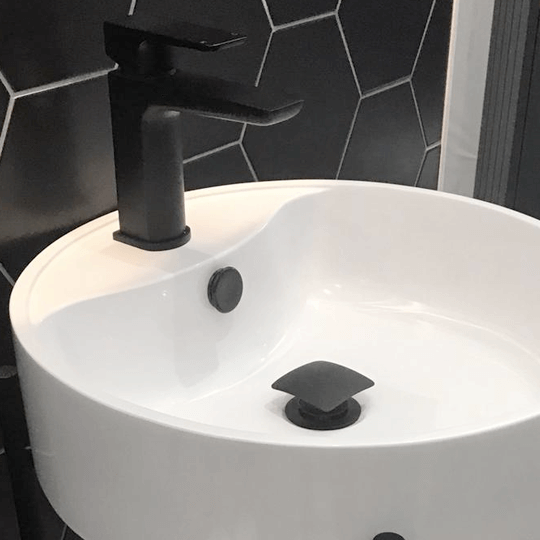
The Eliseo Ricci Press-top Slotted Basin Waste in Black.
Step one
Prepare the basin: Place the basin upside down on a soft surface to prevent scratching and to reveal the waste hole on the base.
Step two
Apply plumber’s tape (PTFE Tape) and/or putty: You can either press some plumber’s putty around the lip of the basin waste hole, to protect the basin, or apply PTFE tape to do the same. NB The tape also ensures a watertight seal. Most wastes are sealed using a poly-washer and nut, but the tape is an additional safeguard against leaking.
Step three
Insert waste outlet: Insert the waste into the waste outlet, ensuring that the rubber washer or gasket provided with it is also in place to create a seal between the waste and basin. If you’ve used plumber’s putty then this should come into contact with the waste, forming a protective layer between it and the china.
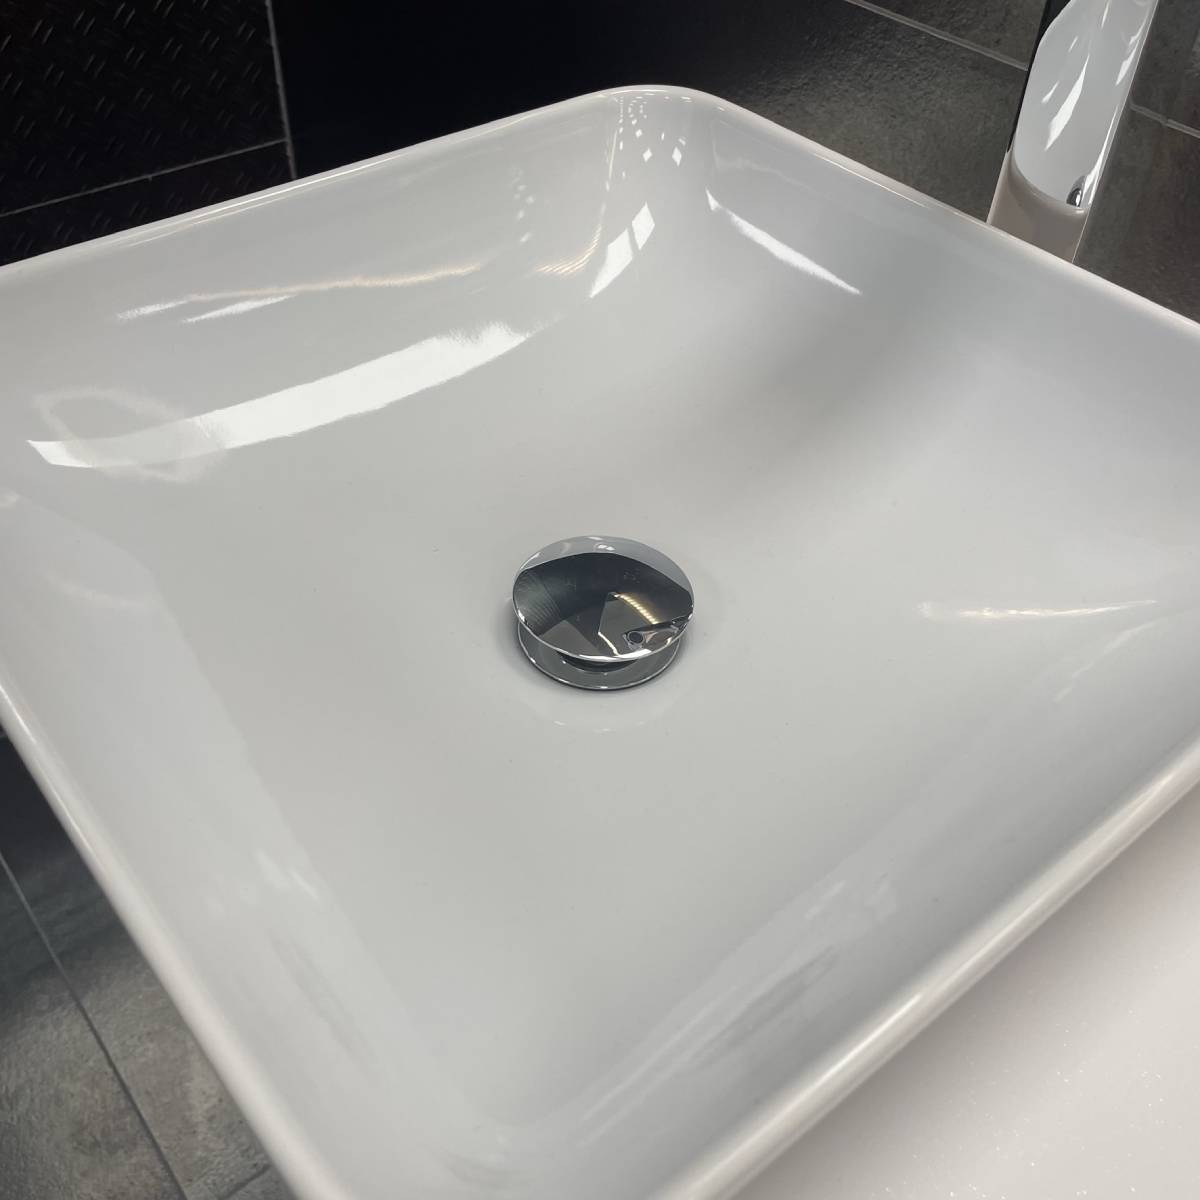
The Eliseo Ricci Press-top Unslotted Basin Waste in Chrome.
Step four
Fit the poly-washer and nut: From underneath the basin, secure the waste in place using the poly-washer and nut provided. Tighten the nut and then use an adjustable wrench to secure this further if needed. Be careful not to overtighten it, however, as this could damage the basin.
Step five
Attach the trap: Next, connect the trap to the waste outlet. The trap is the curved section of pipe which prevents sewer gases from entering the room and most simply screw onto the waste outlet. Take care to ensure that all connections are tight.
Step six
Check for leaks: Once everything is connected, turn on the water and check for any leaks around the waste outlet and trap, tightening the connections if any occur.
Step seven
Final adjustments: Adjust the position of the trap and pipework as needed to ensure proper drainage and alignment with existing plumbing.
Find the perfect waste at Bathshack
If you need a new waste for your basin then we have a great selection available at Bathshack, including a variety of finishes such as brushed brass, black, chrome and white. Whether you’re looking for a slotted waste, bottle trap or anything else, we’re sure to have exactly what you need.
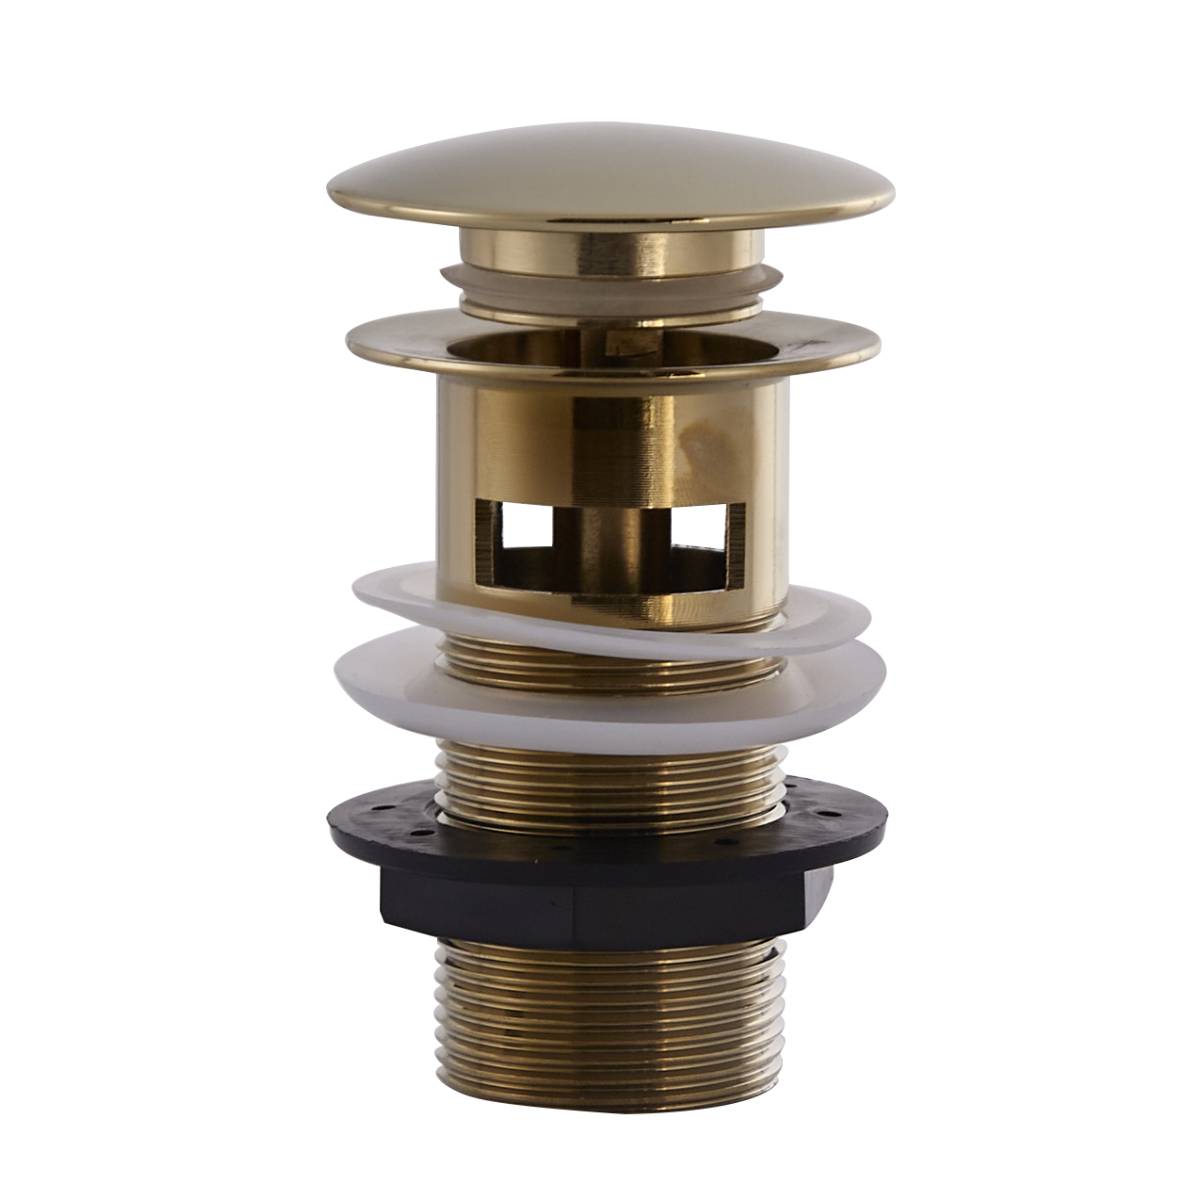
The Eliseo Ricci Press-top Slotted Basin Waste in Brushed Brass.
To view our full range of wastes, visit bathshack.com. Alternatively, if you have any questions, just email our team at info@bathshack.com, call us on (028) 9077 0188 or use our online chat.