How to tile around fittings

If you’re doing some bathroom DIY and are fitting your own tiles, then chances are, it won’t all be a neat and straightforward job. Often, you’ll have to tile around certain furniture, such as toilets, baths and showers – and there’s usually also pipework in the way from radiators or general plumbing.
With this in mind, we’ve compiled a handy ‘how to’ guide on tiling around fixtures and fittings – which will be useful whether you’re working on a bathroom, kitchen, or any other home project.
We would, of course, always recommend getting a professional in, but if you’re still keen to go ahead – or simply want to know what’s required – then here’s a general guide to the process.
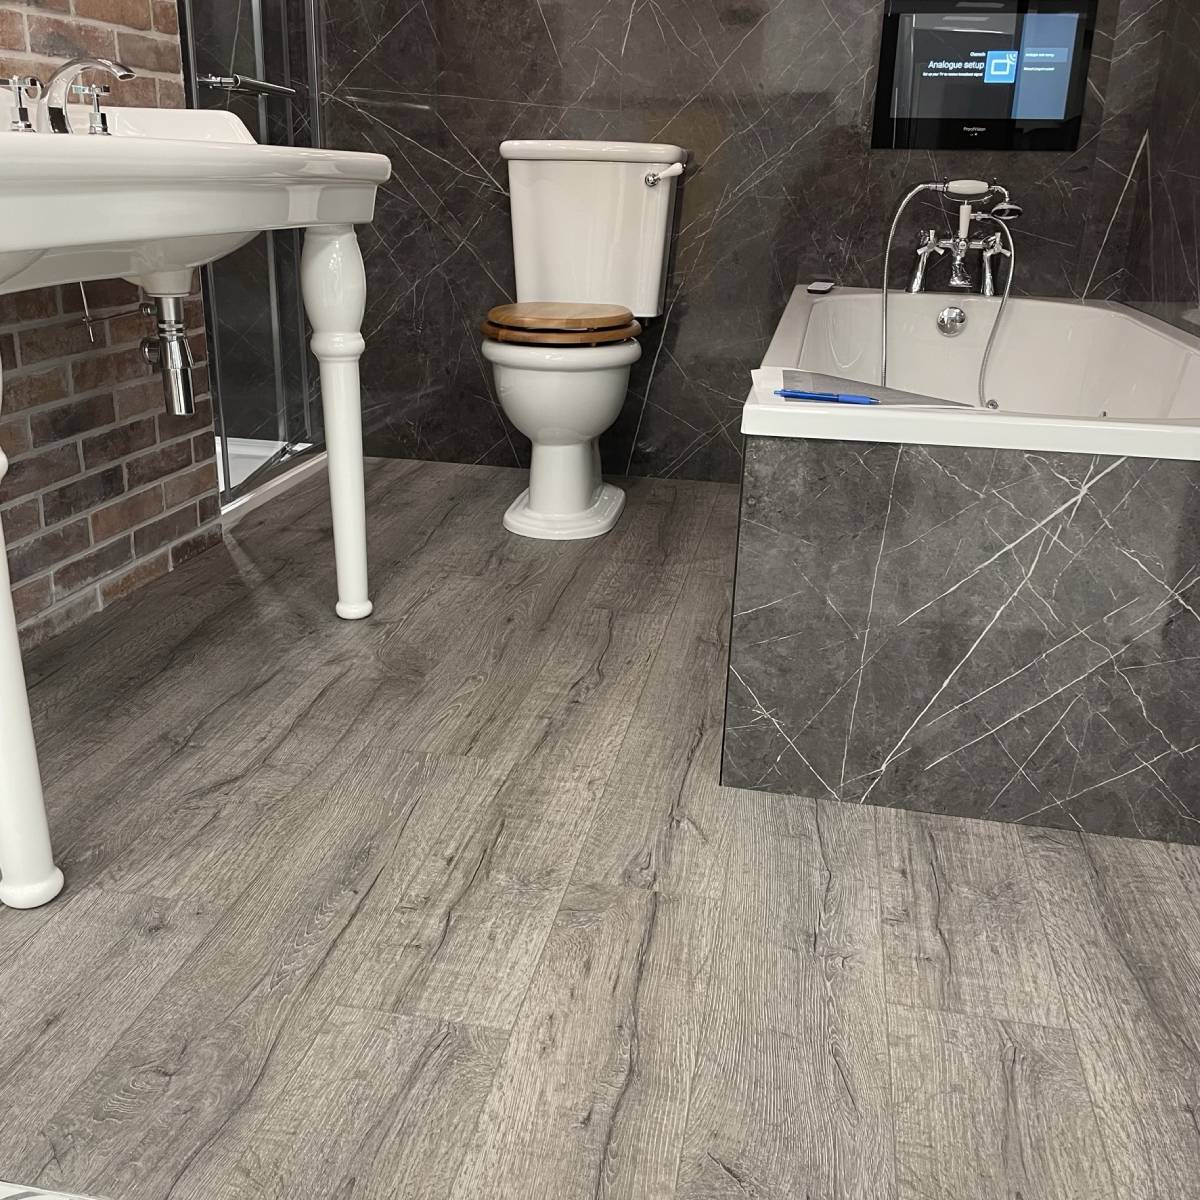
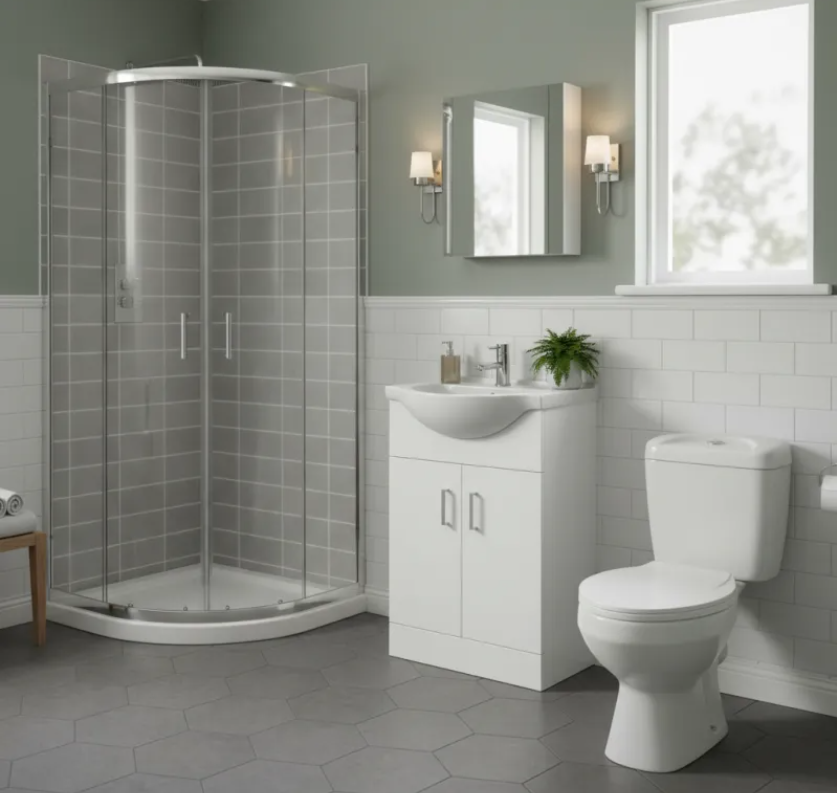
You might have various obstacles to tile around in your bathroom, such as toilets, basins and baths.
Tools and equipment for tiling around bathroom furniture
First of all, make sure you determine the location of the following:
- Light/electrical fittings (and make sure all power is turned off)
- Hot water pipes
- Furniture like baths, showers, basins etc.
- Tape measure – accurate measurements are, of course, key to any project, so invest in a good tape measure and don’t forget it!
- Spirit level – this is needed to check surfaces are level and that your tiles are laid out correctly on walls.
- Tile cutter – whichever type you choose, this will cut the tiles that will be placed around furniture and other obstacles.
- Safety gloves and goggles – good to have for the tile cutting stage.
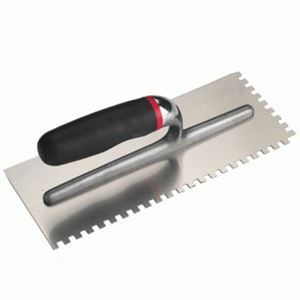
A stainless steel notched trowel.
- Pencil and steel ruler – needed for marking out measurements for cutting and laying tiles. NB A chinagraph pencil is ideal for marking up tile surfaces, particularly if glossy.
- Tile spacers – these will help to ensure that you space out your tiles correctly, so the grout lines will be even and appropriate.
- Grout float – this is used to push the grout in between the tiles.
- Bucket – required for mixing tile grout.
- Mixing paddle – this will be used for mixing grout.
- Notched trowel – required for spreading the adhesive which will stick the tiles to the wall.
- Sponge – handy to have for wiping excess grout from tiles afterwards.
Planning your tile layout
It’s always important to know in advance what you’re doing and planning out your tiling project will just make things easier when it comes to actually doing the work. So, make note in advance of the area you want to tile and any obstructions which will impact upon this, i.e., what fittings and furniture will you need to tile around? Are you tiling the whole wall, for example, or will you want a feature wall or a partial wall covering? This will also influence what type of tiles you choose.
When it comes to picking your tiles, you’ll also need to know what size they’ll be and how this will impact the tiling around those fixtures and fittings. Their pattern and layout will also need to be considered.
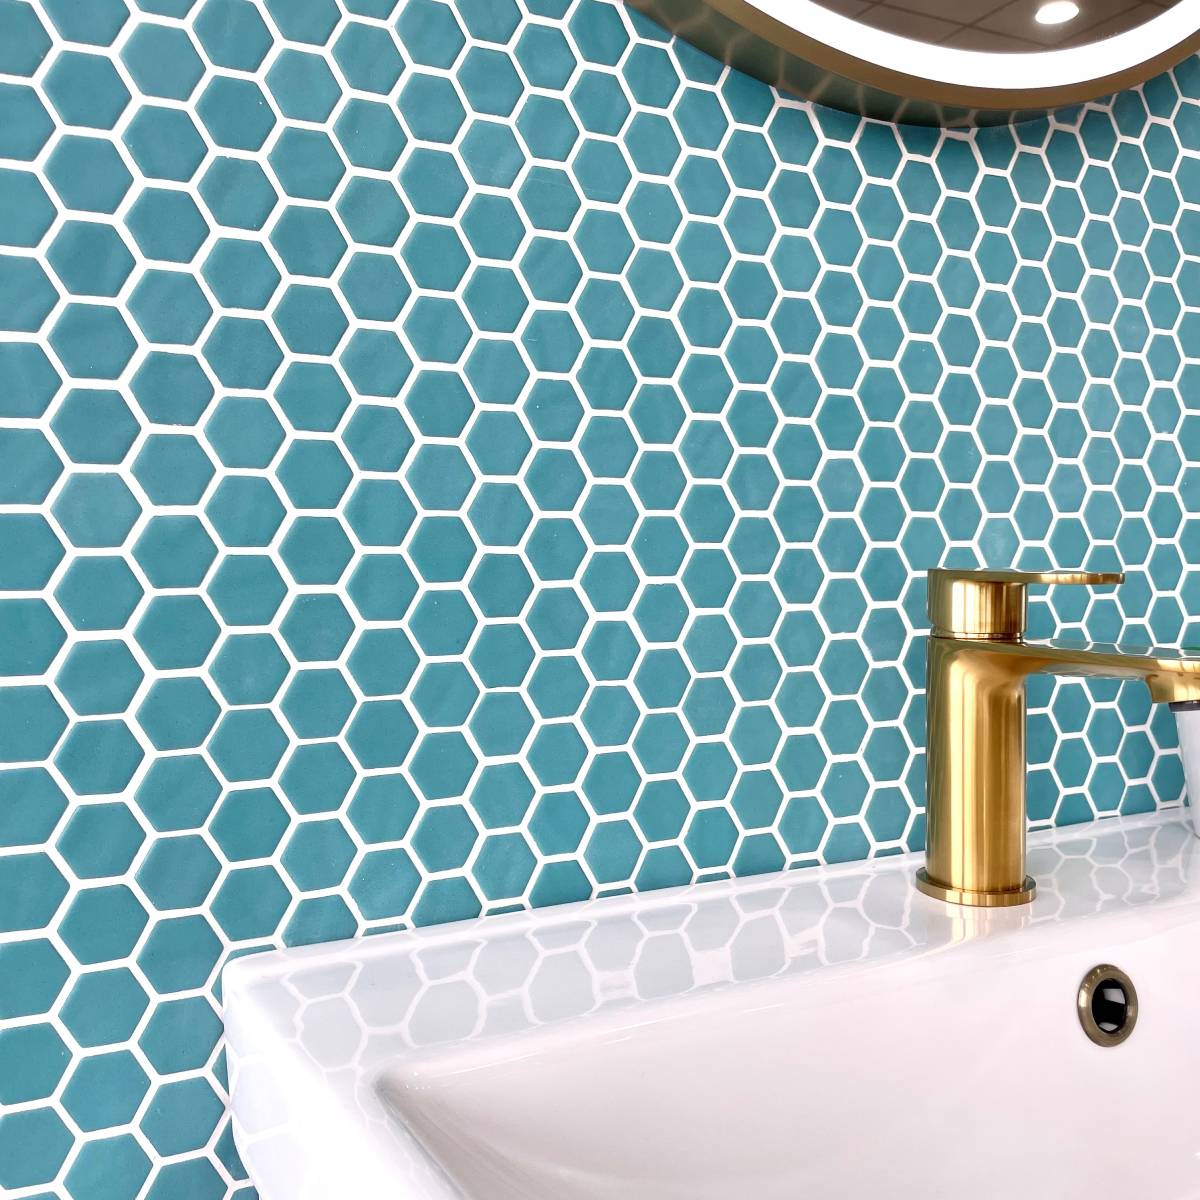
Mosaic tiles are easier to cut when it comes to fitting them around obstructions.
Once you know all of this – and have your tools assembled – you’re good to go.
Top Tip!
Mosaic tiles are a great choice if you want a characterful tile which will make life easier when it comes to tiling around fittings, as they’re smaller and will require less or no cutting. They also usually come in sheets so it’s simple to snip these with a pair of scissors.
The tiling process
Assuming you’ve completed all the necessary planning, then the next stage is the actual tiling and first up, is wall preparation. Yes – more prep is required.
Wall preparation: This basically involves checking that the wall or floor is smooth and ready to receive adhesive followed by tiles. You don’t want to have any uneven surfaces, holes or gritty bits which will make it difficult to lay your tiles and, of course, the surface also needs to be dry. Wall prep may take longer than expected, especially if you’re renovating an older property, so make sure to leave enough time for this as it might delay your project if you need to plaster anything and wait for that to dry.
Mixing adhesive and grout: First, up, these are two very different substances with two distinct roles.
Adhesive is what you will use to stick your tiles to the wall while grout is what goes in between them to fix the tiles in place and help seal them.
You can easily pick up a readymade adhesive for your project, but with grout, you’ll have to do a bit of mixing. Depending on the tiles you’ve selected, you’ll need to match the grout type to these and then mix it with the appropriate water-to-grout ratio, stirring it until it’s smooth enough to apply. You’ll therefore need to check all of this before going ahead with the grouting.
Fitting the tiles: As you’ll know by this stage how you want to place your tiles, you can start fitting them by laying the full-size tiles first and working your way up to the trickier areas which will require tiles cut to fit around obstacles. This is when you’ll use your tile cutter, using your tape measure first to confirm the correct measurements and then marking (with your chinagraph pencil) on the tiles where you need to cut, before using the cutter to do this.
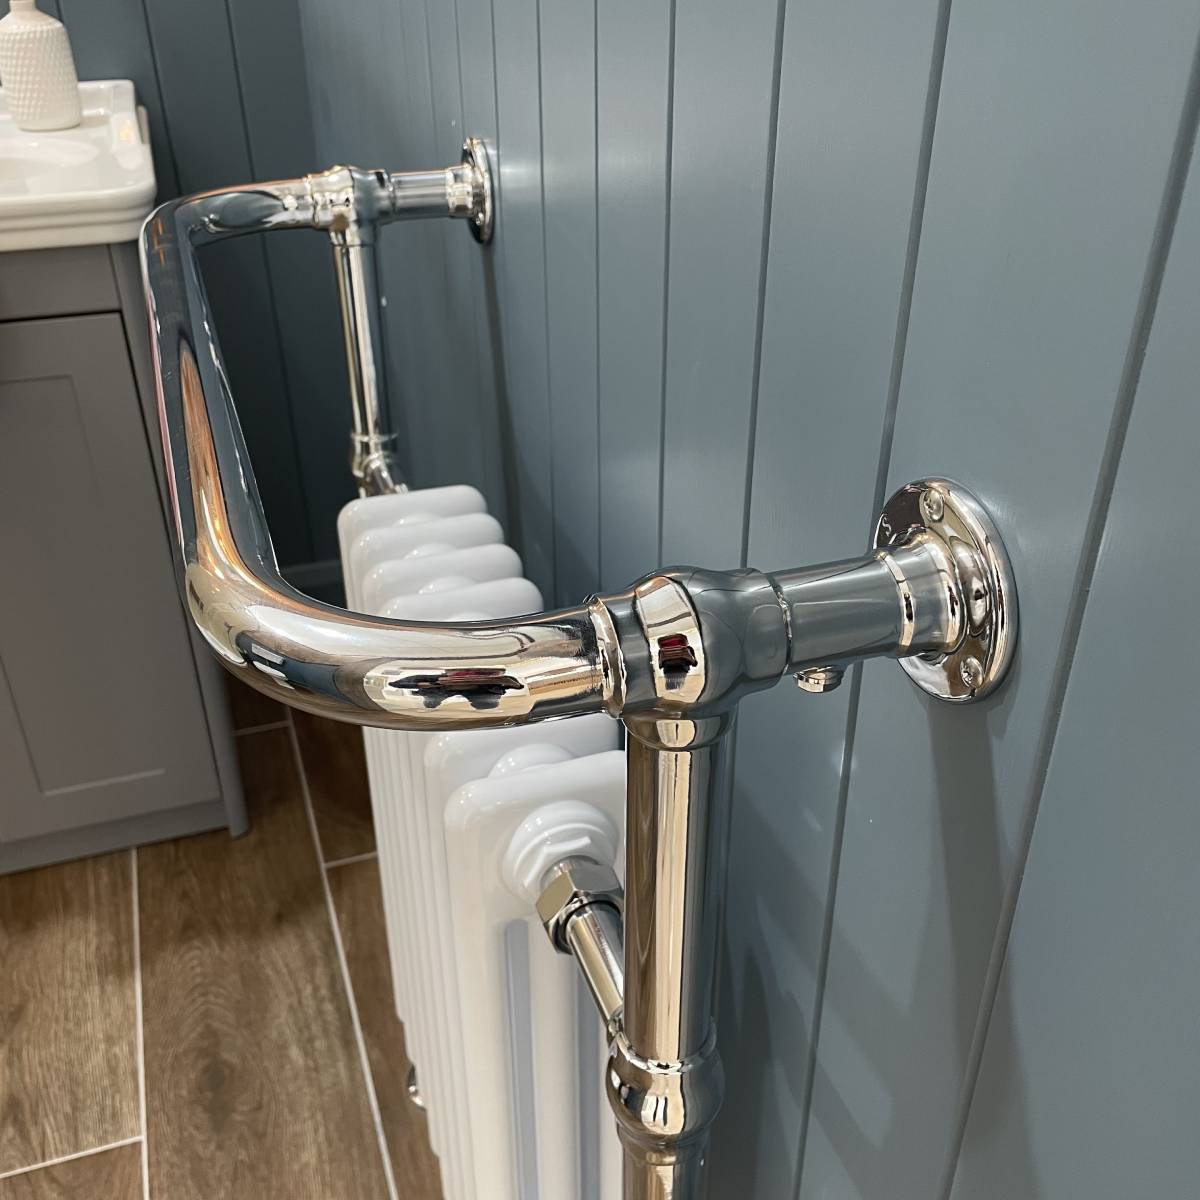
You may need to tile around pipes protruding from the wall, such as a radiator pipe.
NB You should only spread about a metre square of adhesive at a time, just in case it dries before you lay the tiles. Use the notched trowel to spread the adhesive. Lay the tiles one by one, using the tile spacers to position them the way you want and to ensure enough space is left for grout.
As it normally takes at least 24 hours for the adhesive to dry properly you should wait until this has set before grouting.
Tiling around pipes
Pipes can also extend up from the floor, so you may need to cut floor tiles to fit around these as well.
Pipes are one of the most common obstacles to navigate during the tiling process, such as those connecting radiators. Unless they conveniently fall in the middle of a tile joint, you’ll have to cut around them, creating a semicircle in the tiles on either side, or cutting a u-shape in one tile if the pipe is near the end of this.
- Power drill
- Diamond edge hole saw
- Masking tape (for laying over the markings)
- Tile cutter
As mentioned above, you can tile up to the obstacle – in this case the pipe – using whole tiles and then mark out on another tile where you will need to cut. So, you mark out the space for the pipe on the tile, before scoring and then cutting it with the tile cutter.
Alternatively, you can cut the tile first and then cut a semicircle into the tile afterwards for the pipe to fit into – whichever method you prefer. For this, it’s good to use tile nippers (or a tile saw) to cut away little pieces of the tile to make the semicircle, after cutting the main section away. NB You’ll need to secure the tile firmly while doing this, so it doesn’t slip.
You can then fit the tile pieces around the pipe.
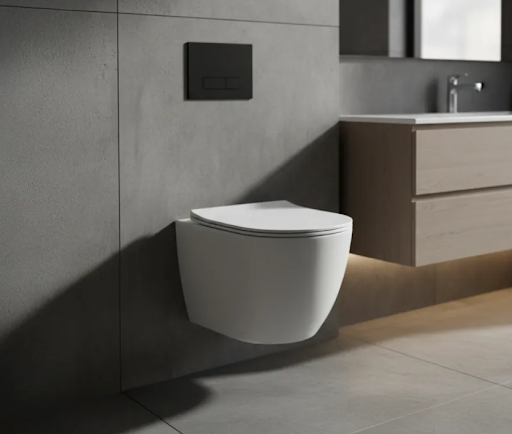
Tiling around toilets, pedestal basins and baths
When tiling around larger obstacles, it’s best to make out a template for this. Once again, you can tile up to the item, but then you’ll need to create the template to determine your measurements for cutting the tiles.
Tools required:
- Paper or thin cardboard
- Pencil
- Measuring tape
- Tile cutter and/or saw
- Goggles and gloves
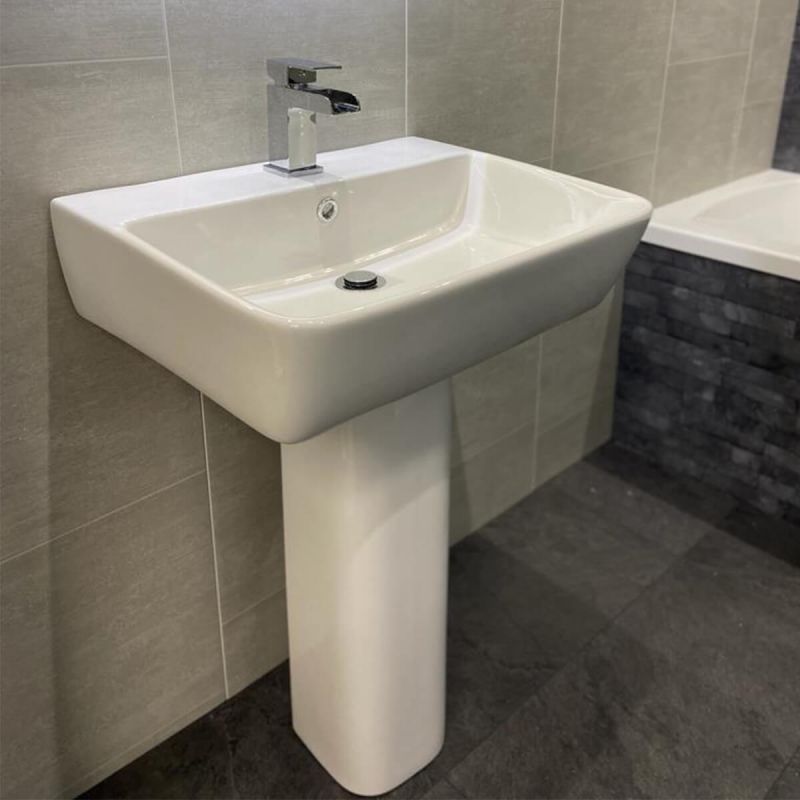
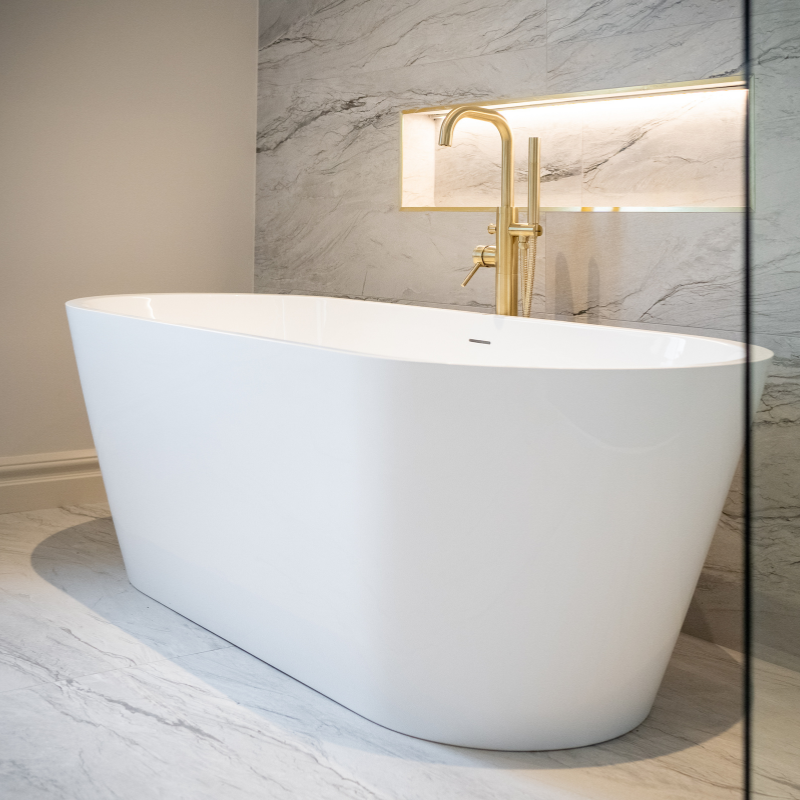
Tiling around pedestal basins and baths are other obstacles you will have to consider.
First, cut the paper or cardboard to the size of one of your tiles, before placing it where the tile will be laid, accounting for tile spacers. Where the paper bends up against the obstacle, make a series of cuts in this to create a row of flaps. Fold these around the base of the pedestal basin (for example), marking out the curve of the pedestal on the paper, then cut along this line to get the shape of the tile you will need to fit.
Double-check that the template is the correct fit around the base of the obstacle before marking out your tile for cutting.
For more information on cutting tiles, visit our ‘How to cut tiles’ blog here.
Tile inspiration at Bathshack
Whatever your tiling project, you’ll find a full range of tile types and designs to suit a range of spaces in our various showrooms and online. From mosaic tiling and large format tiles, to patterned, coloured and neutral, we have lots of choice and various finishes, such as matt or glossy, to ensure the best look for your home.
Whether you’re tiling a large kitchen or a smaller bathroom, we can advise you on everything from picking your tiles to choosing bathroom products and accessories to match.
To find the perfect tiles for your home project, why not visit your nearest Bathshack showroom and we’ll be happy to help. Alternatively, email our team at info@bathshack.com or give us a call on (028) 9077 0188.