How to Tile a Bathtub?
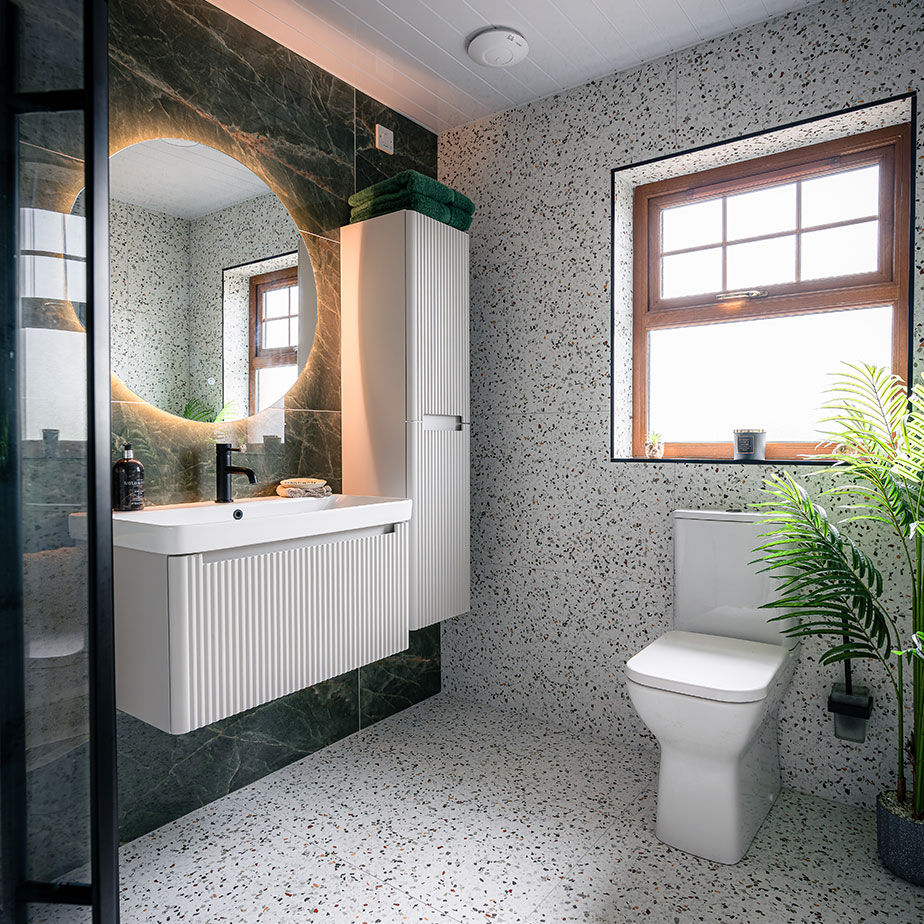
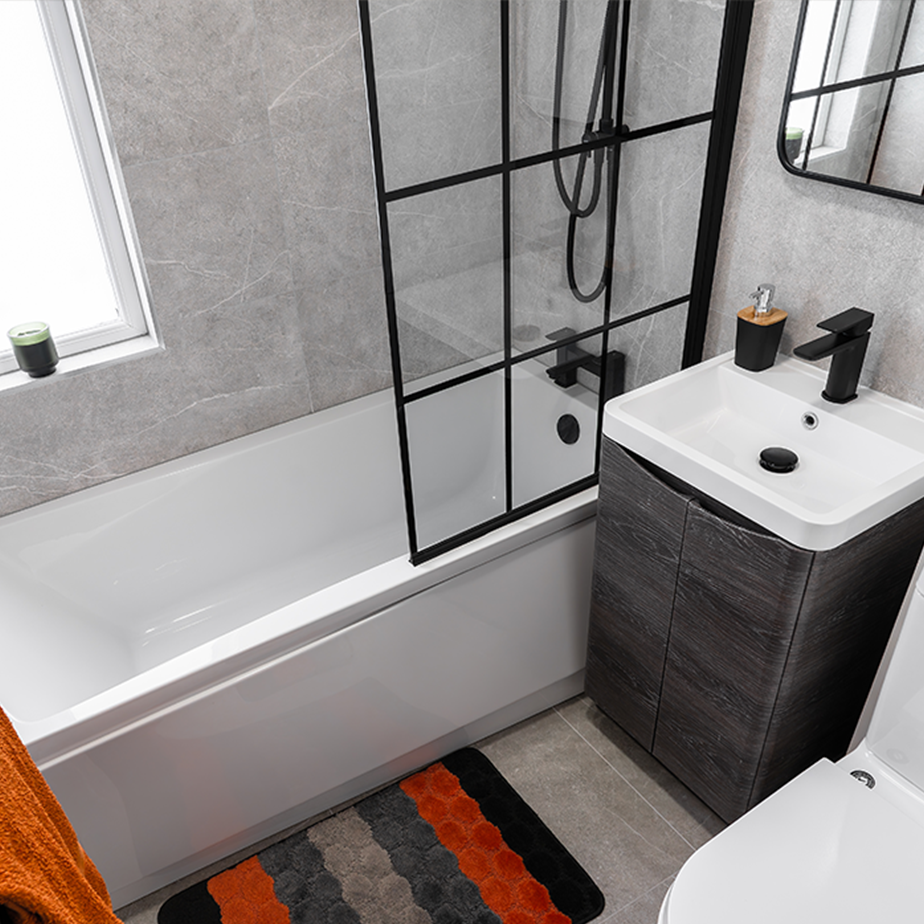
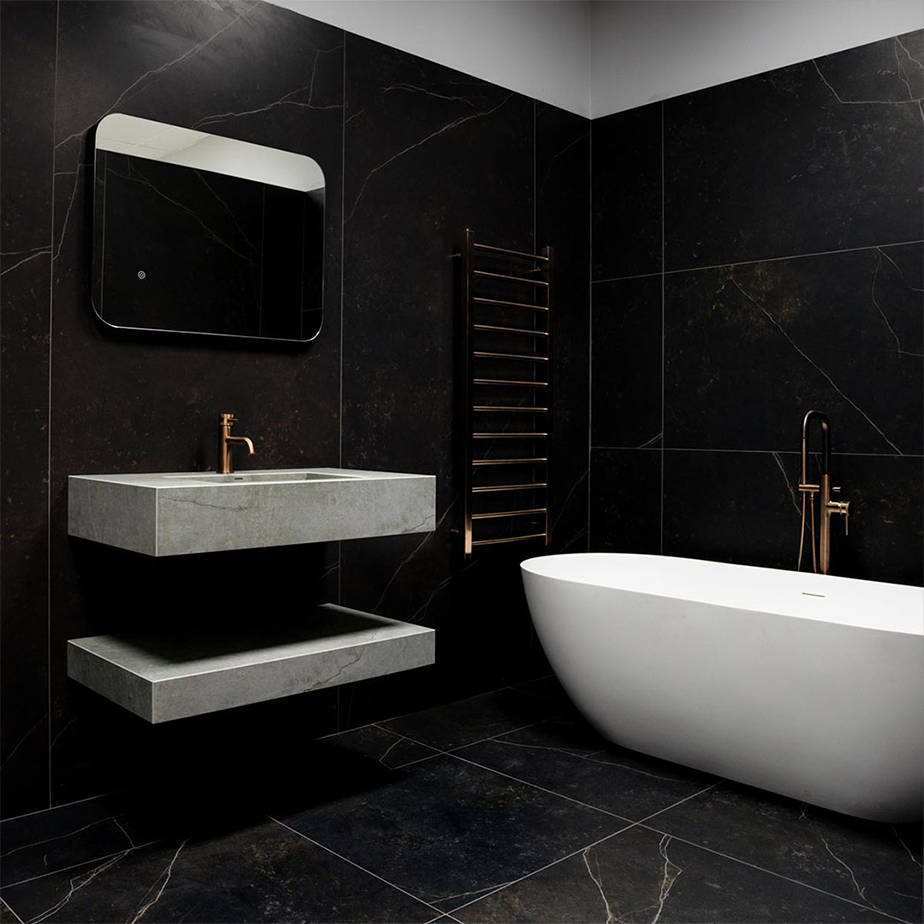
Tiling bathrooms has become a highly popular choice for the walls in new and remodelled bathrooms because they are water-resistant, easy to clean and do not stain easily. They are also available in a wide range of colours, sizes and styles, meaning its easy to create a unique and bespoke look for your bathroom.
In addition to the many practical benefits to having tiles, it is a job that can easily be done at home with the right tools and equipment in place- as well as having a little extra know-how to complete the task in hand, giving you the opportunity to get creative and
Can You Tile A Bathtub?
Yes, absolutely! In fact, it’s a great way to create a uniform effect for your overall bathroom aesthetic- particularly if using matching tiles.
What Will I Need to Tile a Bathtub?
To undertake this project at home, you will need:
- Cement backer board and construction adhesive
- A clean, dry bathtub panel- Adhesives won’t stick to an oily surface. This may also go for a surface that is ‘shiny’ so you might want to consider sanding it to give it a rougher edge- perfect for gripping adhesives.
- Tiles, mastic and grout - think about using the same tiles and grouting used to surround the tub. You’ll need to think about using a ‘border tile’ for your project too- the same tiles used for the main panel in a smaller cut will be a good choice to create a clean, smooth look.
TOOLS
- Wet Saw - for cutting the tiles to shape
- Jigsaw - for cutting backer board
- Tiling tools- spacers, trowel - (Ideally a spaced one for spreading mastic)
- grouting tools and a sponge
- Measuring Tape and Spirit Level
How Do You Tile The Side of a Bathtub?<.h2>
Measure, cut and apply the backer board
Measure the tub area, leaving ½ an inch extra to allow for trimming the board later on.
Use your utility knife to score then break the board *if you haven’t already bought it cut to size- some stores will do this for you*
Make a hole in the panel for easy access to the pipes in case of plumbing needs.
Dry fit the backer board to your tub to check it fits evenly- once you are satisfied with the fit, apply the adhesive as per the package instructions, Leave to sit for an hour to ensure it is ‘set’
Use a tool to hold it in place- for example, clamps work well without allowing for movement of the panel- you want to make sure that it stays in place at a good level before proceeding with tiling.
Map out Your Tiles
Use a measuring tape and spirit level, measure the panel vertically and across the width of the panel to get the centre point to begin measuring.
Using the same measurements for your tiles as for your backer board, measure out your tiles- this way you can see how many tiles will need to be cut to shape.
Start Laying Your Tiles
Start at the top and work downwards- this is purely aesthetic- because if you need to cut tiles, they can be covered by the moulding at the bottom.
Use a spacer to the side of it- allowing room for grouting and adhesive that will secure the tiles to the wall.
The tiles shouldn’t need cutting if your measurements are correct- but if you do need to- keep them to the edges of the panel so they can be easily covered.
Complete this for the first row- then repeat for the next few rows until the panel is covered.
Finish and Grout the Tiles
Remove your spacers once the adhesive dries and then mix your grouting.
Smooth the grouting in the space between the tiles, ensuring that all gaps are fulled
The grouting should be easily wiped off your smooth tiles, so in case of an overlay, use your sponge to wipe any excess mix that might make its way to the tiles themselves.
If choosing to use a moulder at the bottom of the panel, use an anti-mould watertight adhesive here to secure this in place.
How Do you Tile Around a Bathtub?
To tile around a bathtub, it’s the same process, but tiles can go directly onto the wall. Start from the bottom and add rows.
Tiling a bathtub and bathroom is an excellent way to make your bathroom look stylish and uniform- this look can be created at home for a reasonable cost, or your local trained professional can be brought in to do it for you!