How to replace a damaged tile
If you have tiles in your home then it’s very possible that at some stage, one or more of them might become chipped or damaged in some way.
Tiles are very durable and long-lasting but certain materials are more prone to wear and tear than others – and you can just never predict accidents happening.
With this in mind, it’s useful to know how to deal with a damaged tile. The first thing to note is that there’s no need to panic, as you don’t need to replace your entire floor or wall – just the single damaged tile. Knowing this will not only save you a lot of money and time but will also ensure that you don’t have to change your favourite tiles for no reason.
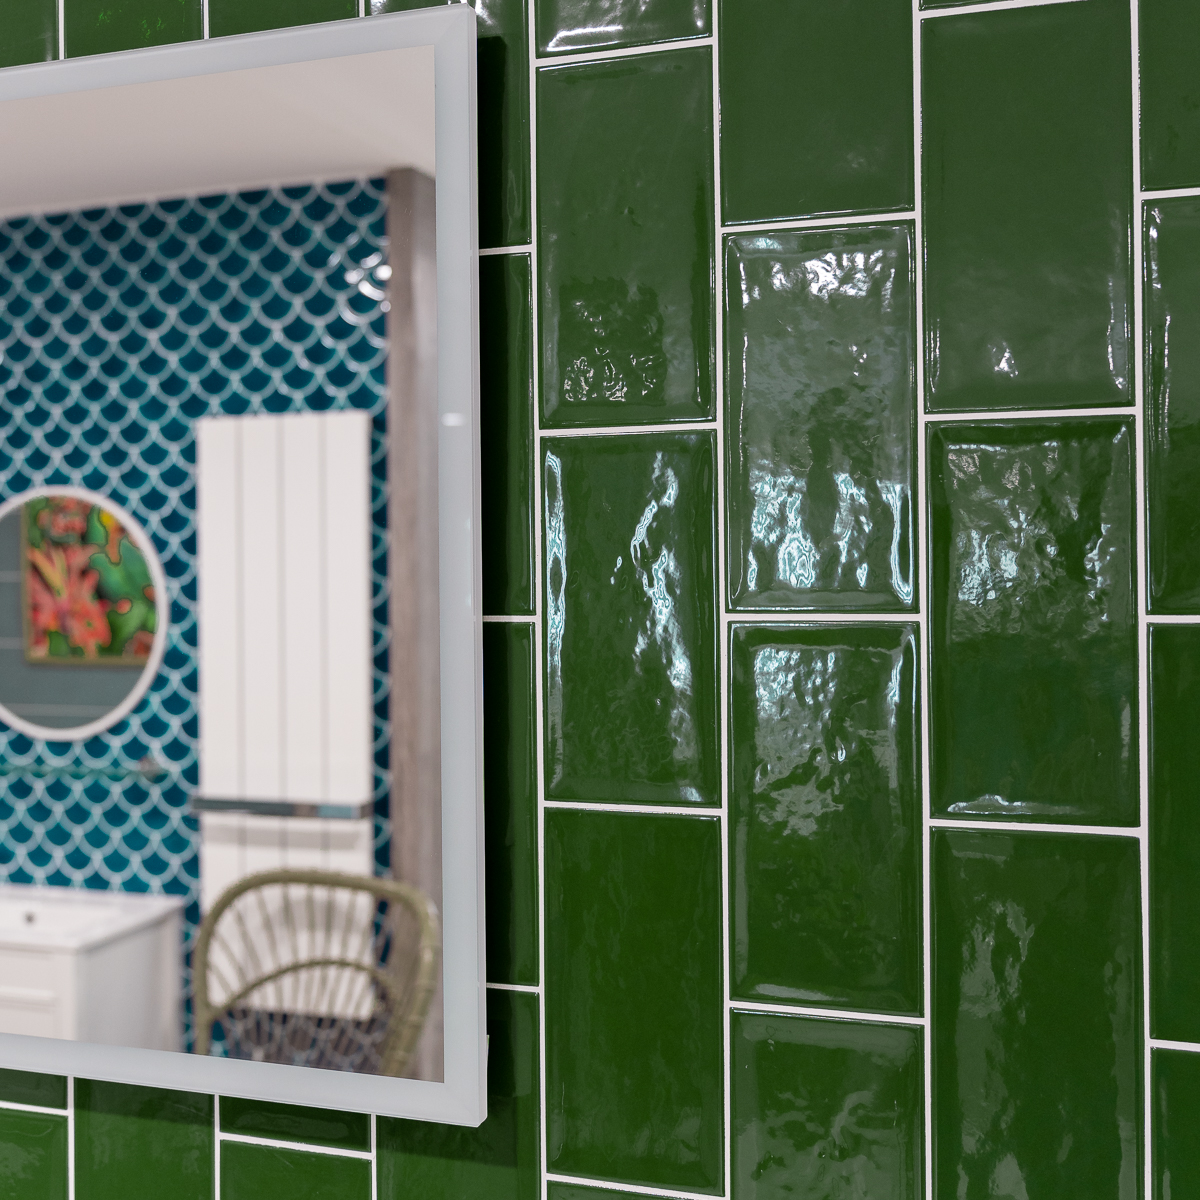
One damaged tile needn’t mean replacing the lot. You can keep your favourite tiles and simply replace the broken one.
Our guide below will explain in easy steps what you need to do.
NB While you can certainly take on this project yourself, we do always recommend hiring a professional. Just be aware that removing and replacing the damaged tile will likely involve the tile breaking or shattering during the process, which will result in dust and sharp broken edges. Therefore, be sure to wear protective goggles and gloves to avoid injury.
Tools required:
- Protective goggles and dust mask
- Gloves
- Dust Sheet
- Chisel
- Electric Drill
- Pencil chisel or claw hammer
- Masking tape
- Tile spacers
- Spare tile to replace the one you’re removing
- Grout remover or rake
- Adhesive and grout
- Sponge or cloth
- Grout spreader/float and grout rake
- Notched adhesive trowel
- Grout finisher
You can source a variety of tools for your project from Bathshack here.
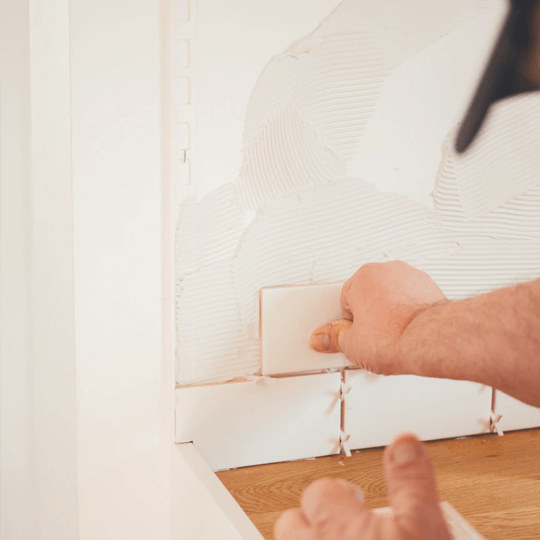
Removing your broken tile
1. Remove the grout around the damaged tile: Use your chosen grout remover (electric or manual) to do this, making sure you work round all the edges and don’t miss any sides. NB The grout should be removed so that it reveals the full thickness of the tile.
2. Drilling the tile: It may be that you’ll need to drill a hole in the tile to help with removing it. If this is the case, then place masking tape across the centre so the drill doesn’t slip. You can use more than one piece of tape as necessary. Drill slowly into the tile – use your electric drill with tile drill bit fitted – and remember not to drill too deeply in case you hit any electrics or plumbing.
3. Remove the tile: Using your chisel or claw hammer, carefully manoeuvre the tile from the floor, first removing the tape. This may require varying effort, depending on the state of the tile, but proceed with caution in case of injury. It is likely that the tile will shatter so you might need to chip away at it and remove it in pieces. Be extra careful as you approach neighbouring tiles, to avoid damaging these.

Replacing floor and wall tiles follows the same process.
4. Remove the old tile adhesive: This is important as the surface must be flat before you fit the replacement tile, to ensure an even floor (or wall) and to prevent the new tile from standing out from the others. You should also remove any general debris and use the sponge or cloth to wipe the space clean.
5. Apply the adhesive: Once you’re satisfied the area is clean and dry, apply the tile adhesive for fitting the fresh tile, spreading this out with your notched adhesive trowel.
6. Fit the new tile: Press the replacement tile into the space, lining it up alongside the surrounding tiles – you can use tile spacers here if it helps with this and to leave room for grout. Wipe away any extra adhesive from the grout lines before grouting.
7. Allow adhesive to set: This may take anything between 24-48 hours, so check the manufacturer’s instructions and then wait for the allotted time before applying grout.
8. Apply grout:8. Apply grout: Mix grouting or use ready-mixed grout before applying this around the joints of the replacement tile, pressing it in using your grout spreader before wiping away any excess grout.
9. Allow grout to set: Leave the grouting to dry for the required amount of time before wiping the surface of the tile again to remove any white residue left by the grout.
Your new replacement tile is now good to go!
Large format tiles may sometimes be more prone to chips but you can easily replace a damaged tile.
Tiles at Bathshack
Whether you need tiles for your bathroom walls or floors, or are replacing tiles in your kitchen, hallway, or other areas within the home, Bathshack has a wide range of high-quality tiles. From porcelain and ceramic to acrylic tiles and those which mimic wood and stone effects, there’s plenty of choice and something to suit every preference.
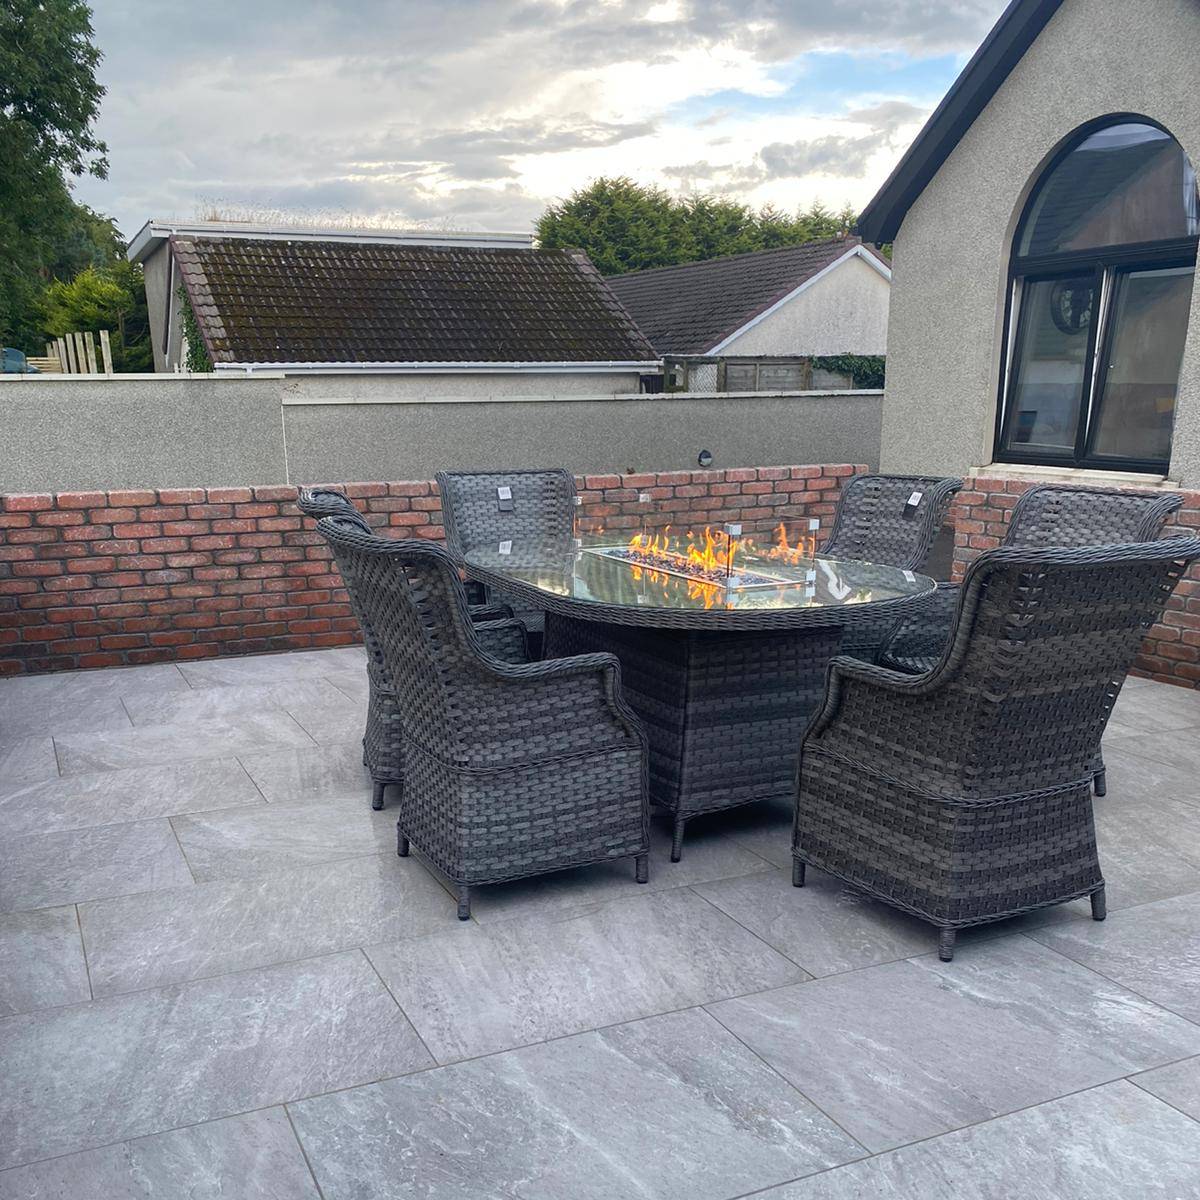
We supply large format tiles which are great for making rooms appear more spacious, while there are also smaller mosaic tiles, as well as hexagonal, square and our popular rectangular metro tiles. With gloss, satin and matt finishes, as well as a myriad of patterns, colour palettes and materials to select from, you’ll be spoilt for choice!
If you’re looking for quality tiles, why not visit your nearest Bathshack showroom to see what we have firsthand. Alternatively, email our team at info@bathshack.com or give us a call on (028) 9077 0188.