How to paint your bath
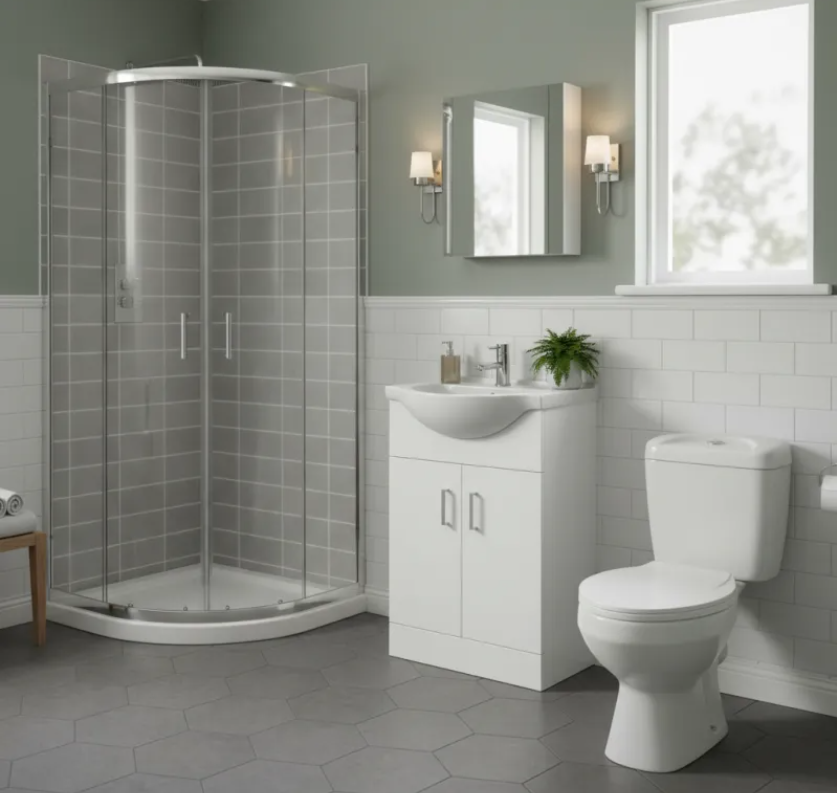
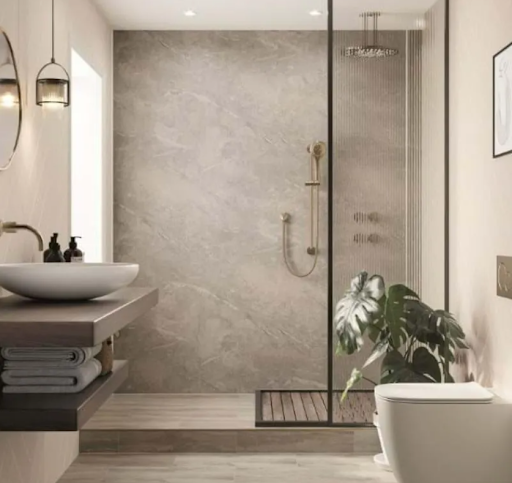
If you want to update your bathroom but don’t have the cash to spare for a full refit, then redecorating what you already have is a great way to breathe new life into your interiors. An increasingly popular way to spruce up your bathroom is to paint your tub, with painted baths all part of the current ‘bathscaping’ trend and creating spa-like spaces at home.
Bathscaping essentially means decorating the area around your bath to make it into a feature. And, with our bathrooms increasingly being somewhere we go to spend a bit of quality ‘me time,’ it goes without saying that the tub itself has to look good. Repainting your bath instead of buying a new one will not only save you hundreds or more pounds it will also give you a bespoke look that suits your specific style and will add character to your home.
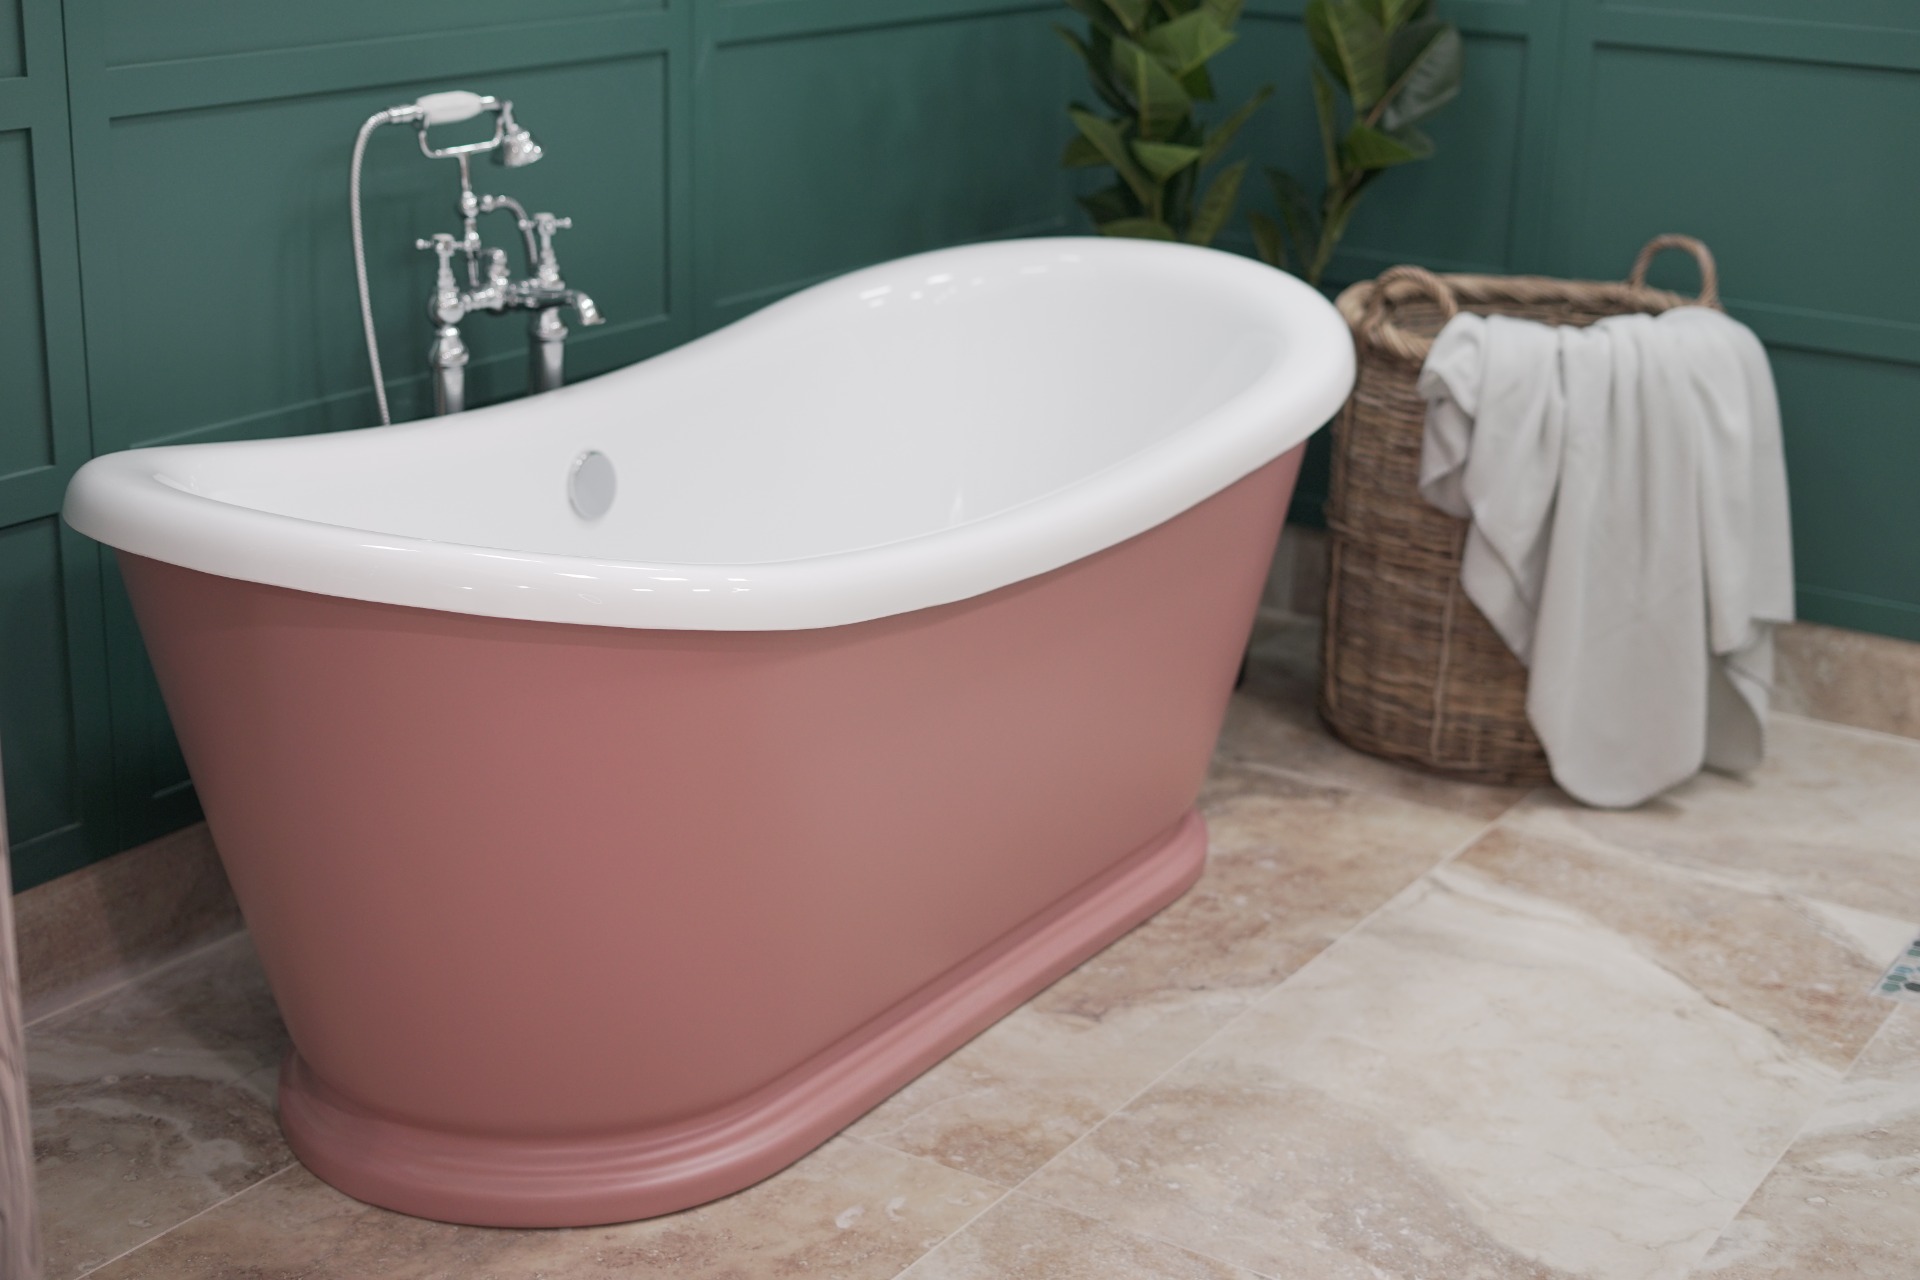
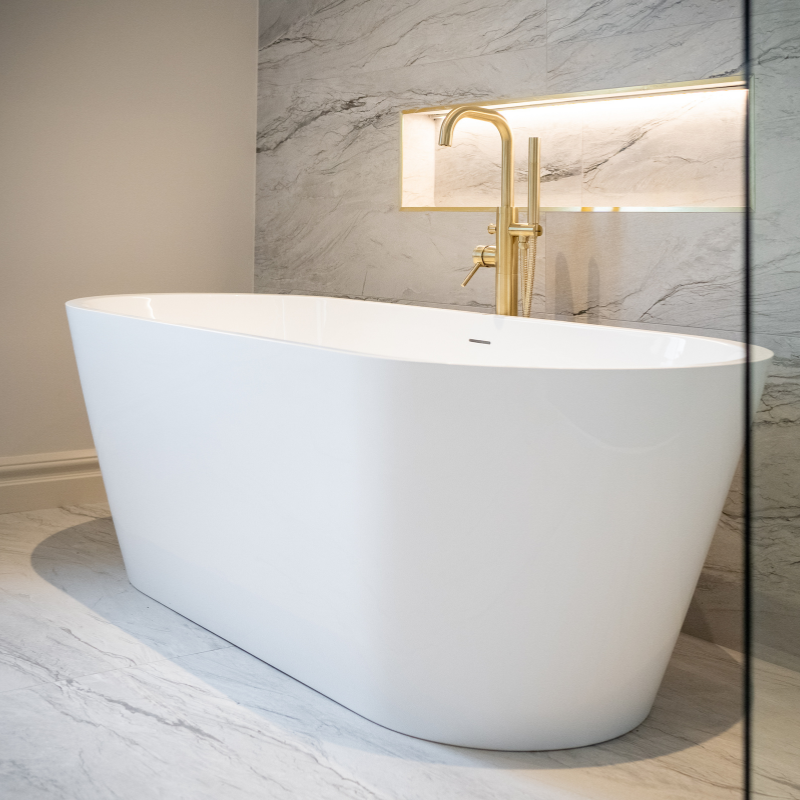
Painting your bath can save you money and give you a characterful bath which instantly refreshes your bathroom.
What baths can be painted?
Cast-iron, fibreglass and acrylic baths can all be painted, although acrylic is a bit more straightforward.
What type of paint do you use for baths?
- Acrylic polymer paint is what you need for painting an acrylic bath. You could also use one or two-part epoxy paint.
- For cast-iron tubs, use an oil-based primer and paint which is suitable for metal.
- Acrylic paint can be used on fibreglass baths.
It’s important to choose the correct type of paint for your bath, as it needs to be moisture-resistant and able to cope with the humidity of bathrooms, as well as being suitable for the specific surface you have. If you just use a standard paint, then it won’t be very durable.
Materials required to paint an acrylic bath:
- Safety goggles and mask.
- Masking tape.
- Paint brushes/roller.
- Multi-surface primer.
- Appropriate paint (acrylic polymer paint).
- Rough and fine sandpaper.
- Paper/dustsheet to cover the floor.
Step-by-step guide to painting a bath
Think three ‘P’s: Prep, primer, paint …
1. Prep: Always prepare your space before starting any work. Place the newspapers or dustsheets on the ground to protect your floor from any paint spillages.
Cover areas such as claw feet with masking tape, so you can work on them later with a finer brush, or to simply keep them protected if they aren’t being painted.
Check the bath and make sure it’s clean, dry and dust-free, so the surface is ready for receiving the primer and paint. Use sandpaper on the surface of the bath to make it rougher and better able to absorb the primer. This will also make it easier for the paint to set. Once this is done, wipe down the bath to remove any residue and make sure it’s clean and dry before applying primer.
NB Make sure the room is well ventilated – open doors and windows and wear a safety mask as required, to protect yourself from fumes.
2. Primer: Apply the primer, taking care to paint up to the ledge or lip of your bath, if it has one, but not over it. If there is no ledge, then apply the primer up to the edge of the tub but don’t go over into the interior.
It’s best to apply two or three very thin coats of primer evenly, to ensure a good finish. If necessary, you can also lightly sand the surface in between applying these.
Allow the primer to dry for at least four hours.
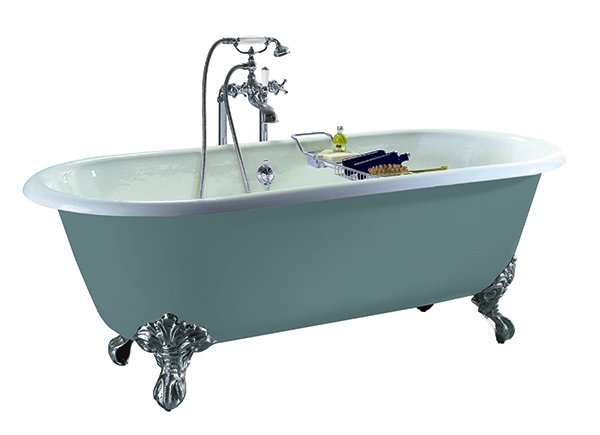
Always remember to cover claw feet when painting your bath, to protect them from splashes.
3. Paint: Once the primer is dry, it’s time to paint your bath. Apply an initial coat of paint and allow this to dry before sanding the bath again with fine sandpaper to ensure that there are no brush strokes remaining and to give a smooth finish.
Apply another two layers of paint, sanding in between.
NB Do not sand the bath after applying the final layer of paint. If you want to apply a sealant on top of the paint, check that the one you have is suitable for this, as not all sealants are compatible with acrylic baths.
Leave your bath to dry for about 48 hours and then, you’re good to go!
Painting a cast-iron bath:
- Before painting, make sure the bath is clean and free from rust by sanding the surface and wiping away any dust (with some white spirit and a cloth) before applying the oil-based primer. Follow this with an oil-based undercoat and topcoat to complete the job.
Painted baths at Bathshack
If you don’t want to repaint your bath as a DIY job, then you can always hire a professional to do it for you. Alternatively, if you simply want to buy a new tub, then we have our own range of beautiful painted baths and vanity units to choose from.
No matter what way you go about it, if you do opt for painting your bath yourself, then always make sure you prepare well before you start, to ensure the very best job – and a bath that you can be proud of.

Update your bathroom for less by repainting your bath.
If you’d like to browse our baths, why not visit your local Bathshack showroom? Alternatively, if you’d like to chat to one of our team, just email us at info@bathshack.com or call (028) 9077 0188.