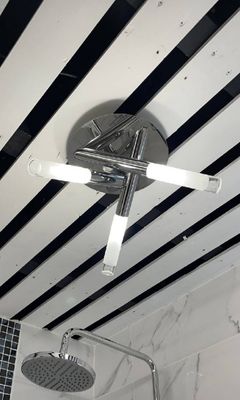
How to: Change a Ceiling Light

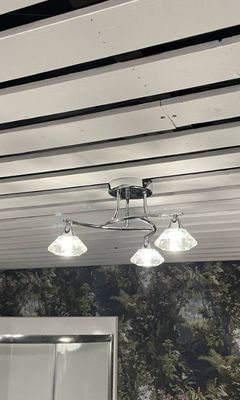
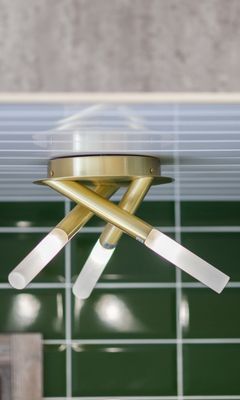
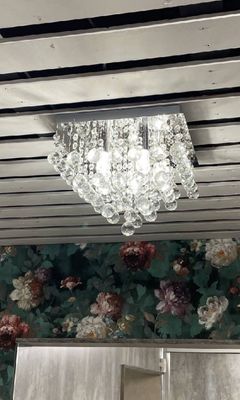
Are you looking to update your bathroom with a new lighting fixture? If you are replacing an existing fixture that you can reach easily with a step stool or ladder, it is usually possible to do this yourself. Our step-by-step guide will show you how to do this correctly, as well as direct you to where you can buy a brand-new lighting fixture at Bathshack.
Changing a shower head is not only affordable; it is also relatively easy and does not require any tools. Follow this how-to guide to learn how you can do this yourself.
Is it safe to change a lighting fixture myself?
We always recommend hiring an electrician for the following instances:
- The new fixture is very big and heavy.
- If you live in an old house. Older houses have wiring that isn’t always compatible with modern light fixtures, so you will need a professional for this.
For your safety, we strongly advise that you consult a professional electrician if you are unsure about anything.
What do I need to change a light fixture?
Brackets, wires, and wiring nuts should come with your new lighting fixtures. You should also make sure you have the following before you start changing the fixture.
- A step stool or ladder
- Wire strippers
- A screwdriver
- Electrical tape
- A non-contact voltage detector
All of these can be found at most hardware stores – ask a staff member to help you if you are unsure what you are looking for. Once you have all you need, carefully follow these 9 steps to change the fixture.
Step 1: Turn off the power
You MUST switch off your power so you can change the light safely. Open your electrical panel, find the switch that controls the power to the light, and flip it to the ‘off’ position. Make sure you’ve turned off the correct switch by flicking the wall switch that controls the light fixture. Once you’re sure you’ve turned off the power, keep the wall switch off.
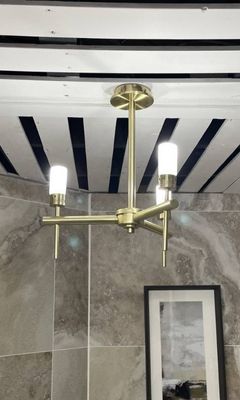
Step 2: Remove the shade, bulbs, and canopy.
If needed, get a step stool or ladder and set it up underneath the light fixture. Get someone to help you if you are not feeling comfortable on a step ladder. Remove the existing light shade/cover and bulbs. Then, remove the canopy that covers the fixture's writing – this is usually held in place by one or two decorative screws. The fixture should be hanging from the ceiling and the wiring should be exposed.
Step 3: Confirm the power is off
With the wiring now exposed, hold a non-contact voltage detector onto each of the wires. If the detector lights up, one or more of the wires still has power. Head back to the electrical panel, flip more switches to the off position, and hold the detector on the wires again to confirm they not carrying electricity.
Step 4: Take a photo and remove the fixture.
With the fixture hanging off the ceiling, remove any electrical tape around the connections. Take a photo of how the light was wired, making sure the colours of connected wires are visible. Now you can unscrew the wire caps to completely remove the old fixture.
Step 5: Check the box
The box is where the electrical wires for your lighting fixture originate. It’s a good idea to make sure the box is securely attached to the structure above the ceiling. Give it a wiggle, and if it moves, tighten the screws holding it in place.
You should also check that the box itself is grounded. Grounding offers excess electricity the most effective and safest route from an appliance back to the ground by way of an electrical panel. For your safety, we recommend hiring a professional electrician to check the grounding.
Step 6: Prep for the new fixture
Add the mounting bracket that came with your new fixture to the electrical box. Mounting brackets usually have a hollow threaded rod that extends down; this will support the weight of the fixture.
Before you start re-wiring the box, get someone to hold the fixture while you make the connections. Taking the weight of the fixture off your hands will make the process much easier.
Step 7: Wire the new fixture
Follow the instructions that came with your new light fixture to wire it to the box. Use the photo you took earlier to help you. You’ll usually wire the fixture’s black hot wire to the box’s black wire, then the neutral white to white, and finally the fixture’s grounding wire (usually bare copper or green) to the electrical box’s grounding screw or wire.
Use wire strippers to remove the wire insulation so about 5/8-inch of the bare copper is exposed. Then hold the two wires you want to join together, place a wire nut onto each of them and twist them together with a few turns. Repeat for the other wire.
Next, wrap the fixture’s ground wire around the box’s green grounding screw or the ground wire. Wrap the wire-to-wire connections with electrical tape, starting just below the nut and wrapping it a couple of times.
Step 8: Finish installing the fixture
While supporting the fixture, push the wires up into the box above the mounting bracket. Use the light’s hardware to attach the base or canopy of the fixture to the electrical box. Tighten the hardware so the light is securely attached to the ceiling.
Step 9: Check if the light turns on
Install the light bulbs, then head back to your electrical panel and switch the power source back on. If the light turns on, you finish by adding any trim and cover pieces. If the light does not turn on, shut off the power source and the light switch and check your connections.
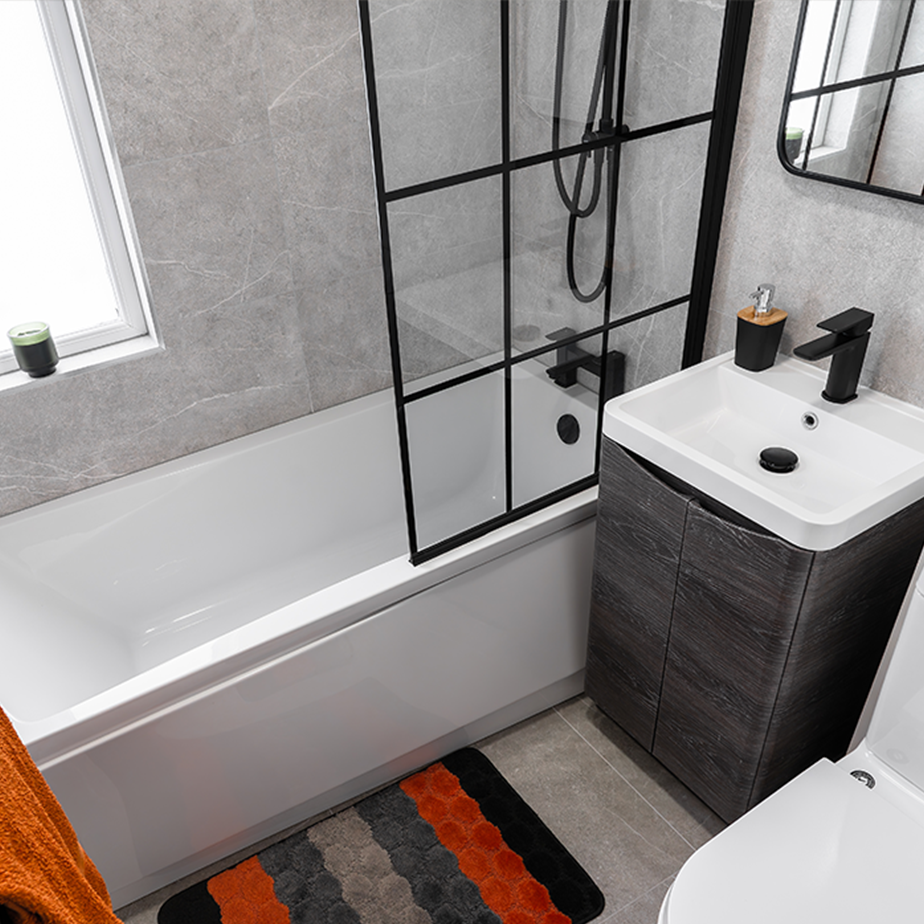
To find the perfect ceiling light for your bathroom, shop the full range here. We stock light fixtures in a wide range of designs and colours, so you are sure to find one that suits your bathroom’s style.
Disclaimer: We always recommend consulting a professional electrician for anything involving wiring.