Has your current toilet seat seen its day? Perhaps it's broken or looks a bit unsightly. No matter your reasons for replacing your toilet seat, we will show you how to do it correctly. This guide can be used for most toilet seats including D-shape, square and standard toilet seats. However, if you are unsure of anything, we recommend consulting a professional plumber.
What tools do I need?
To replace a toilet seat, you’ll need a handful of tools. Some new toilet seats will come with the tools and fittings required to fit them. If not, here is a list of what you need:
- Protective gloves
- Toilet cleaner
- Flathead screwdriver
- Pliers
- Tape measure
Once you’ve gathered all of the above, follow the below steps.
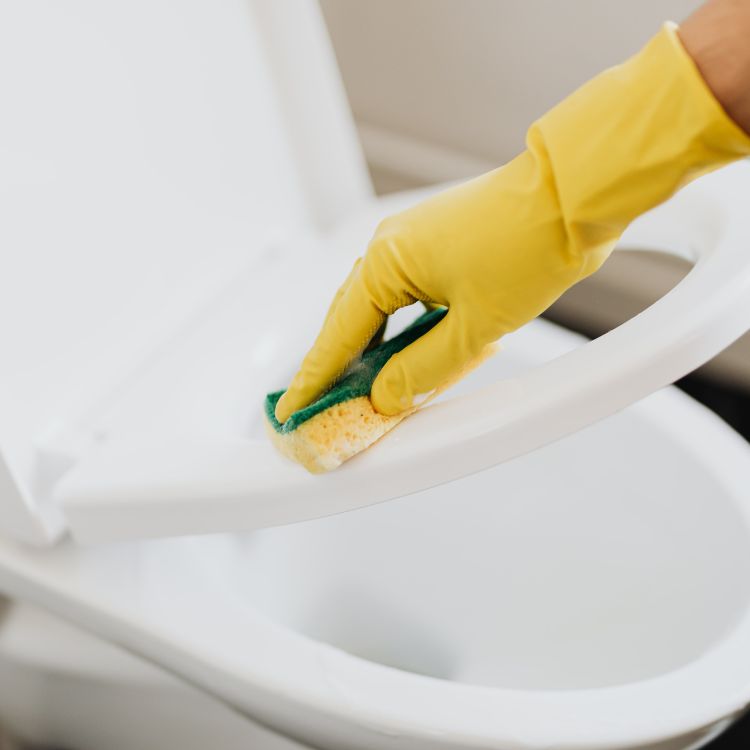
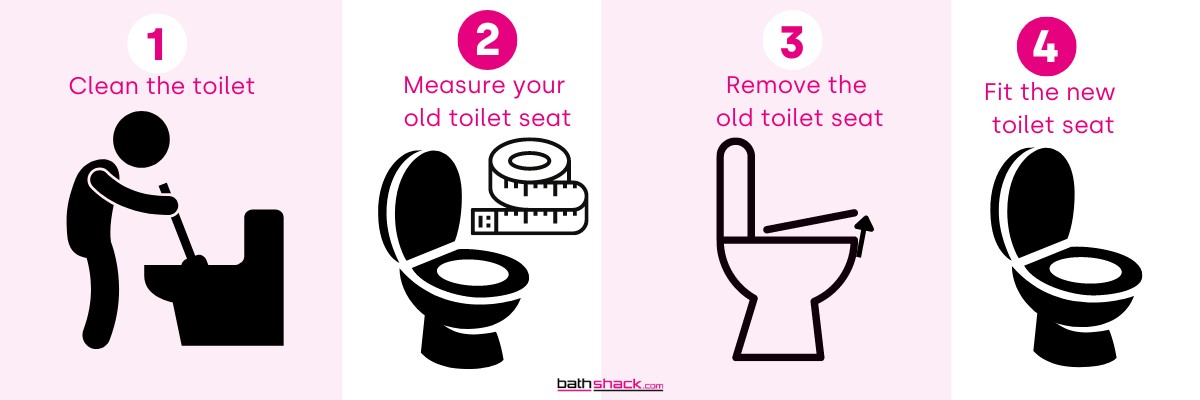
Step 1: Clean the toilet
Before you do anything, put on protective gloves and clean the toilet. This removes harmful bacteria and will help keep your new seat in top condition for longer.
Step 2: Measure your old toilet seat
Before you remove the old toilet seat, measure your toilet with the tape measure. Toilets come in a variety of shapes and sizes, so this ensures you choose a seat in the correct size.
Measure the length from the middle of the fitting holes to the centre of the front of the toilet bowl, then measure the width from the widest point across. When buying a new toilet seat, make sure you choose one that fits these measurements.
Step 3: Remove the old toilet seat
Most toilet seats are attached to the toilet with fittings held together by two bolts. These bolts are usually hidden by two protective plastic caps at the back of the seat.
Using the flathead screwdriver, gently work your way around the caps and carefully remove them.
Once you’ve removed the caps, you’ll see the top of the bolts with wingnuts holding your seat in place. Use the pliers to keep the nuts in place and unscrew the bolts with the screwdriver.
Although some toilet seats will be secured using a slightly different fitting, they typically all work in the same way. If yours is different, take a look around the fittings – you should be able to work out how to remove the seat.
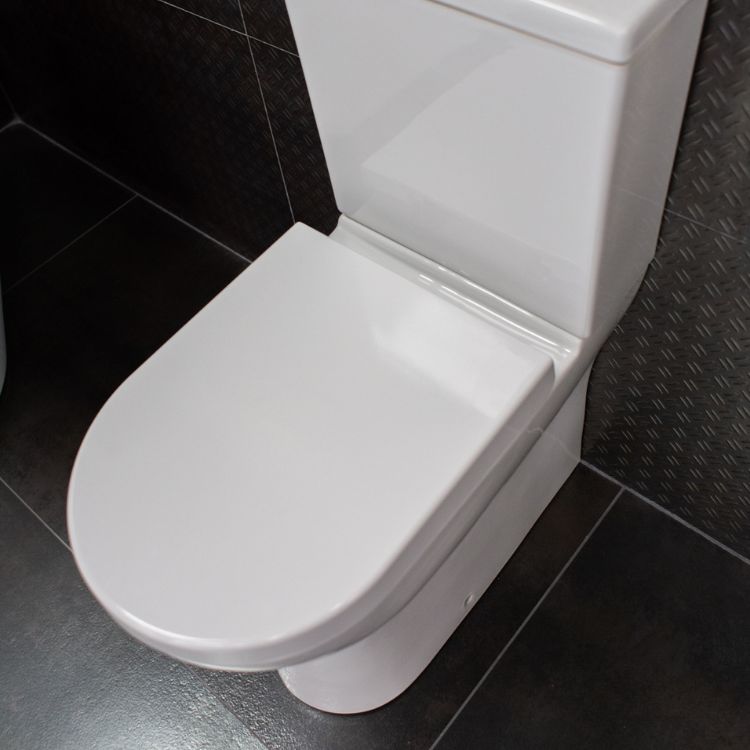
Step 4: Fit the new toilet seat
Take the fittings and manufacturer’s instructions provided with your new seat and have them ready.
Attach the new fittings, using your hands to tighten up the nuts on the bolts. Make sure you don’t tighten them too much, as you may need to adjust them after fitting the new seat.
Next, place the new seat over the toilet and line up the fittings. Ensure the seat is central to the bowl and tighten the nuts once you’re satisfied it’s in the right place. Use the pliers to help tighten them if necessary.
What toilet seats are available at Bathshack?
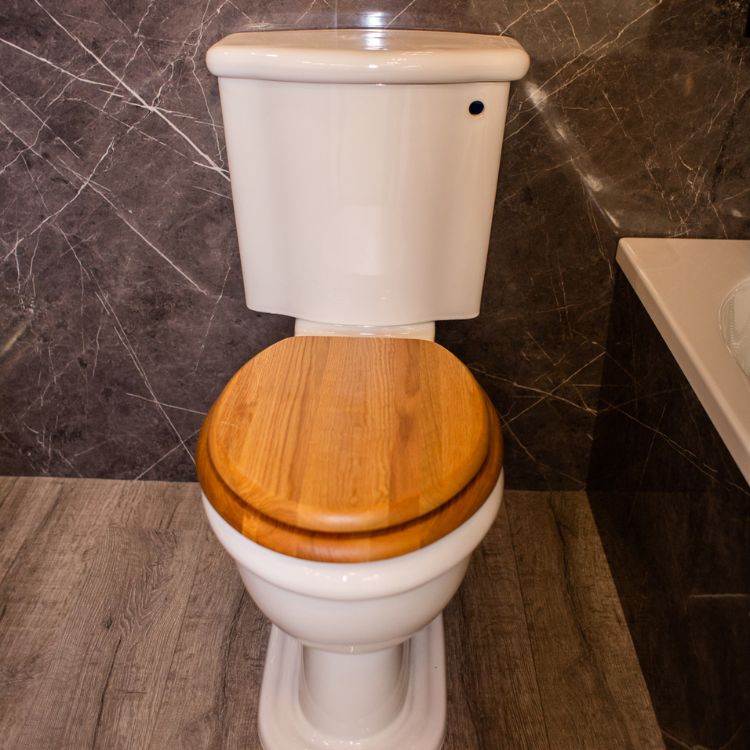
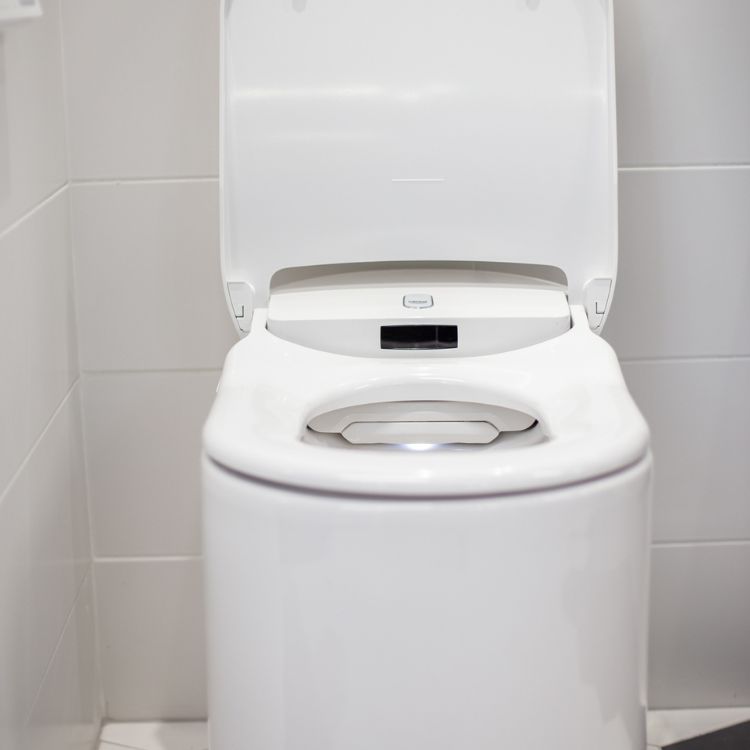
We stock an extensive range of toilet seats in a variety of styles. Go for classic white or plain wood for a traditional bathroom, black for a modern or monochrome bathroom, or a different shade entirely for a pop of colour. You can also choose between chrome or gold finish hinges – subtle details that can change the look of any bathroom! Many of our toilet seats even feature a soft close mechanism to prevent noisy slamming, trapped fingers and unnecessary damage.
To find the perfect toilet for your bathroom, shop the range online or visit one of our showrooms. To find your nearest showroom, click here.