Sometimes, it can be tricky to find a professional at short notice if something needs fixing. However, there are some small bathroom repairs that you can do by yourself. This can also help you to save money on labour costs, which is always a plus! Here are some tips and tricks for emergency bathroom repairs made easy. However, if you are not 100% confident about something, we recommend waiting until you can find a professional.
Tile That’s Loosened/Fallen Off:
Tiles can loosen due to problems with installation, moisture, temperature changes or a weak adhesive. Regardless of the reason, you'll want to make this repair as soon as possible to protect the wall.
- If the tile is loose but not fallen off, you’ll still need to remove it to stick it back on properly. Use a utility knife to cut into the grout and dig it away from the loose tile, then use a hammer and chisel to gently loosen and remove the tile. Use caution when chiseling away the tile.
- Next, prep the surface. Use the hammer and chisel to carefully remove any old adhesive, making sure you don’t damage the wall or floor.
- Remove the old grout from the tiles by chipping away it with a chisel or screwdriver.
- To fix a tile back onto the wall or floor, you will need adhesive. We stock a wide range of adhesives suitable for all types of tile, which can be found here. Use a small trowel to apply a layer of adhesive to the surface and the back of the tile.
- Position your tile in place, then press it into the wall or floor. If any adhesive oozes out clean it immediately with a wet rag. Leave to set for at least 30 minutes, and up to 24 hours.
- When the adhesive is dry, you will need to regrout the tile. We sell grout in a range of colours to help you achieve that flawless finish. Follow the instructions on the label to mix up your grout, then press it into the lines between tile joints. Quickly wipe off any excess with a damp sponge, and then leave it to set overnight.
Cracked Tile
Cracks happen more often to floor tiles as they have to cope with foot traffic and impacts. If cracks happen, you can easily fix this yourself without having to splash out on a new tile.
- Remove any debris and clean the cracked tile with soap and water or rubbing alcohol. Make sure the tile is dry before you continue.
- Next, mix a two-part epoxy kit according to the instructions. An epoxy kit combines resin and a hardener to make an adhesive paste and can be found at your local hardware store.
- Spread a thin, even coat of epoxy onto the crack using a lollypop stick or toothpick, depending on the size of the crack.
If a tile is beyond repair or your floor has too many cracks and damage, you can shop our range of tiles here.
Fixing a Leaky Tap
A leaky tap is one of the most common household plumbing issues. Fortunately, you can easily repair it yourself with the right tools.
- First cut off the water supply to prevent further leaking.
- Get under your basin or bath and using a wrench, unscrew the nut that locks it to your old tap. This can be a bit fiddly at first, but once the nut is loosened, it should come off easily. You should also make sure the tap doesn't rotate as you try to unscrew the nut. Once the nut has been removed, you can simply detach the tap.
- Once you have detached the tap, flush the unit through with cold water to remove any debris that may be causing the leak.
- If there is limescale, a small amount of vinegar can remove it. Simply soak the tap in cold water with a small amount of vinegar for a quick fix.
- Check your pipes, fixings, and joints to ensure there is no damage. If there is damage, the part may need to be replaced when your hardware store is open.
- Re-assemble all the parts and make sure everything is tightened. Once everything is in place, turn the water back on and test the tap to see if it’s working properly. If it’s still leaking, you may need a new tap. Our range of basin and bath taps come in a wide range of designs and styles to suit every bathroom. To browse taps, click here.
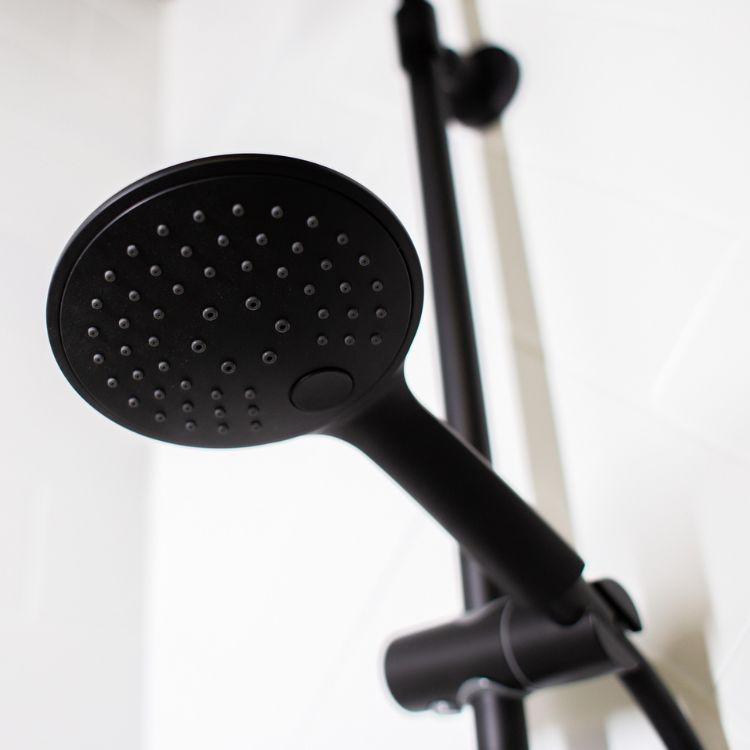
Fixing a Leaky Showerhead
Not only does a leaky showerhead stop your shower from working properly, but it also wastes water which isn’t good news for your bills or the environment. A leaky showerhead is often caused by a buildup of dirt, limescale, or rust, so you may need to take it apart and give it a good clean. To do this correctly, follow these steps:
- Just like a leaky tap, turn off the water supply before you start to avoid any more leaks.
- Next, lay a protective sheet or tarp on the floor of your shower or bath. This prevents any potential debris from falling onto the surface of the floor or down the drain.
- Unscrew your showerhead from the hose, then soak the showerhead in vinegar for at least 30 minutes. Rinse it with water and use an old toothbrush to remove any stubborn dirt, grime and limescale.
- The O-ring or rubber washer is the part that stops water from leaking between your showerhead and the hose. Check to see if it looks corroded or damaged and if so, it will need to be replaced.
- Put your showerhead back together, reattach it to the hose, and turn the water supply back on. Turn on your shower to flush out any remaining dirt and grime. Hopefully, this has done the trick! If not, you can choose a new showerhead from our range.
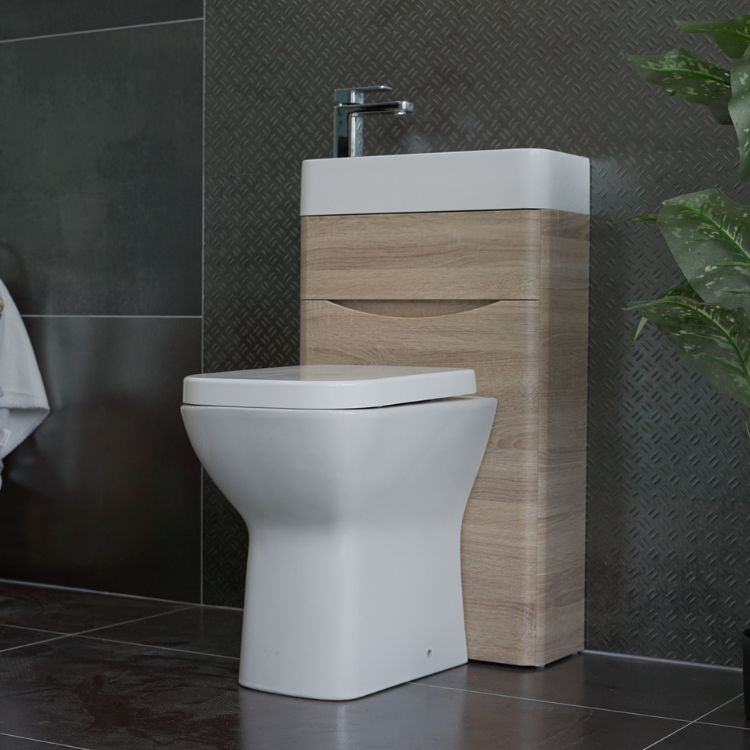
Replacing a Broken Toilet Seat
A broken toilet seat is annoying and also a risk to the user if it suddenly slips off as they sit down on the toilet! Thankfully, replacing a broken seat is a quick and easy fix.
- Before you do anything, measure your toilet with a tape measure. Measure the length from the middle of the fitting holes to the centre of the front of the toilet bowl, then measure the width from the widest point across. Choose a new toilet seat that fits these measurements.
- Now you can remove the old seat. Most toilet seats are attached to the toilet with fittings held together by two bolts. These bolts are usually hidden by two protective plastic caps at the back of the seat. Gently remove these caps using a flathead screwdriver. Once removed, unscrew the bolts with the screwdriver.
- Next, fit the new toilet seat using the fittings and instructions provided. Attach the new fittings, using your hands to tighten up the nuts, making sure not over-tighten them. Next, place the new seat over the toilet and line up the fittings. Ensure the seat is central to the bowl and tighten up the nuts once you’re sure it’s in the right place. Now you’re good to go!
At Bathshack, we stock toilet seats to suit toilets of all shapes and styles. To shop the full range, click here.
Ready to tackle DI.Y. repairs in your bathroom? For more bathroom DIY advice, check out our How To Guides, where you can learn anything from how to fit a radiator to how to tile around a bath. As always, we recommend hiring a professional if you are unsure about anything.